Integrating ESPHome Device to Home Assistant

ESPHome is an open source firmware for your ESP8266 or ESP32 devices with simple and yet powerful configuration files that allows you to control them remotely through the open source IoT platform Home Assistant and/or other home automation systems.

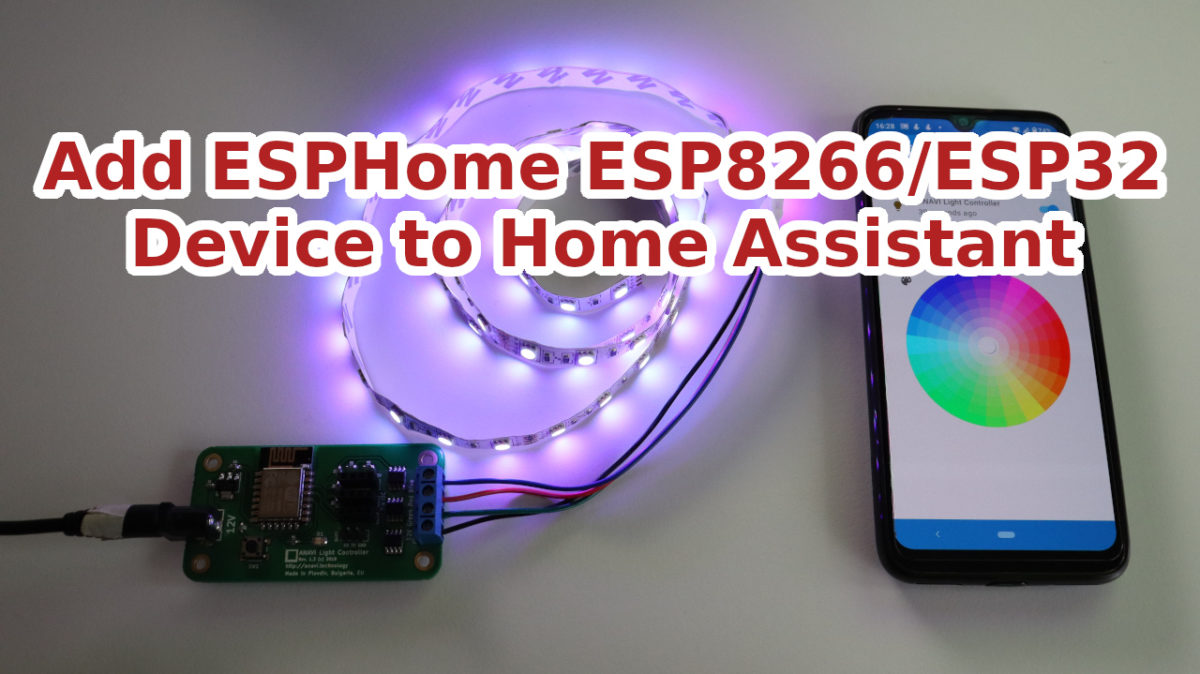
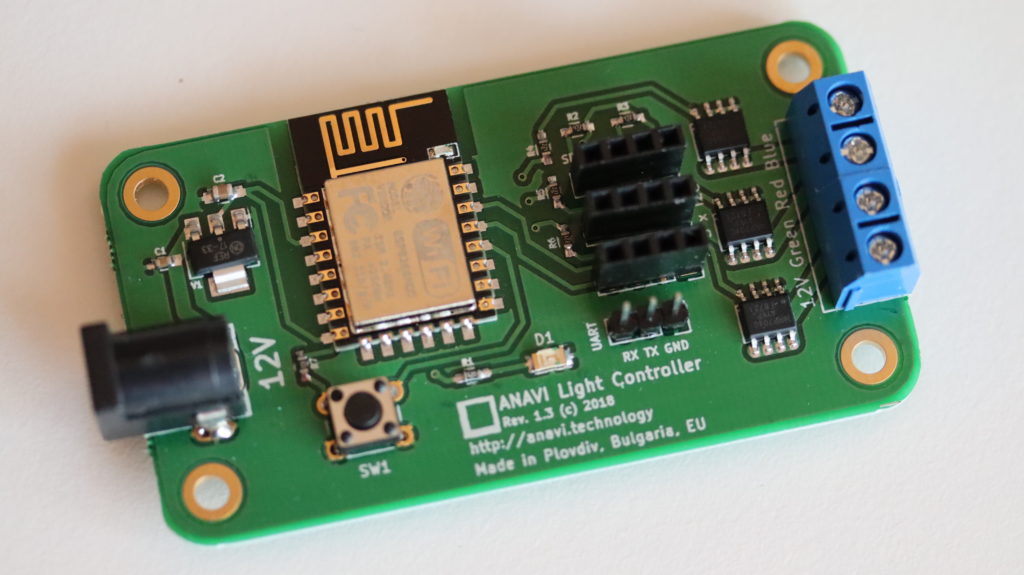
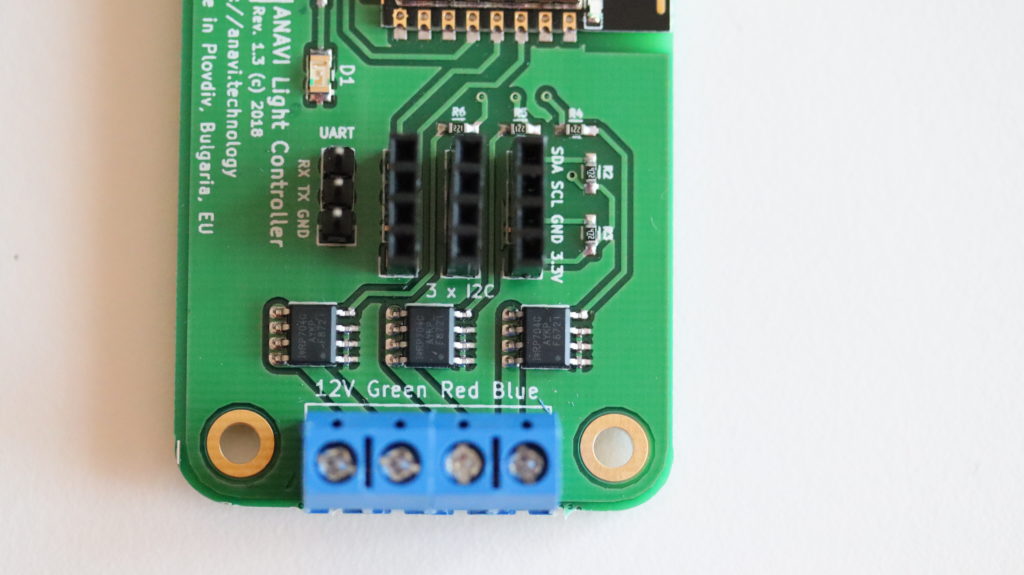
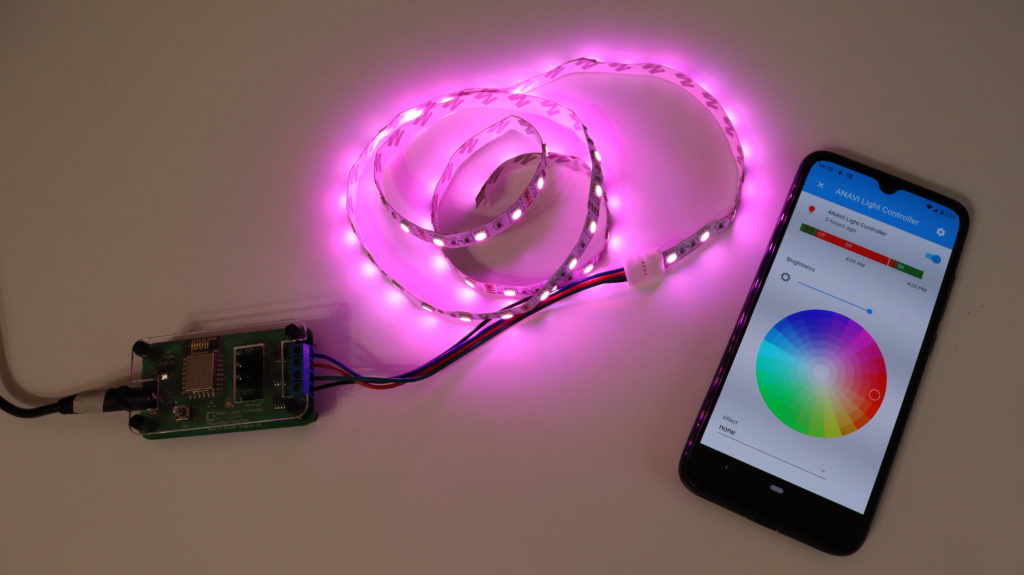
In this tutorial you will learn how to add a device with ESPHome in Home Assistant. The open source hardware ANAVI Light Controller with 12V RGB LED strip is used for the demonstration.

Upload ESPHome

You can either do this through the command line or alternatively, you can do it through Home Assistant ESPHome add-on.

Depending on the device you may need to edit an existing ESPHome configuration file or to create new from scratch. An example for ANAVI Light Controller is available at GitHub. Remember to set your WiFi credentials and device password in it as well as to enable the API. After flashing ESPHome to the device it is important to write down the address and the port. Both are printed in the serial output after booting the device.

After flashing ESPHome to the device it is important to write down the address and the port. Both are printed in the serial output after booting the device.

Home Assistant Integration

Open the web interface of Home Assistant. From the left side menu select Configuration and after that click Integrations. Click the button in the right lower corner with label Add Integration. From the menu select ESPHome. Enter connection settings for your ESPHome device. Set the address for host and port both of which were obtained on the first step. Click SUBMIT. Enter the password from the ESPHome configuration file. Click FINISH to complete adding the device.

After successfully adding the ESPHome device to Home Assistant it will appear in the overview section. For more details have a look at the video.
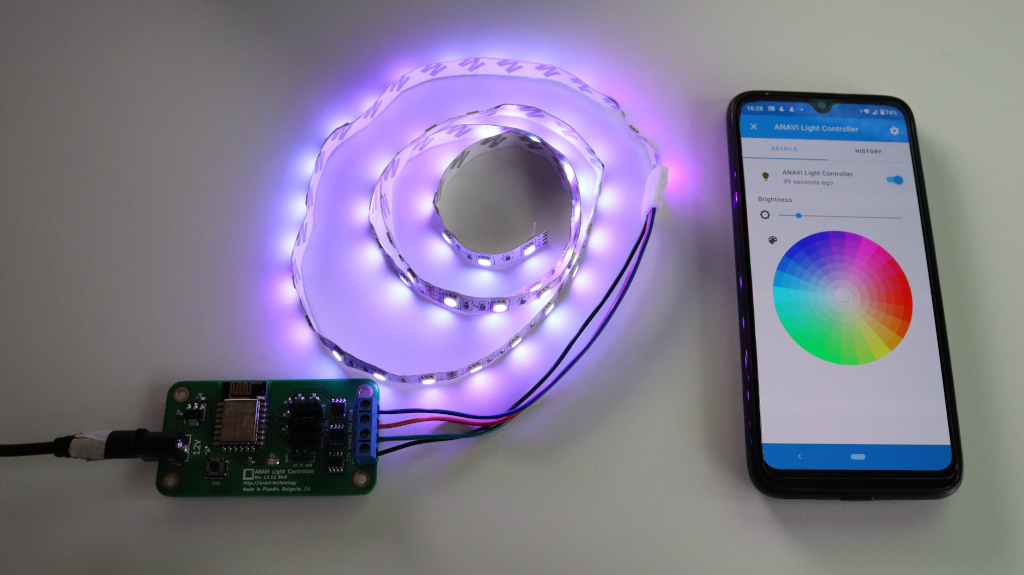
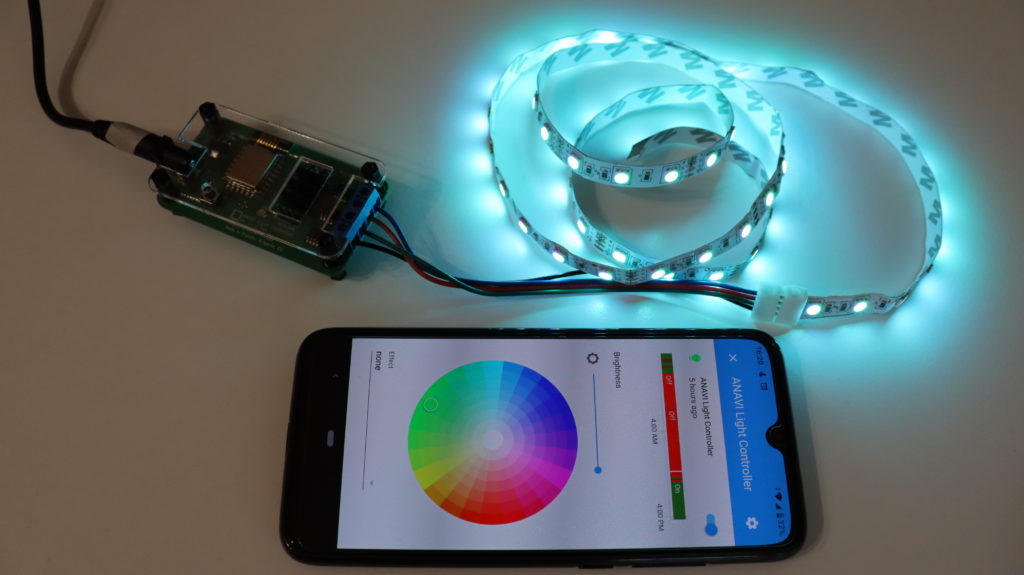
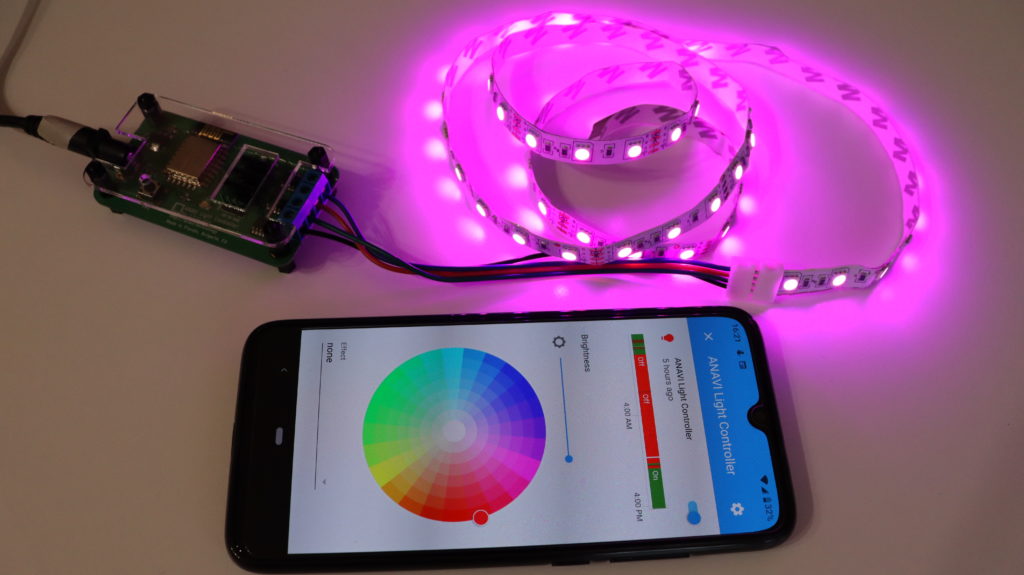
ANAVI Light Controller and 12V RGB LED strip controlled with ESPHome and Home Assistant from mobile application on Android smartphone

You may also like

Getting Started with esptool for flashing firmware on ESP8266 and ESP32

Esptool is a free and open source ESP8266 and ESP32 serial bootloader command-line utility. The source code is available at GitHub under GPLv2 license. It is written in Python therefore it is universal and runs on Microsoft Windows, Mac OS and any GNU/Linux distribution (Ubuntu, Debian, Linux Mint, Fedora, CentOS, OpenSUSE, etc).

Installation

As of today esptool works fine with Python 2.7 or Python 3. Python 2 has been deprecated since January 1, 2020 therefore it is recommended to use esptool with Python 3.

The easier way to install the latest stable version of esptool is from pypi via pip. Open a terminal and execute the following command:

pip install esptool

Flashing Firmware

Using write_flash argument esptool flashed pre-compiled binary to devices with ESP8266 or ESP32. Here are the exact steps:

  • Download an appropriate binary for your ESP8266/ESP32 device.
  • Connect your device to a computer. For example, for ANAVI Thermometer, ANAVI Gas Detector, ANAVI Light Controller and ANAVI Miracle Controller you must use UART to USB debug cable.
  • Turn on the device in boot mode. For example, on ANAVI Thermometer, ANAVI Gas Detector, ANAVI Light Controller and ANAVI Miracle Controller, press and hold the RESET button and plug the power supply.
  • In a terminal execute the following command:
esptool.py --port /dev/ttyUSB0 --baud 460800 write_flash --flash_size=detect 0 firmware.bin 

Finding the Right Firmware

All ANAVI Internet of Things with ESP8266/ESP32 combine free and open source software with open source hardware. The firmware is built using Arduino IDE and a pre-compiled binary file is available at GitHub. Follow the links below to identify your ANAVI device and download appropriate binary for the latest stable firmware:

Of course, alternatively, instead of using esptool you can build the firmware from source through Arduino IDE or PlatformIO.

You may also like

Improving Industrial Manufacturing with ANAVI Light Controller

ANAVI Light Controller is an open source WiFi development board for controlling 12V low-cost analog RGB LED strip. Although it has been designed primary for home automation, recently ANAVI Light Controller was integrated in an industrial environment.

Wing.eu is an innovative French start-up company reinventing the shipping. The company specializes in “first mile” logistics and provides services to e-merchants. Their warehouses in Paris, Marseille, Bordeaux and Lyon package and ship e-commerce orders. Wing.eu can be integrated with all leading e-commerce platforms, including the popular open source solutions PrestaShop, Magento and WooCommerce.

ANAVI Light Controller Andon Manufacturing
Wing’s warehouse using Andon manufacturing system implemented with ANAVI Light Controller and 12V RGB LED strips.

Running around the clock such an innovative logistics business requires excellent organization. To ensure high efficiency of the working process Paul Cancouet, project manager at Wing, implemented the Japanese manufacturing system Andon using ANAVI Light Controller.

Andon is a manufacturing term to alert about a problem in real-time. Pioneered by Toyota after World War II, Andon provides the ability to detect problems affecting manufacturing in real-time and fix them as soon as possible.

Paul and his team at Wing constructed a light indication on each desk at their warehouses, using ANAVI Light Controller, 12V RGB LED strip, appropriate 12V power supply, outdoor wall light, PVC tube and a 3D-printed socket. All Andon light indicators are communicating over the machine-to-machine protocol MQTT. The software on the server is written in JavaScript and Node.js. It spreads the information to Google spreadsheets, Slack channel and a HTML5 web interface that acts as a global monitoring dashboard.

The best part is that Wing.eu shared their server side source code in GitHub. ANAVI Light Controller is also entirely open source as the board has been certified by the Open Source Hardware Association and the default firmware is also available as an Arduino sketch at GitHub. Thanks to open source other factories can easily adopt the same solution and significantly improve the efficiency of their manufacturing process.

Paul Cancouet shared more details as a Crowd Supply field report. His industrial automation has been also covered by cnx-software.com.

ANAVI Light Controller is available at our distributors around the world: Crowd Supply, neven.cz and Pi Supply.

You may also like

Improved Arduino Sketch for ANAVI Light Controller

How often do you get software or firmware updates for a 2-year-old device? Probably not very often. This is not the case for ANAVI Light Controller! We have a major update of its Arduino sketch for you.

ANAVI Light Controller

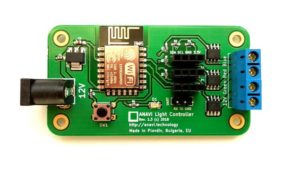
ANAVI Light Controller open source hardware WiFi device for controlling a 12V RGB LED strip. It was brought to life through a crowdfunding campaign at Crowd in 2018. Now is January 2020, so this makes it ~2 years old! A lot of things have changed during this time. ANAVI Light Controller has been certified by Open Source Hardware Association (OSHA) and it now on sale at our distributors: Crowd Supply, Pi Supply and neven.cz.

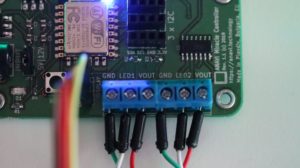
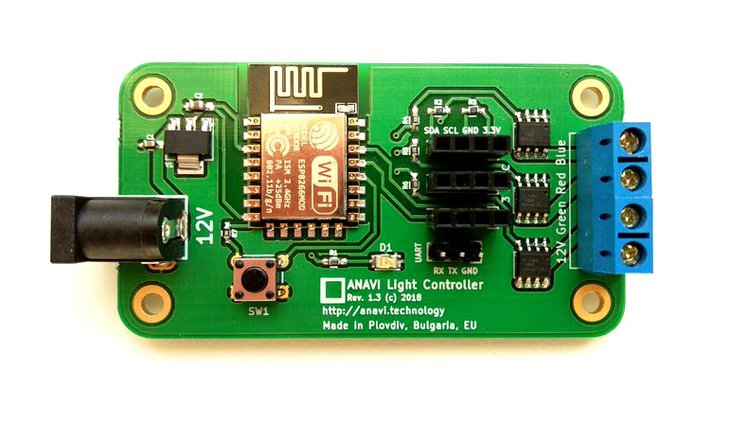
Terminals for connecting 12V RGB LED strip to ANAVI Light Controller

Recently we made a major improvements to the default firmware available as an Arduino sketch at GitHub:

  • Support Home Assistant automatic discovery over MQTT
  • Turn on LED D1 on ANAVI Light Controller if the device is not connected to local WiFi network and needs initial configuration
  • Wait for a few seconds while LED D1 is blinking immediately after turning on ANAVI Light Controller to allow reset by keeping SW1 pressed
  • Append the last 5 characters of the machine ID to the WiFi Access Point (AP) to simplify the identification of the ANAVI Light Controller during the initial setup
  • Support MQTT messages with large payload for reporting back the current state of the RGB LED strips on topic stat/dev-id/color
  • Add DEBUG macros, disabled by default, if enabled additional debug information will be printed in the serial monitor
Changing colors of 12V RGB LED strip through Home Assistant using ANAVI Light Controller

You can either compile and upload the new version through Arduino IDE or just grab the binary from GitHub and flash it on your ANAVI Light Controller.

To learn more how ANAVI Light Controller works out the box with the popular open source platform Home Assistant read our previous article. It reveals the exact steps the setup MQTT Broker in Home Assistant and after that to automatically discover ANAVI Light Controller.

ANAVI Light Controller is suitable for low-cost 12V analog (non-addressable) LED strips. If you need a WiFi development board for controlling digital (addressable) LED strips at 5V or 12V have a look at our other open source product ANAVI Miracle Controller.

You may also like

Control 12V RGB LED Strip from Home Assistant

Home Assistant is a popular open source platform for home automation. It is written in Python programming language and runs perfectly on Raspberry Pi 3 B/B+ or 4 B. Now, with the latest updates of the Arduino sketch for ANAVI Light Controller it is super easy to control 12V RGB LED strip from Home Assistant through your smartphone, tablet or personal computer.

Have a look at the video and follow the steps below to configure ANAVI Light Controller and change colors of 12V RGB LED strips from Home Assistant.

What Is Required?

The following hardware is required:

How to Install?

  • Install Mosquitto from Hass.io add-on store. Set username and password for login to Mosquitto. Set active Access Control Lists (ACL) for the username and launch Mosquitto (it is recommended to install SSH server prior this step).
  • Add MQTT integration in Home Assistant with enabled discovery (from Configuration > Integrations)
  • Attach the 12V RGB LED strip to ANAVI Light Controller
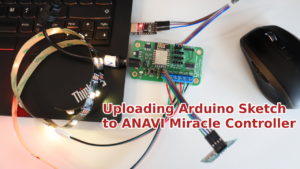
  • Ensure that ANAVI Light Controller has been flashed the latest version of the default Arduino sketch. If it is not, compile it and after that upload it following this video guide.
  • Turn on ANAVI Light Controller, connect to its WiFi Access Point (AP) and configure it through the captive portal. You must provide your WiFi credentials, MQTT server, username and password. After that ANAVI Light Controller will be automatically discovered by Home Assistant over MQTT.
  • Through Home Assistant change colors or effects of ANAVI Light Controller.

How Does It Work?

ANAVI Light Controller is powered by the ESP8266 microcontroller with WiFi. The default Arduino sketch works with the machine to machine protocol MQTT and implements Home Assistant discovery of MQTT Light component.

As soon as ANAVI Light Controller boots, after it has been configured, it connects to the WiFi network, after that to the MQTT broker and sends retained MQTT message with JSON payload that describes the device. Each ANAVI Light Controller has a unique MD5 ID based on the chip ID of ESP8266. The MQTT integration in Home Assistant discovers ANAVI Light Controller based on the received MQTT message. Thanks to the data in the JSON payload Home Assistant automatically configures the device as MQTT Light.

Home Assistant & 12V RGB LED strip attached to ANAVI Light Controller

Home Assistant discovery is a user-friendly way for quickly adding new Internet of Things to the platform. Combined with MQTT and the default firmware for ANAVI Light Controller the process is straight-forward and anyone can do it in a few minutes.

You may also like

Sunrise Simulator Alarm Clock with ANAVI Light Controller

ANAVI Light Controller is a certified open source hardware WiFi dev board for controlling a 12 V RGB LED strip. Furthermore it has 3 slots for attaching I2C devices, for example sensors for temperature, humidity barometric pressure, light, mini OLED display, etc.

ANAVI Light Controller was the first board that we releases with ESP8266 microcontroller. We started manufacturing after a successful crowdfunding campaign at Crowd Supply. Now, with Crowd Supply we are running a contest in our open source community. Anyone who shares his experience with our products wins a $25 Crowd Supply credit and enters a random prize drawing for more of our cool open source hardware!

Jonathan Lister entered the contest and shared his amazing project for sunrise simulator alarm clock with ANAVI Light Controller. He wrote an open source command-line JAVA applications that runs on his Raspberry Pi and send commands to ANAVI Light Controller over the machine to machine protocol MQTT.

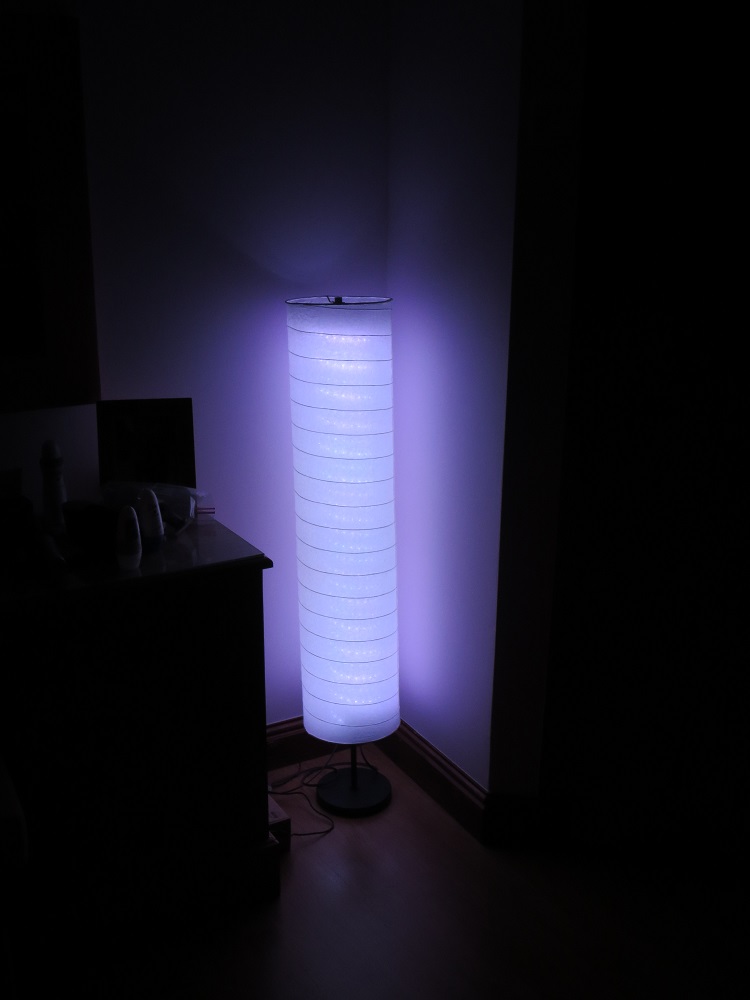
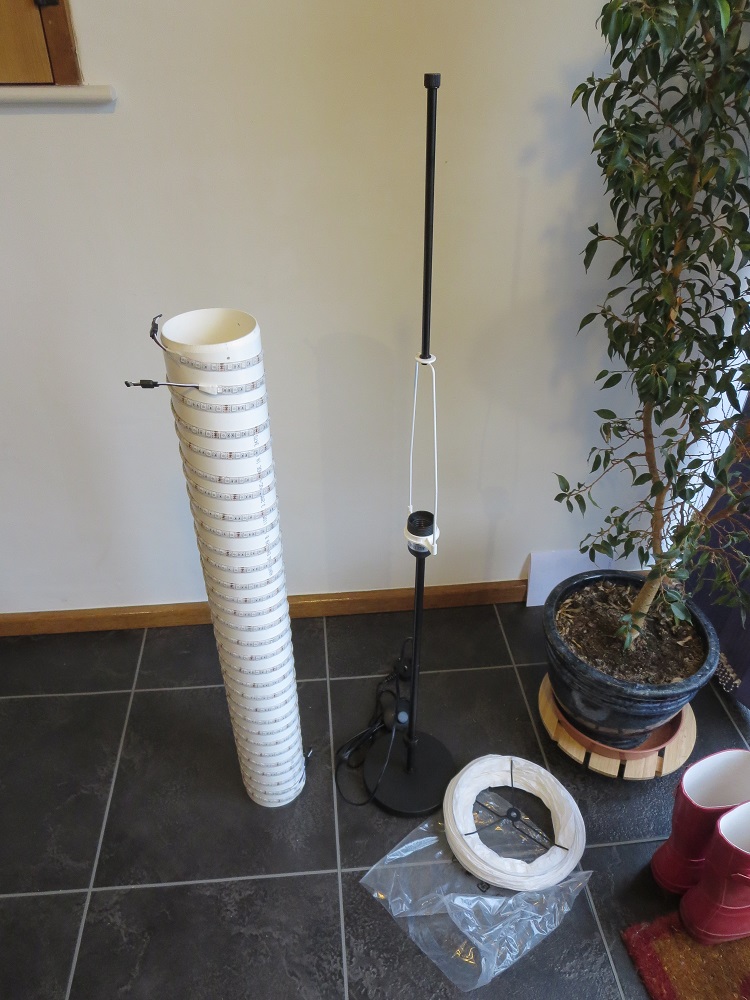
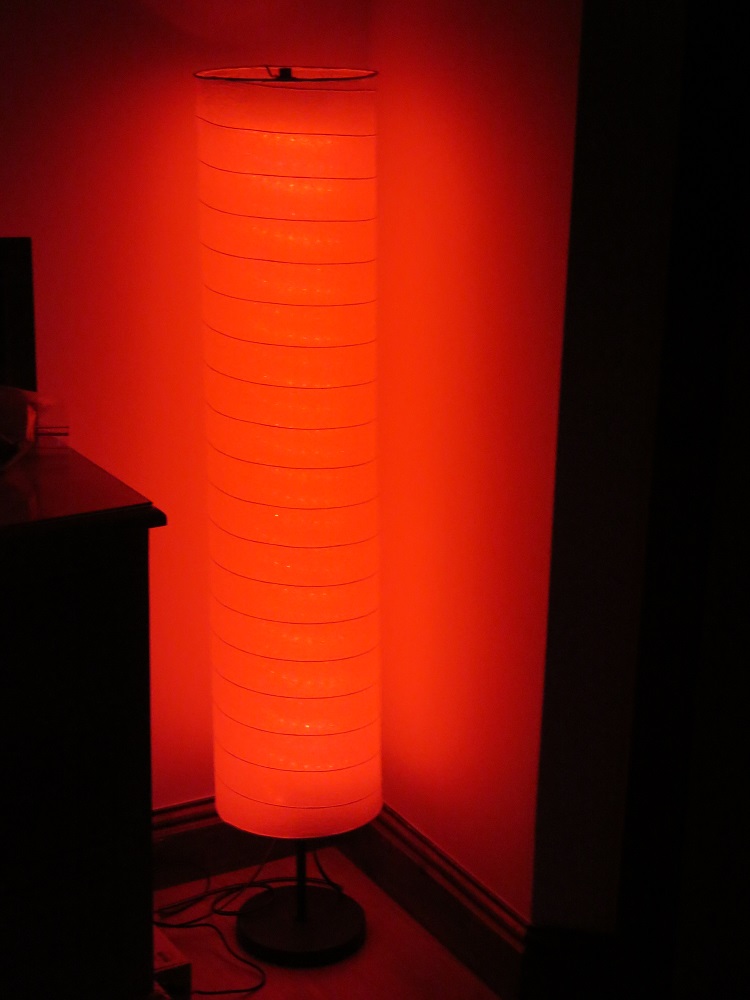
The hardware required for Jonathan’s project includes a Raspberry Pi, ANAVI Light Controller, 12V RGB LED strip, appropriate power supplyies and appropriate lamp. Jonathan used IKEA Holmo floor standing lamp and placed RGB LED strips around a suitable tube inside it. The software requirements are JAVA 8 or above as well as an MQTT broker, for example the free and open source mosquitto.

The end result looks gorgeous! Furthermore, Jonathan has shared his source code and a few photos (also used in this article) in GitHub under Apache License 2.0 license. Don’t hesitate and give a star to the project in GitHub!

If you have also done an awesome project with any of our open source hardware boards at Crowd Supply, now is the best time to share your experience and enter the contest!

You may also like