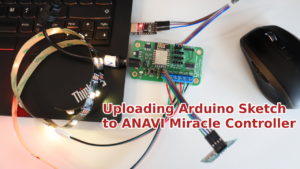
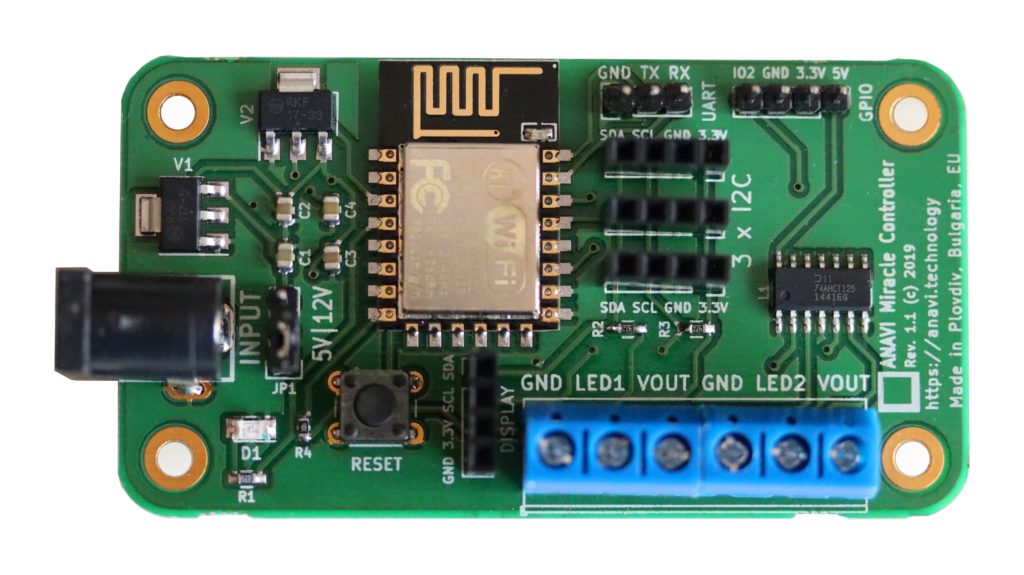
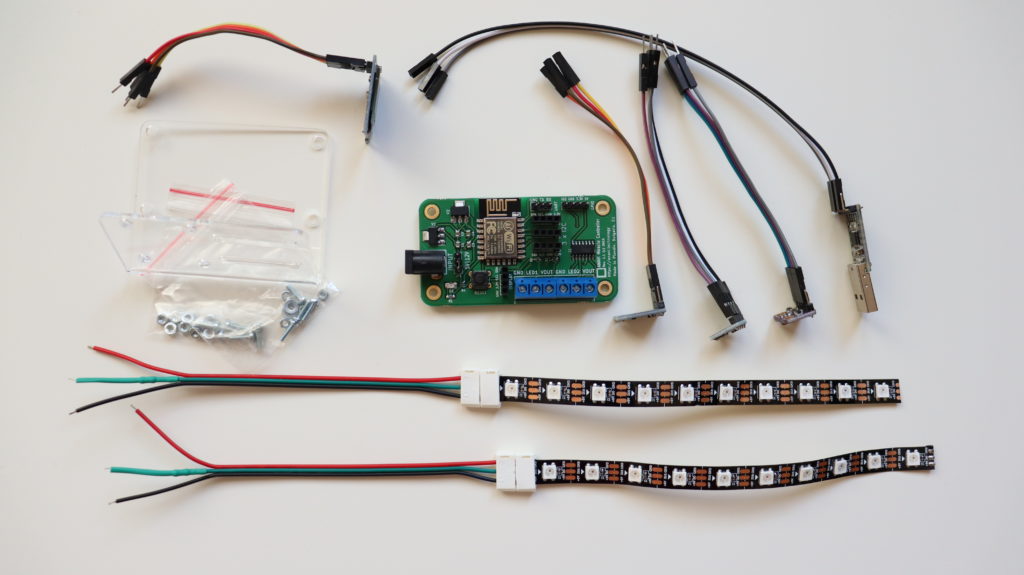
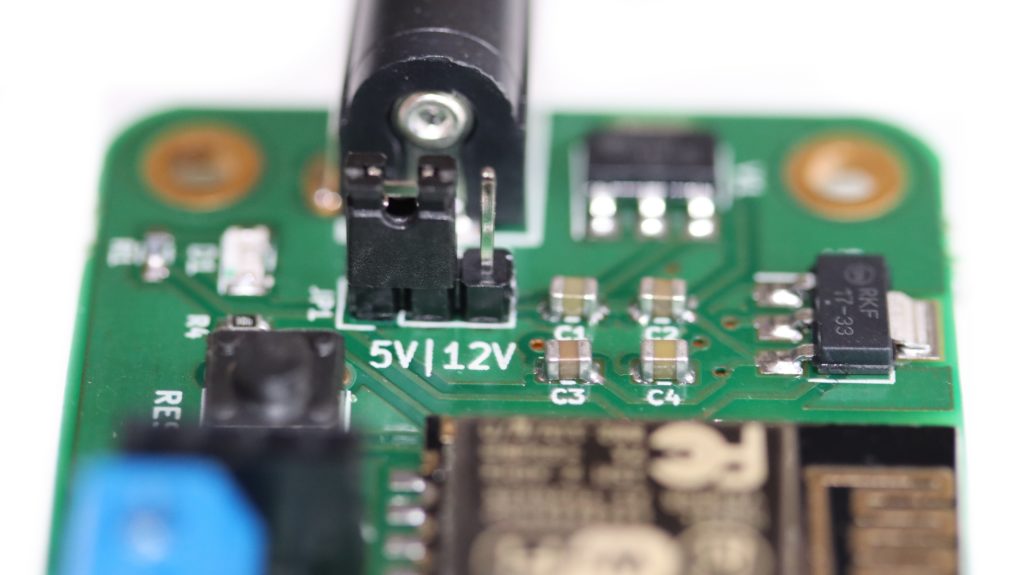
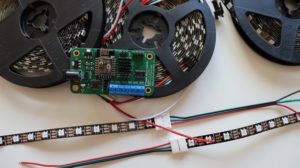
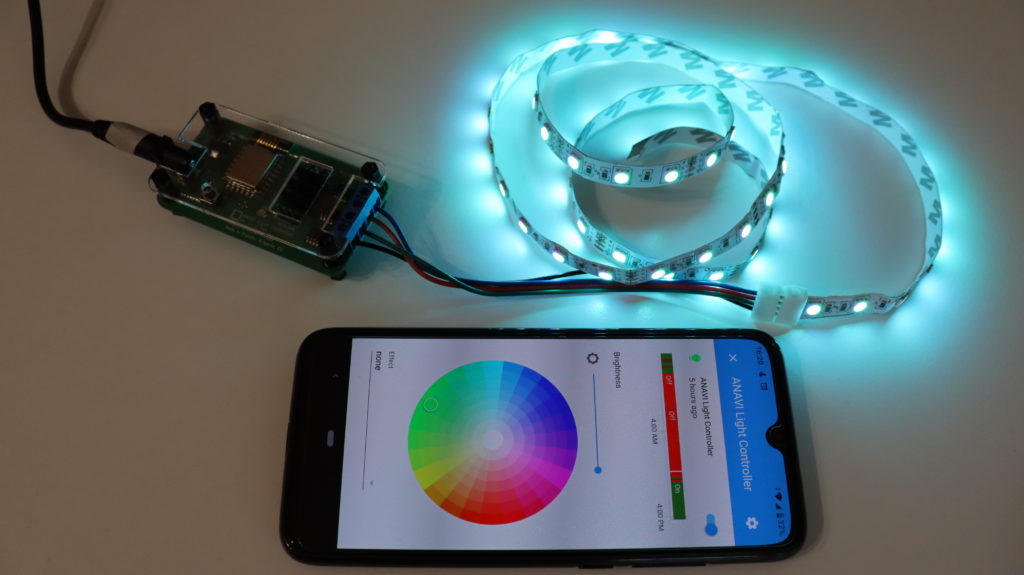
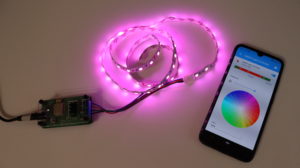
ANAVI Miracle Controller is an ESP8266-powered, open source, Wi-Fi dev board to control two 5 V or two 12 V LED strips. To get all new features it is highly recommended to run the latest stable version of the free and open source firmware for ANAVI Miracle Controller. We have already explained how to do it with Arduino IDE. However, there is an easier way to flash the latest version with esptool!

Esptool is a free and open source ESP8266 and ESP32 serial bootloader command-line utility. The source code is available at GitHub under GPLv2 license. It is written in Python therefore it is universal and runs on Microsoft Windows, Mac OS and any GNU/Linux distribution (Ubuntu, Debian, Linux Mint, Fedora, CentOS, OpenSUSE, etc). We have already cover it for our other projects in a previous blog post. Today we will focus on ANAVI Miracle Controller although in general the steps are the same.
Installation
As of today, esptool works fine with Python 2.7 or Python 3. Python 2 has been deprecated since January 1, 2020 therefore it is recommended to use esptool with Python 3.
The easiest way to install the latest stable version of esptool is from pypi via pip. The pre-requirements are to have Python and pip installed. Open a terminal and execute the following command:
pip install esptoolUsing write_flash argument esptool flashes pre-compiled binary to devices with ESP8266 or ESP32. Here are the exact steps:
- Download the latest stable binary firmware for ANAVI Miracle Controller from GitHub
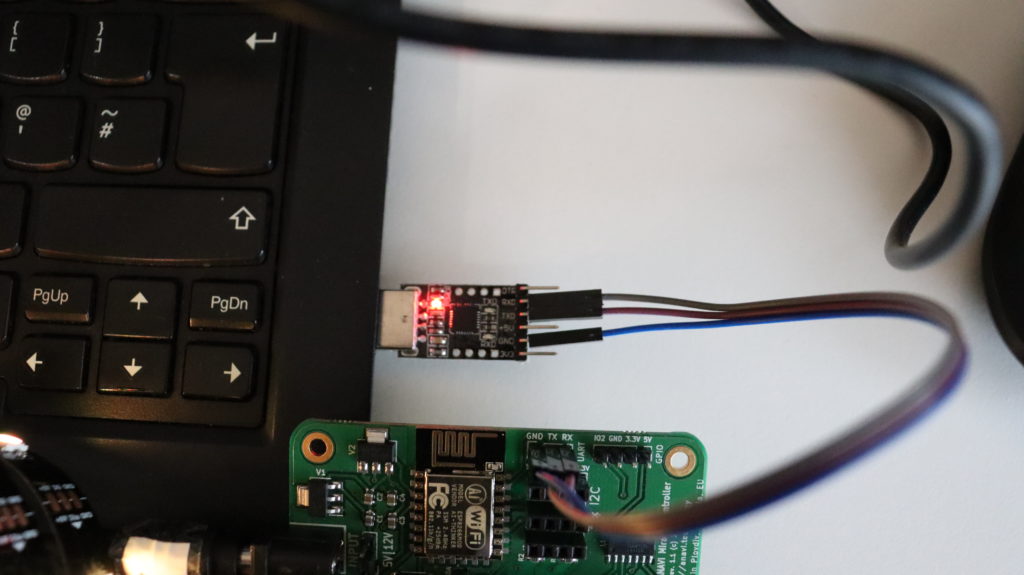
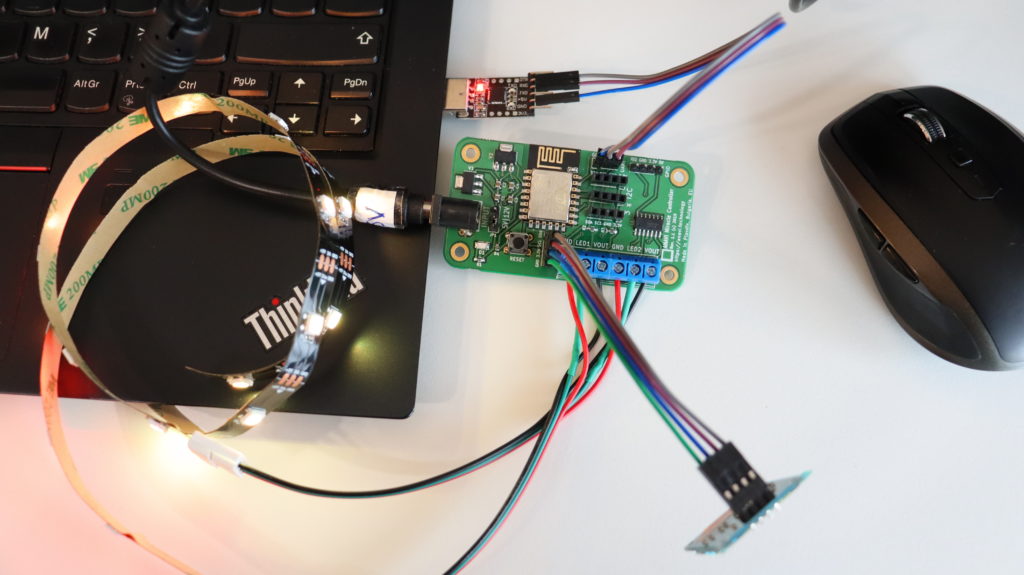
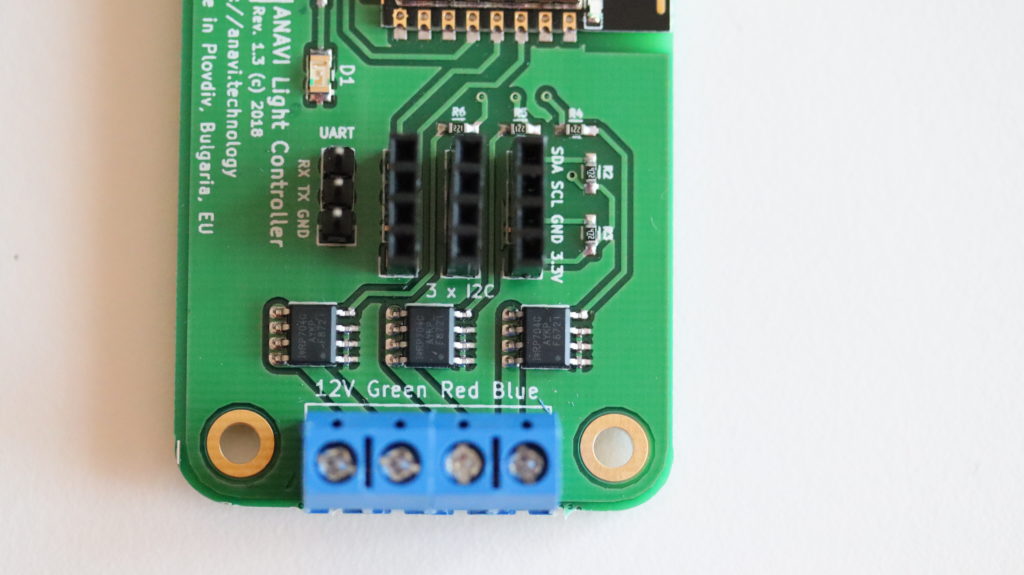
- Connect ANAVI Miracle Controller to a computer using UART to USB debug cable: RX to TX, TX to RX and GND to GND
- Turn on the device in boot mode. Press and hold the RESET button and plug the power supply
- In a terminal on your computer execute the following command:
esptool.py --port /dev/ttyUSB0 --baud 460800 write_flash --flash_size=detect 0 anavi-miracle-controller-sw-100-20200527.bin
NOTE: As of the moment the latest stable version is anavi-miracle-controller-sw-100-20200527.bin. Over the time other version may be released so please make sure you are using the latest and replace the file name accordingly in the command above!
Pretty much the same approach can be used to flash the pre-compiled firmware to any of our dev boards with ESP8266, like ANAVI Fume Extractor, ANAVI Thermometer, ANAVI Gas Detector, etc. Apart from flashing firmware to ESP8266 and ESP32 devices, esptool has a lot of other advanced features which I encourage you to explore. Have a look at the video tutorial and run esptool.py -h to learn more.
Last but not least, huge thanks to the contributors of the open source firmware of ANAVI Miracle Controller: Per Cederqvist, CODeRUS and Daniel Landau. Community always must be priority for any open source project and it is great to see more people involved with ANAVI Miracle Controller!