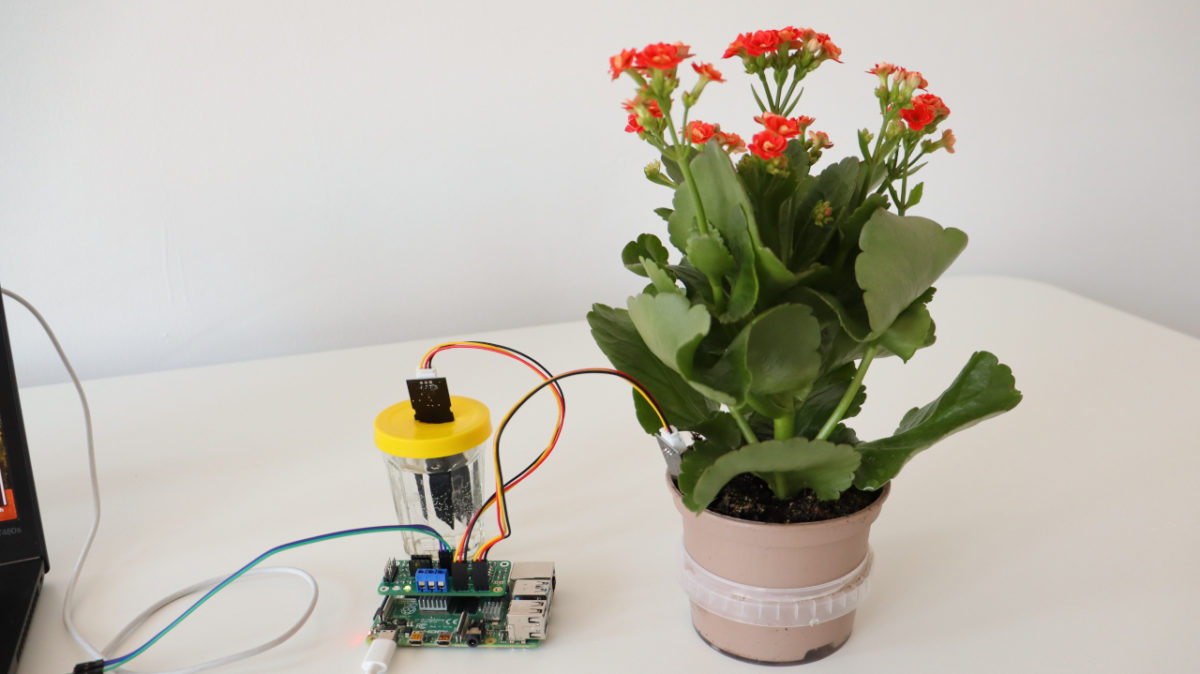
Raspberry Pi is a famous series of small single-board computers (SBCs) developed in the United Kingdom by the Raspberry Pi Foundation in cooperation with Broadcom. This is a step by step tutorial for using Raspberry Pi and capacitive soil moisture sensor with Microchip MCP3002 analog-to-digital converter (ADC) and a Python script for detecting the soil moisture in percentage.
Capacitive Soil Moisture Sensor
Capacitive Soil Moisture Sensor v1.2 and v2.0 measures the volumetric content of water inside the soil and retrieves the moisture level by capacitive sensing rather than resistive sensing like other sensors. The benefit of using a capacitive soil moisture sensor is the lack of corrosion and longer lifespan.
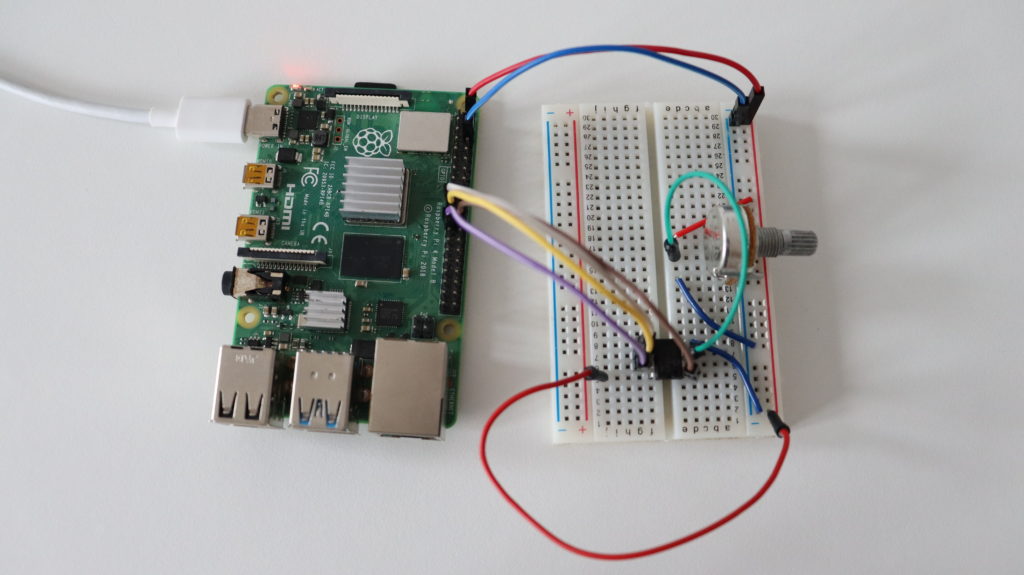
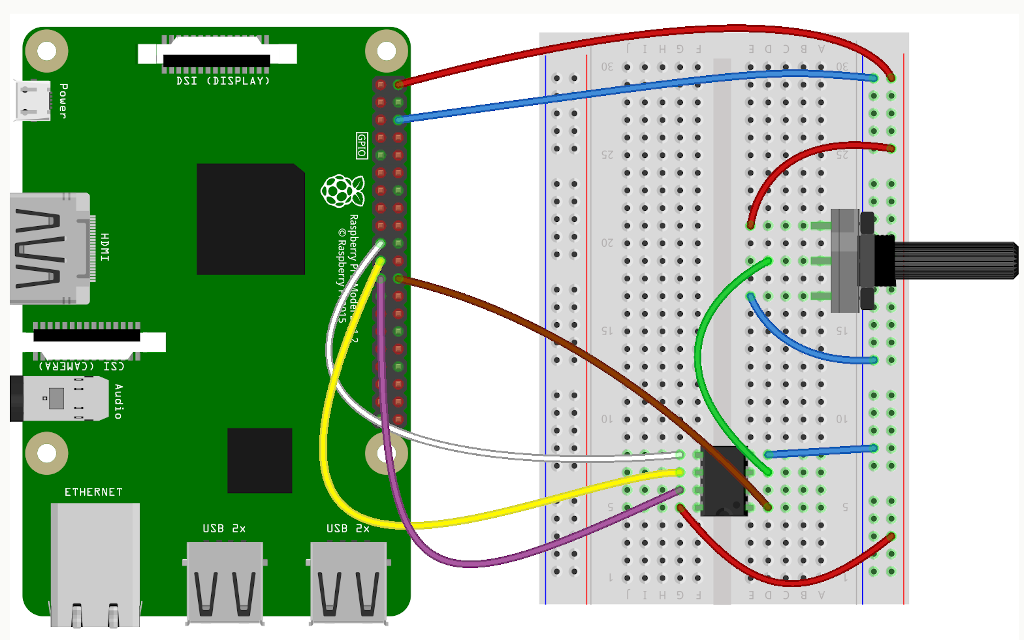
Wiring
Unlike Raspberry Pi Pico, the recently released microcontroller, all versions and models of the Raspberry Pi single-board computers do not include an analog-to-digital converter (ADC). This tutorial explains how to use Microchip MCP3002 with Raspberry Pi.
Microchip MCP3002 is a 10-bit resolution, dual channel ADC with SPI hardware bus. It can be connected to any Raspberry Pi single board computer version and model, including Raspberry Pi 4 and Raspberry Pi 0. However, this tutorial is not for Raspberry Pi Pico microcontroller. For more details about the wiring of Microchip MCP3002 a Raspberry Pi single-board computer have a look at my previous tutorial.
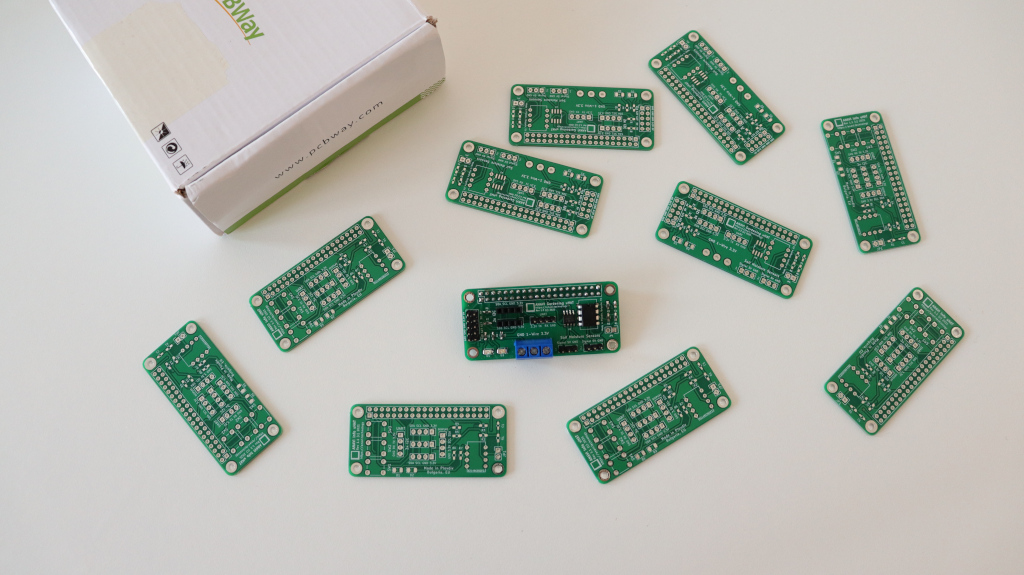
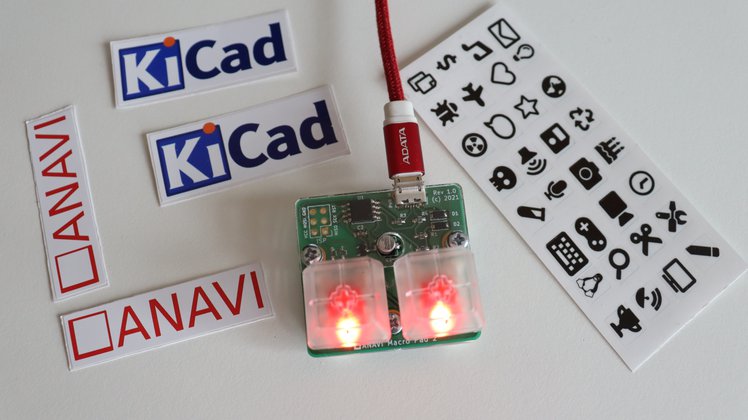
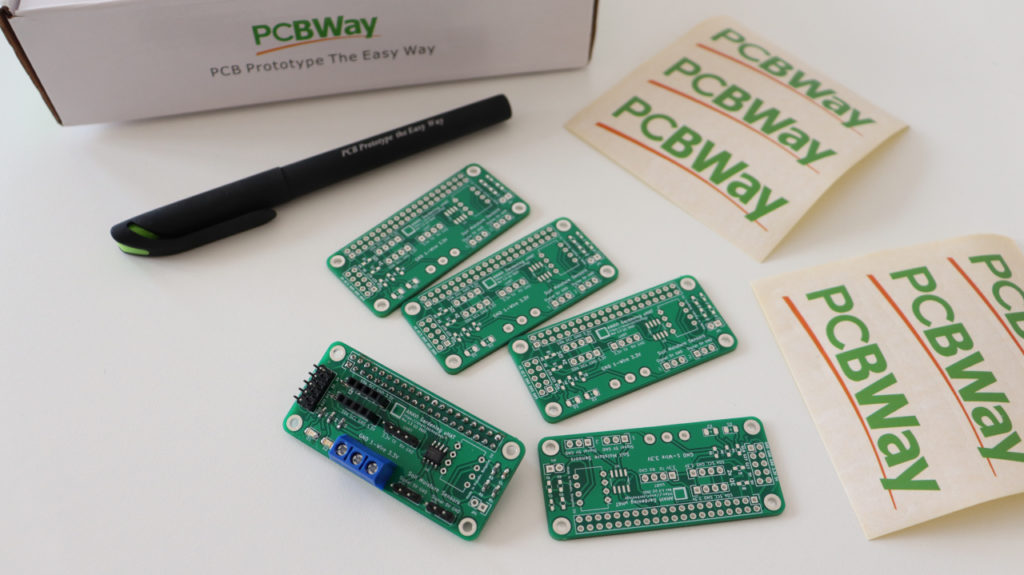
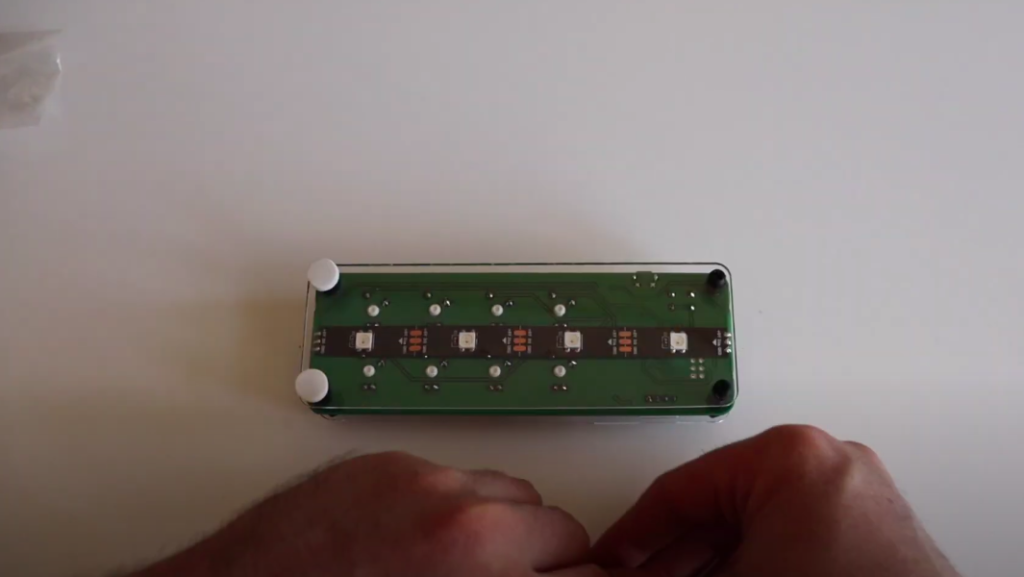
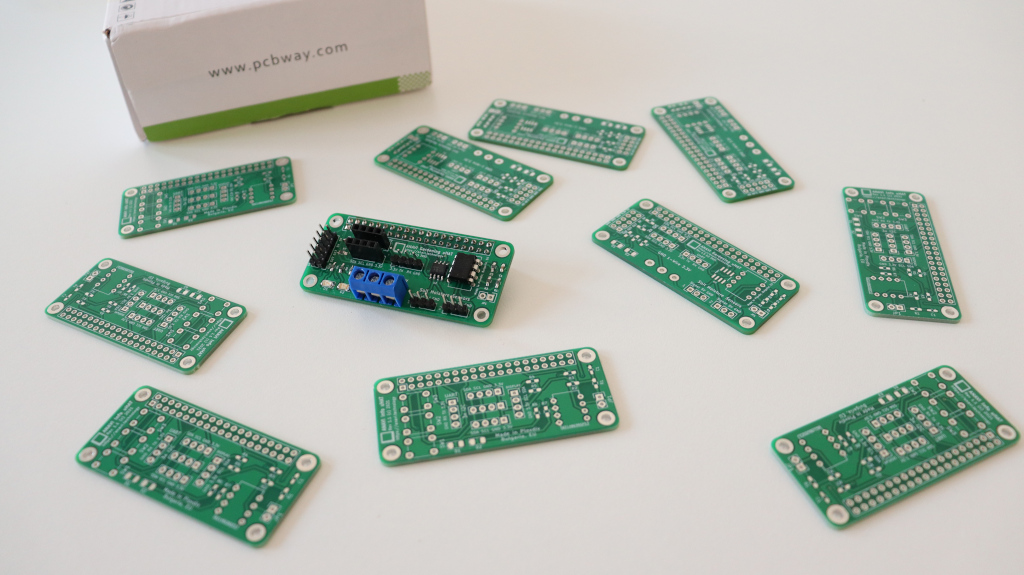
Alternatively, the easier option without a breadboard an a bunch of cables, is to use a dedicated Raspberry Pi add-on board with built-in ADC. Using the free and open source tool KiCad we designed ANAVI Gardening uHAT exactly for this purpose. It has dedicated pins for connecting a couple of capacitive soil moisture sensors. The prototype has been created thanks to PCBWay. This is a lead-free prototype printed circuit board with 2 layers, green solder mask and white silkscreen. PCBway offers a huge variety of colors and even flexible PCB.
Software
Flash Raspberry Pi OS, the official Debian based GNU Linux distribution by the Raspberry Pi, on microSD card and boot it. On the Raspberry Pi, open a terminal and using the raspi-config tool enable SPI as shown in the video. Reboot the Raspberry Pi.
Python3 script for reading data from a couple of capacitive soil moisture sensors through Microchip MCP3002 ADC is available at the anavi-examples repository in GitHub. The script relies on popular Python libraries spidev and RPi.GPIO. Open a terminal and run the following commands to clone anavi-examples and run the script:
git clone https://github.com/AnaviTechnology/anavi-examples.git
cd anavi-examples/anavi-gardening-uhat/soil-moistore-sensors/python/
python3 soil-moistore-sensors.py