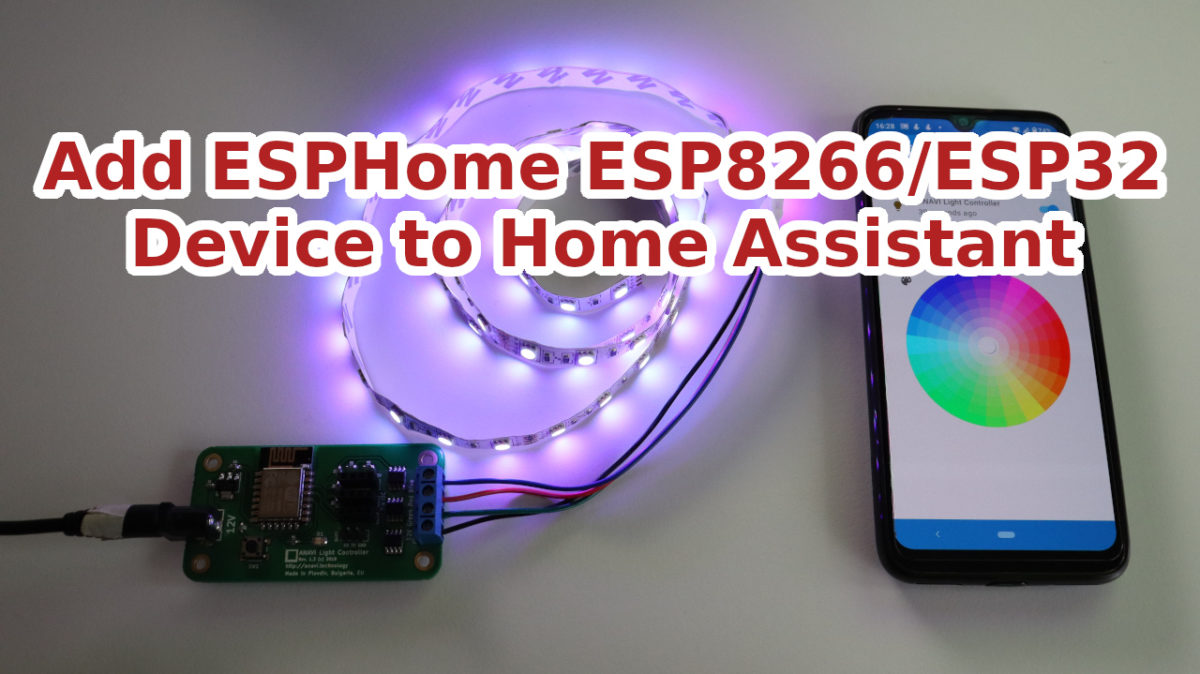
ESPHome is an open source firmware for your ESP8266 or ESP32 devices with simple and yet powerful configuration files that allows you to control them remotely through the open source IoT platform Home Assistant and/or other home automation systems.
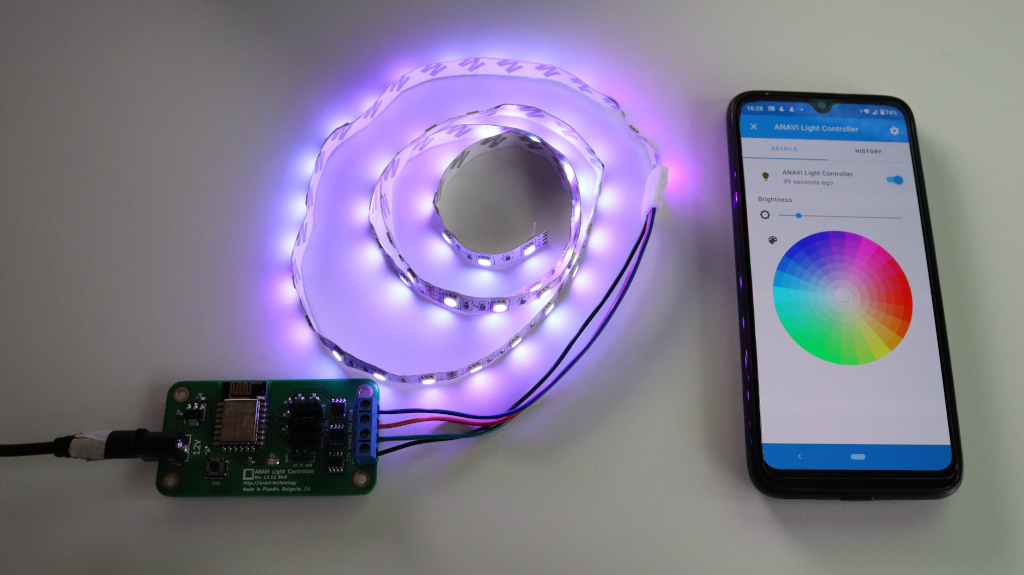
In this tutorial you will learn how to add a device with ESPHome in Home Assistant. The open source hardware ANAVI Light Controller with 12V RGB LED strip is used for the demonstration.
Upload ESPHome
You can either do this through the command line or alternatively, you can do it through Home Assistant ESPHome add-on.
Depending on the device you may need to edit an existing ESPHome configuration file or to create new from scratch. An example for ANAVI Light Controller is available at GitHub. Remember to set your WiFi credentials and device password in it as well as to enable the API. After flashing ESPHome to the device it is important to write down the address and the port. Both are printed in the serial output after booting the device.
After flashing ESPHome to the device it is important to write down the address and the port. Both are printed in the serial output after booting the device.
Home Assistant Integration
Open the web interface of Home Assistant. From the left side menu select Configuration and after that click Integrations. Click the button in the right lower corner with label Add Integration. From the menu select ESPHome. Enter connection settings for your ESPHome device. Set the address for host and port both of which were obtained on the first step. Click SUBMIT. Enter the password from the ESPHome configuration file. Click FINISH to complete adding the device.
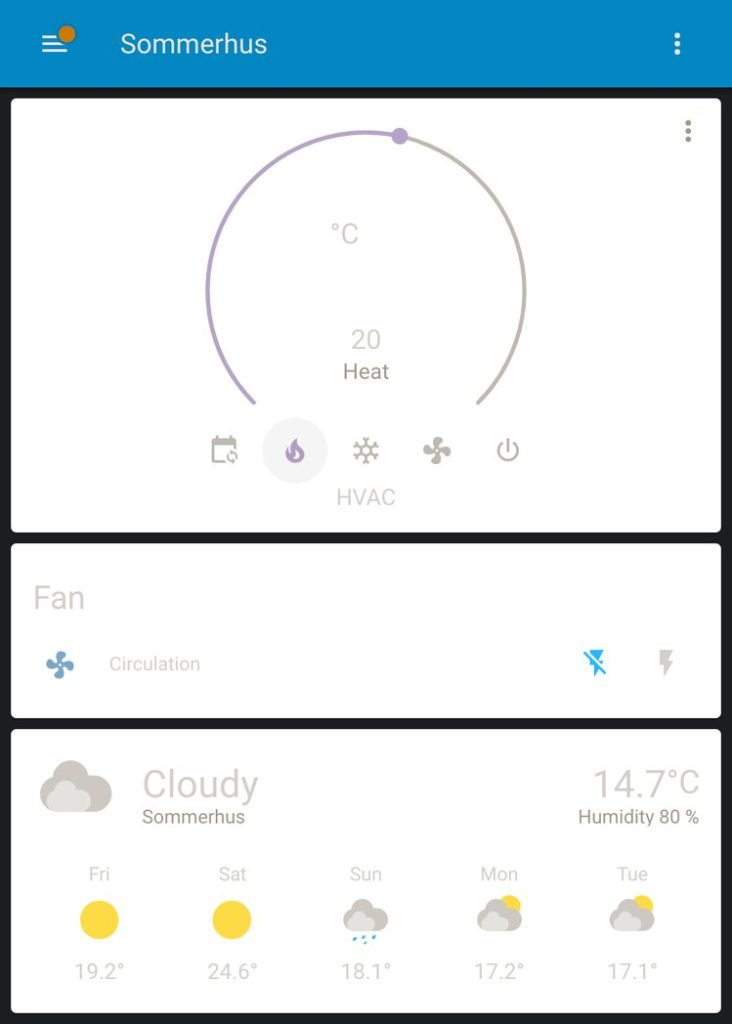
After successfully adding the ESPHome device to Home Assistant it will appear in the overview section. For more details have a look at the video.