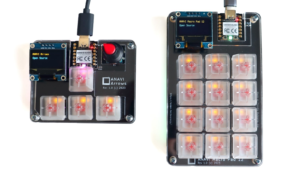
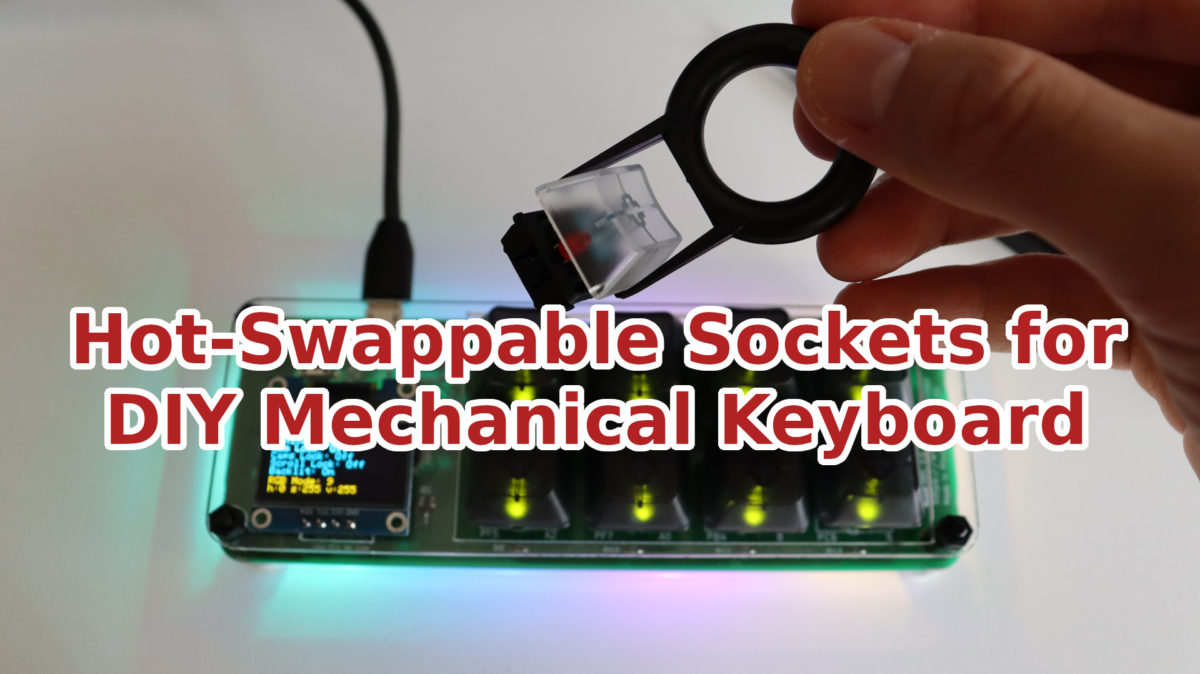
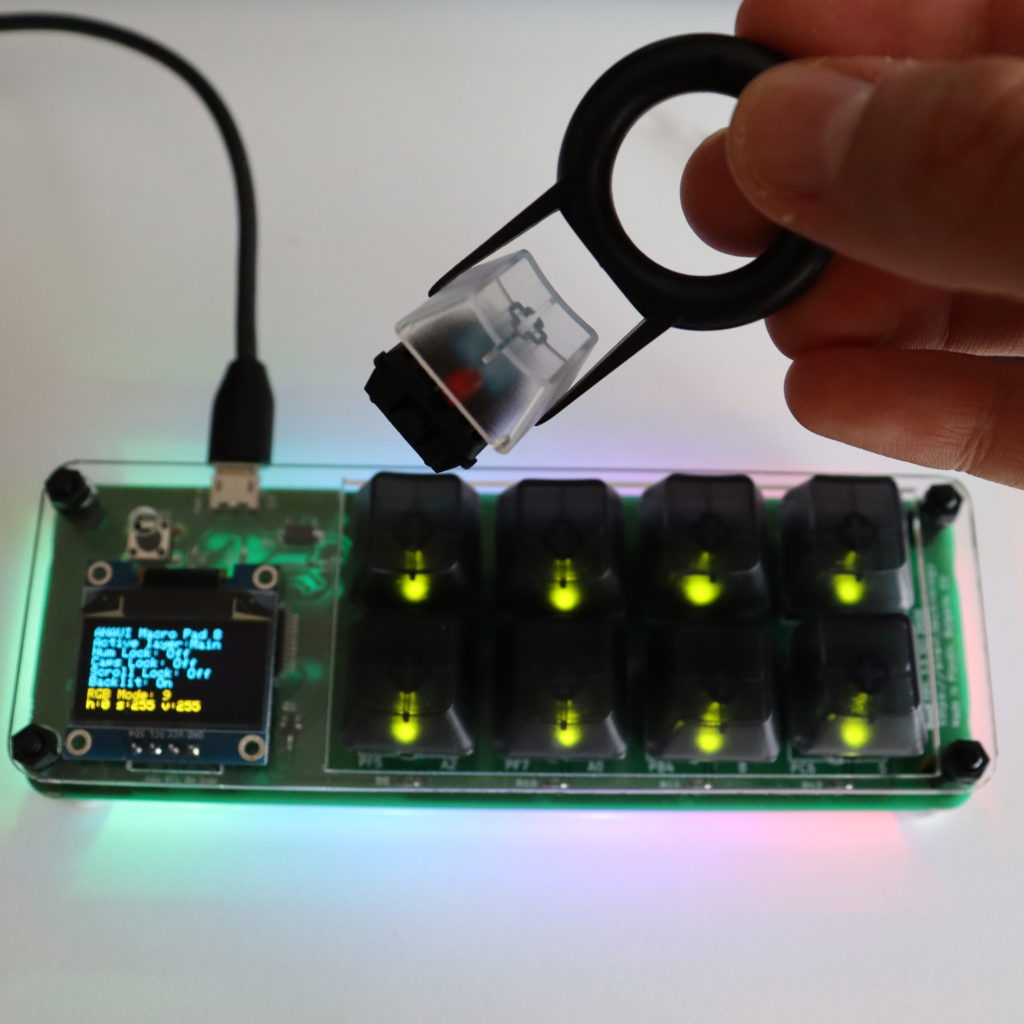
A standout feature of the ANAVI Macro Pad 12 and ANAVI Arrows is their seamless switch swapping capability, allowing you to tailor your typing experience on the go! With utmost ease and no need for soldering, thanks to the convenient hot-swappable sockets integrated into the printed circuit board, anyone can effortlessly remove a switch from its socket and replace it with another compatible switch.
This revolutionary feature provides several benefits to keyboard enthusiasts and users who like to customize their typing experience. It allows for easy experimentation with different switch types, enabling users to find the switch that suits their preferences best. It also simplifies switch replacement, making it more convenient to replace a faulty switch or try out different switches without needing specialized soldering equipment or skills.

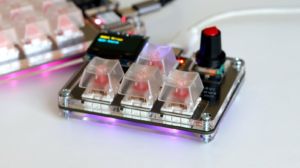
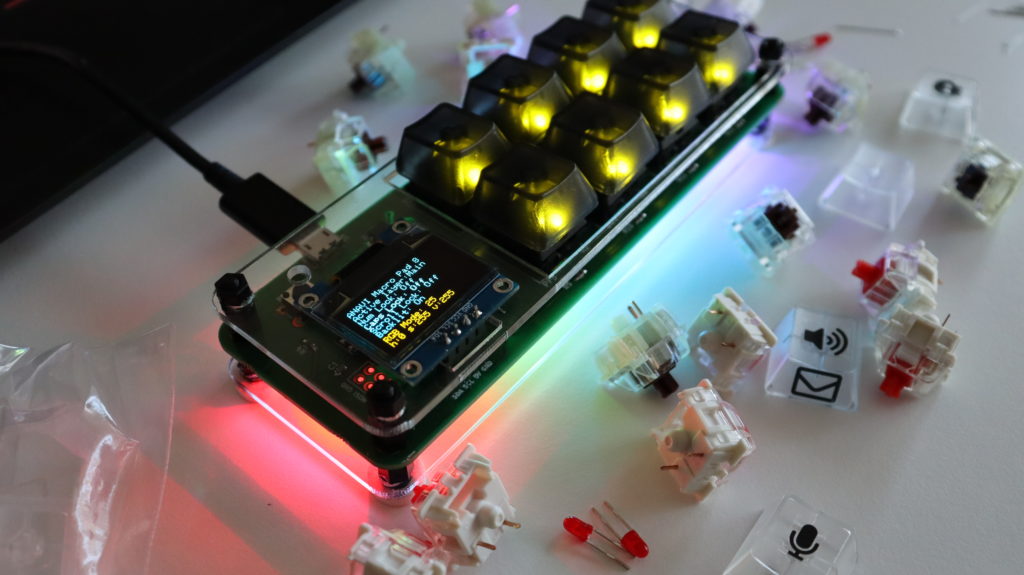
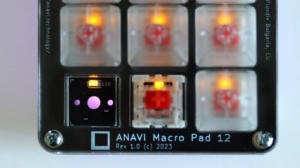
Basically the whole key is like a sandwich: hot-swappable socket, mechanical switch and a keycap. All kits with ANAVI Macro Pad 12 and ANAVI Arrows include Gateron red mechanical switches. However thanks to the hot-swappable sockets you can experiment with various options of clicky, tactile and linear Cherry MX compatible mechanical switches from different brands with various tech specs and colors: red, blue, brown, green, silver, etc.
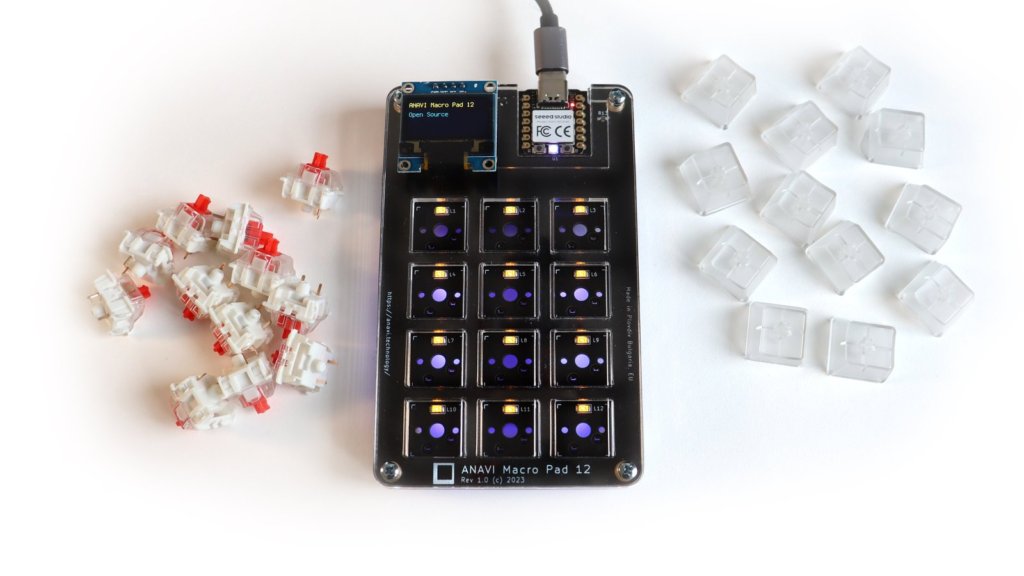
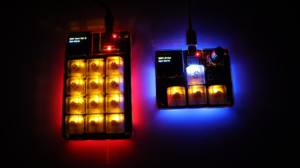
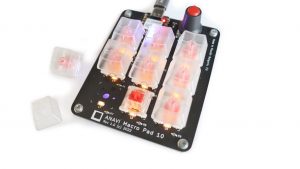
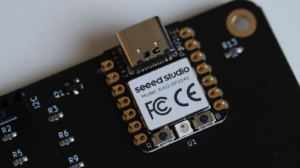
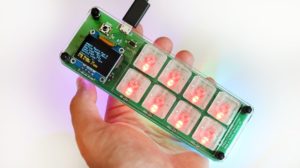
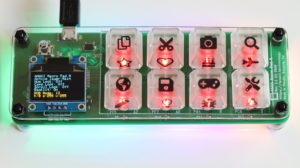
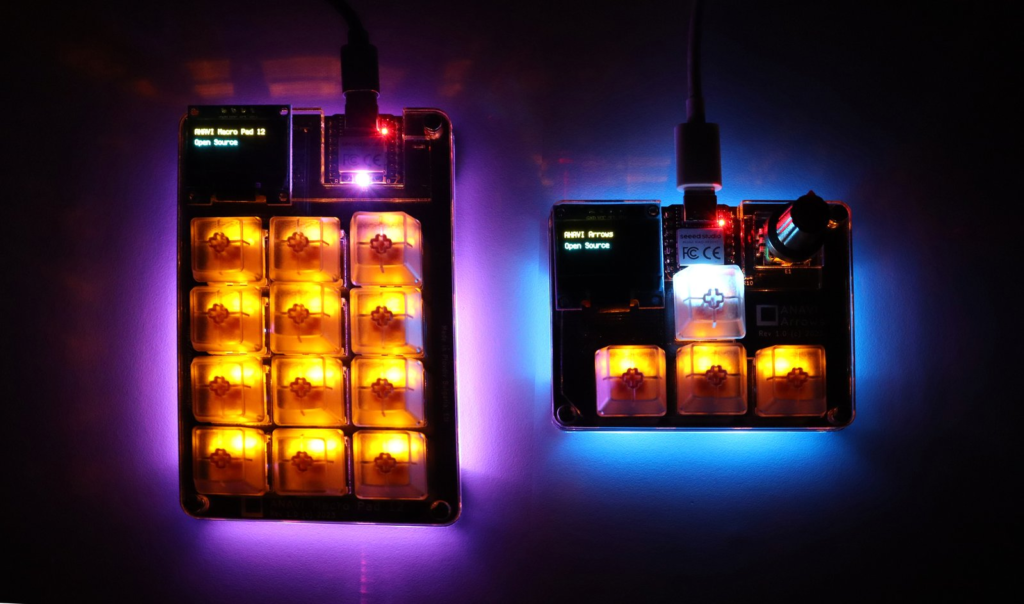
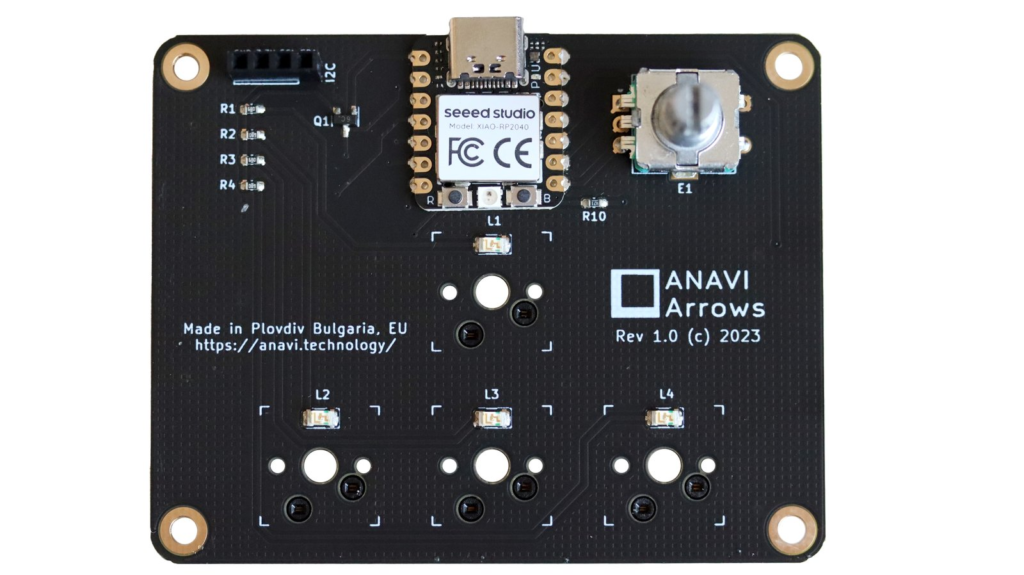
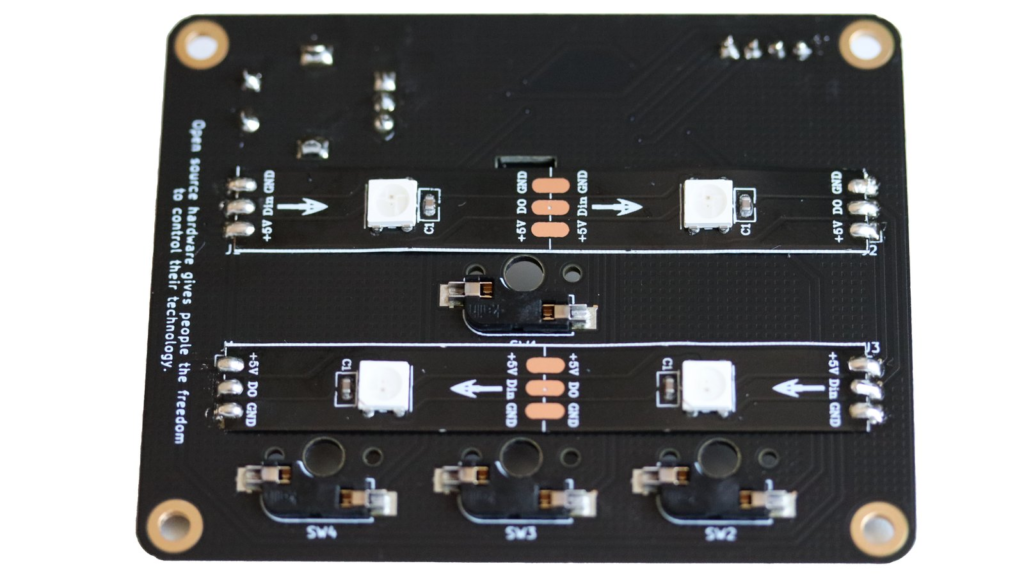
The printed circuit boards of ANAVI Macro Pad 12 and ANAVI Arrows are designed with Kailh hot-swap sockets on the back. These sockets are for surface-mount technology (SMT) assembly. To provide backlight on the front of the printed circuit boards there is a separate LED under each mechanical switch. We decided to make both of these keyboards with north-facing switches, aka the LED on each key is on the top (north) part of the switch. Furthermore, there are WS2812B addressable LEDs on the back. All these LEDs combined with the translucent keycaps included in the kit create awesome light effects when the keyboard is turned on. The open source firmware KMK allows fine tuning of the lights.
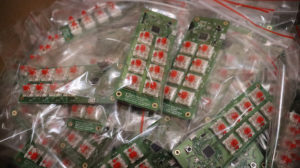
Although, as you can see in the video it is possible to hand-solder the sockets, this is appropriate only for a prototype. For manufacturing the keyboards ordered from the crowdfunding campaign we have hired a trusted local factory and they will do a professional lead-free assembly of all components. Using these hot-swappable sockets and SMT LEDs there is no need of manual hand soldering of any mechanical switches. This significantly simplifies and speeds up the manufacturing process. The end result is better quality and lower price.
Our crowdfunding campaign has a very modest goal of just $1. It will help us make the keyboards in my hometown Plovdiv, Bulgaria, EU thanks to the trusted supply chain we have established throughout the years. Order ANAVI Macro Pad 12 or ANAVI Arrows to get a cool mechanical keyboard and help us bring these entirely open source hardware projects to life!