Exploring I2C buses on ANAVI Info uHAT

I2C stands for Inter-Integrated Circuit, pronounced eye-squared-C, and alternatively known as IIC. It is a synchronous, multi-controller/multi-target (controller/target), packet switched, single-ended, serial communication bus. This protocol is suitable for devices wired at short distances, no more than 2-3m. We use I2C in pretty much all our open source products: Internet of Things, mechanical keyboards and Raspberry Pi HATs.

Anavi Info uHAT
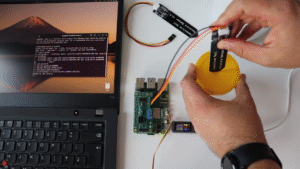
I2C sensor modules attached to ANAVI Info uHAT

I2C was originally developed in 1982 by Philips. While that makes it 40 years old, it is still a very convenient and widely used bus. There are many I2C sensors and peripherals. It is in pretty much every smartphone, embedded electronics, microcontroller, personal computer and of course Raspberry Pi.

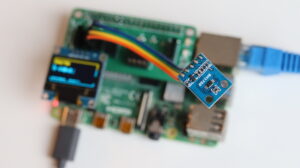
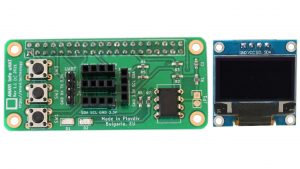
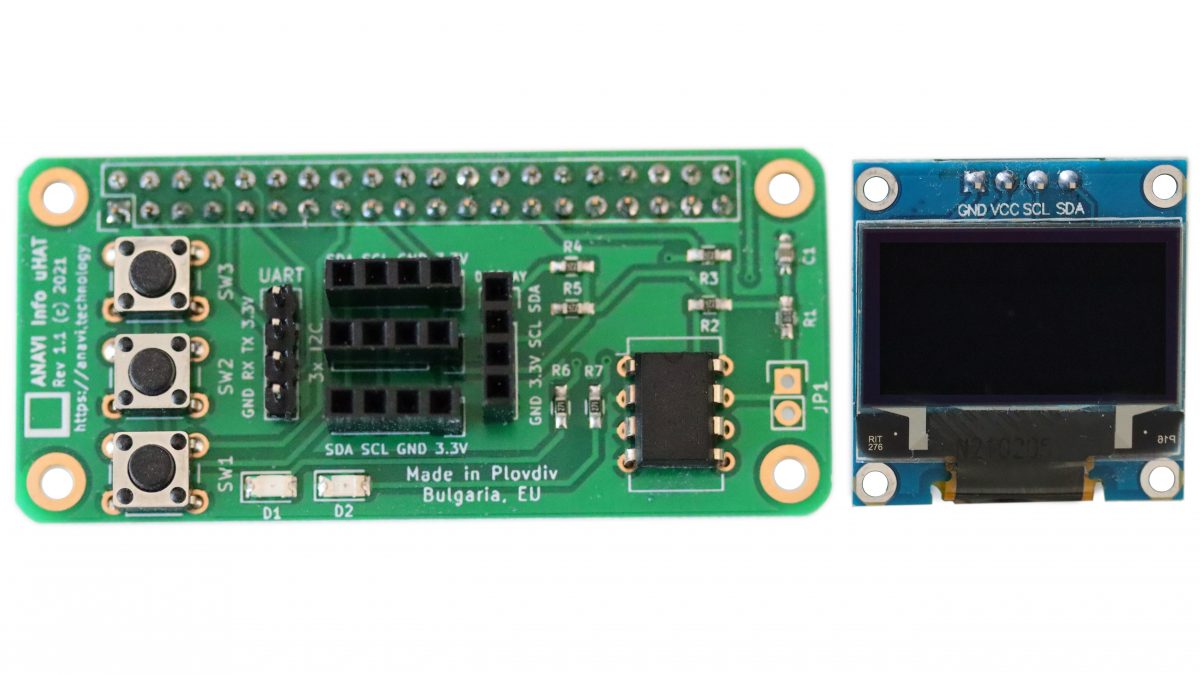
ANAVI Info uHAT with 4 slots for I2C sensors and mini OLED dsiplay

Actually, since the introduction of the famous 40-pin header in 2014, Raspberry Pi single board computers have not one but two I2C buses! We use them both on ANAVI Info uHAT and our other HATs. Th first I2C bus is on pins 3 and 5. On the ANAVI Info uHAT, it is used for the three I2C slots for sensors and the 4th dedicated slot for the mini OLED display.

The I2C bus on ANAVI Info uHAT in KiCad’s Schematic Layout Editor.

The second I2C bus is on pins 27 and 28 of the Raspberry Pi and is reserved exclusively for attaching an ID EEPROM. The ID EEPROM contains a software description of the hardware so the operating system on your Raspberry Pi can automatically identify the add-on board.

The EEPROM on ANAVI Info uHAT attached on the 2nd I2C bus

The I2C bus consists of two signals: SDA (Serial Data) is a data signal, SCL (Serial Clock) is a clock signal. I2C modules also need power, so the dedicated I2C connectors on the ANAVI Info uHAT and our other open source hardware provide two additional pins for VCC and GND. Typically, the VCC for the I2C connectors on our add-on boards for Raspberry Pi are 3.3V.

The I2C bus drivers are “open drain”, which means they can only pull the corresponding signal line at low level. They cannot drive it high. To restore the signal to high when no device is asserting it low, a pull-up resistor has to be added to each signal line. For example, on the ANAVI Info uHAT, we have 4.7K pull-up resistors R4 and R5 connected to SDA and SCL.

Resistor selection varies depending on the devices attached to the bus. In some specific use cases, further adjustment of the resistance value might be required. For systems with lots of devices or longer wires, smaller resistors are better.

How to Enable I2C on Raspberry Pi OS

Raspberry Pi OS, previously known as Raspbian, is the default and recommended Linux distribution for all models and versions of the Raspberry Pi single board computer. By default, I2C is not enabled. There are several ways to enable it, but probably the easiest is using the command-line tool raspi-config to perform few basic commands:

  • Open a terminal or login remotely via SSH to your Raspberry Pi and type in the following command: sudo raspi-config
  • Select Interfacing Options > I2C and enable it
  • Reboot the board

More details are available in the user’s manual for the ANAVI Info uHAT.

I2C Addresses

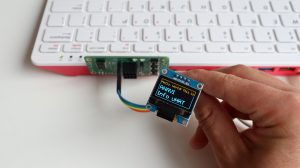
Each I2C device must have a unique address. The I2C reference design has a 7-bit address space, although rarely it might be used with a 10-bit extension. The 7-bit addresses range from 0 to 127 (0 to 0x7F hexadecimal). This is a limitation because it is not possible to have two I2C devices with the same address on the same I2C bus. For example, the I2C address on the mini OLED display included in all ANAVI Info uHAT kits is 0x3C. From the software side, this address is used in the example Python 3 script to access the display.

Python3 script controlling the mini OLED display over I2C on ANAVI Info uHAT

For Linux distributions, including Raspberry Pi OS, there is a package with a heterogeneous set of I2C tools called i2c-tools. To install it on Raspberry Pi OS, open a terminal and execute: sudo apt install -y i2c-tools. Once you have it installed, you can list attached I2C devices by their addresses with i2cdetect. For example, if the HTU21 temperature and humidity sensor module is attached to the Raspberry Pi, the output will be:

pi@raspberrypi:~ $ sudo i2cdetect -y 1
     0  1  2  3  4  5  6  7  8  9  a  b  c  d  e  f
00:                         -- -- -- -- -- -- -- --
10: -- -- -- -- -- -- -- -- -- -- -- -- -- -- -- --
20: -- -- -- -- -- -- -- -- -- -- -- -- -- -- -- --
30: -- -- -- -- -- -- -- -- -- -- -- -- -- -- -- --
40: 40 -- -- -- -- -- -- -- -- -- -- -- -- -- -- --
50: -- -- -- -- -- -- -- -- -- -- -- -- -- -- -- --
60: -- -- -- -- -- -- -- -- -- -- -- -- -- -- -- --
70: -- -- -- -- -- -- -- --

I2C Sensors and Peripherals

I2C Sensors and Peripherals

ANAVI Info uHAT officially supports the following I2C devices:

  • Mini OLED SSD1306 0.96″ display
  • HTU21D sensor for temperature and humidity
  • BH1750 sensor for light
  • BMP180 sensor for barometric pressure

Some of the other popular I2C sensor modules in maker community include:

  • APDS-9960 sensor for RGB color and gesture detection
  • BME680 for temperature, humidity, pressure and gas sensor
  • MCP9808 for temperature
  • MPL115A2 for barometric pressure
  • ADT7410 for temperature
  • MPU-6050 for triple axis acccelerometer and gyroscope

Which is your favorite I2C device? Join the discussion and let us know on Twitter!

You may also like

ANAVI Info uHAT is a Certified Open Source Hardware

ANAVI Info uHAT has now officially been certified as open source hardware by the Open Source Hardware Association (OSHWA). OSHWA, a non-profit entity registered in the US, organizes the annual Open Hardware Summit and also maintains the Certified Projects Directory.

ANAVI Info uHAT with mini OLED I2C Display

OSHWA runs the certification program ensures that the definition of “open source hardware” used by a specific project matches the community’s definition of open source hardware. They provide a unique indentification (UID) for each version of the certified hardware based on the country code and a serial number. For example, the UID for ANAVI Info uHAT is BG000081. The prefix BG is the country code for Bulgaria, because the Info uHAT is made in my hometown of Plovdiv. The serial numbers show that now there are 81 open source hardware devices from Bulgaria.

OSHWA certified ANAVI Info uHAT with UID BG000081

As a fully open source project, we also use only free and open source software has been used to design the printed circuit board, the stickers, the source code examples, and to write the documentation.

ANAVI Info uHAT printed circuit board in KiCad

The crowdfunding campaign at Crowd Supply is still going on and we hope more people will jump in and order ANAVI Info uHAT.

You may also like

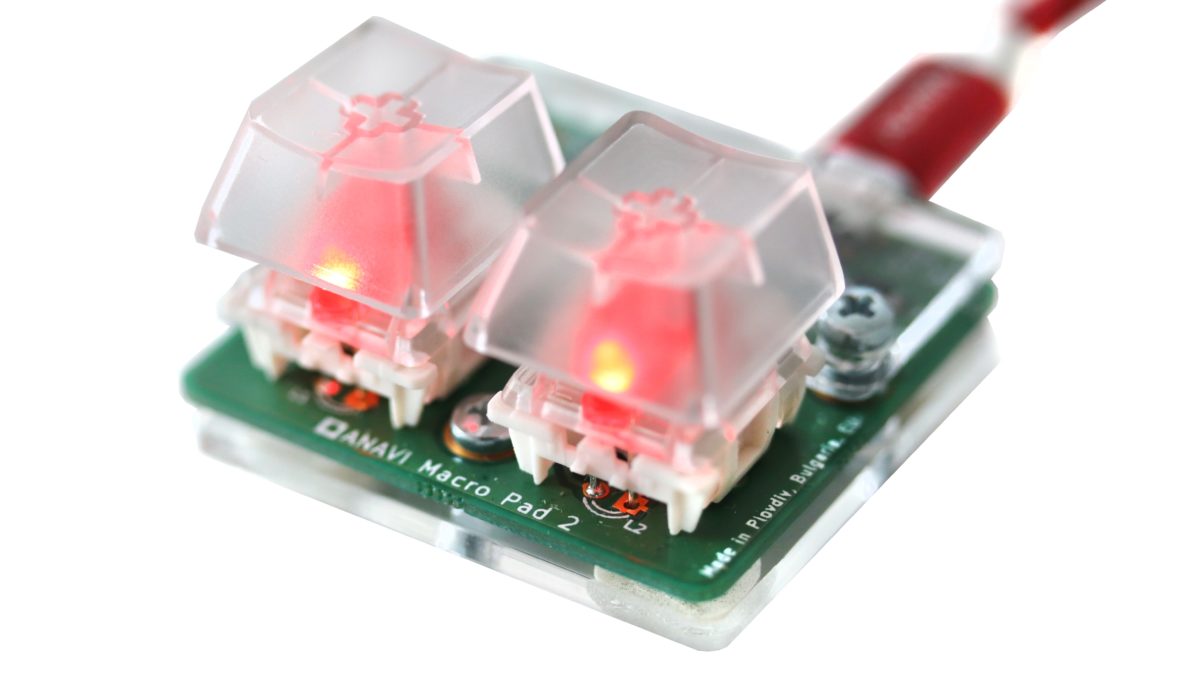
ANAVI Macro Pad 2 – a Tiny 2% Mechanical Keyboard

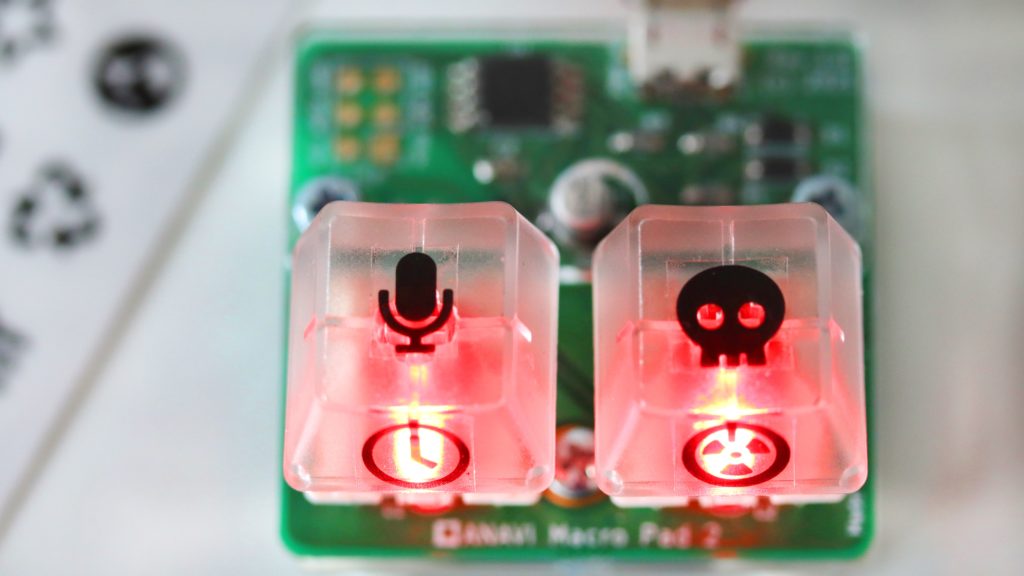
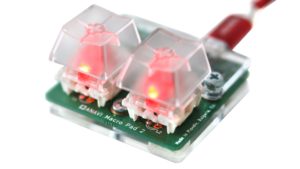
ANAVI Macro Pad 2

Meet ANAVI Macro Pad 2! It is an open source, programmable two-key mechanical keypad with backlighting. Each of the keys on ANAVI Macro Pad 2 can be reprogrammed for use as a macro or even as a dedicated shortcut key, making it perfect for a number of applications across various industries.
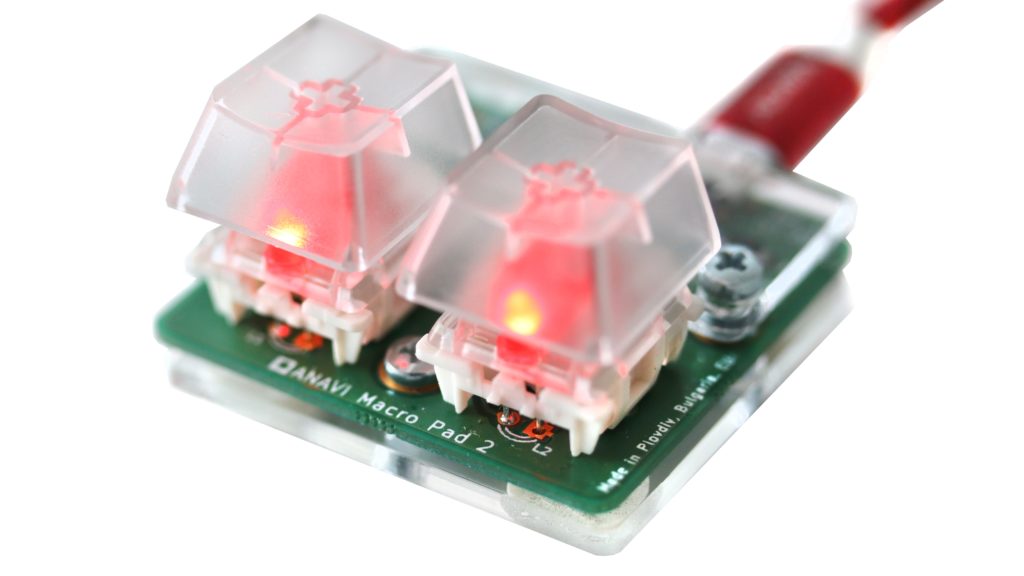
ANAVI Macro Pad 2

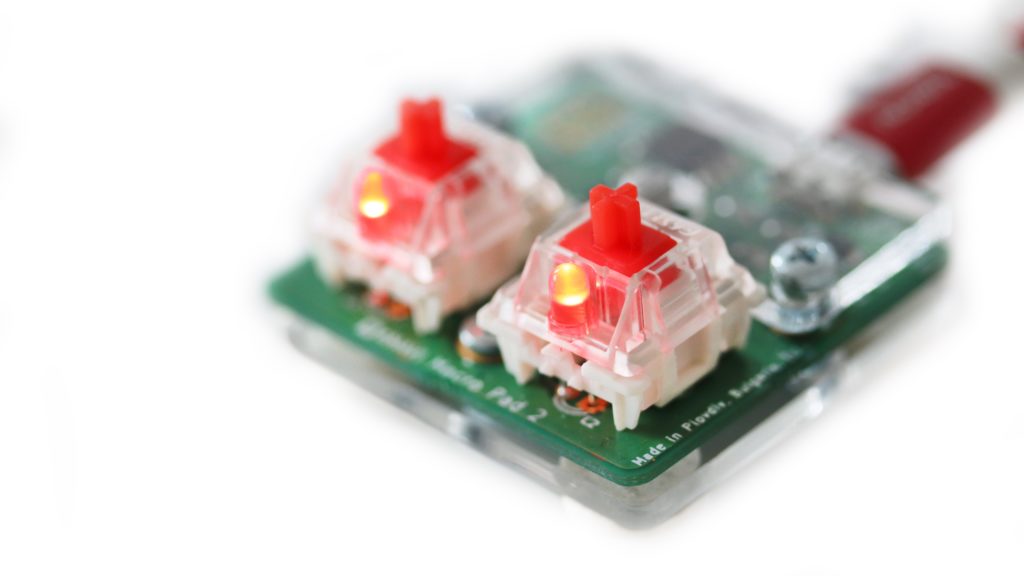
ANAVI Macro Pad 2 runs on a Microchip ATtiny85, which is a reliable, low-cost, 8-bit AVR RISC-based microcontroller. It has a gold-plated printed circuit board, Gateron red mechanical switches, 3mm red LEDs and translucent keycaps.

Gateron red mechanical switches with 3mm LEDs on ANAVI Macro Pad 2

Only free and open source software tools like KiCad, OpenSCAD, and Inkscape were used to design ANAVI Macro Pad 2. Quantum Mechanical Keyboard (QMK) with V-USB is the default open source firmware. Source code and schematics are available on GitHub.

ANAVI Macro Pad 2 with stickers on the translucent keycaps of the mechanical switches

We kicked off a crowdfunding campaign for ANAVI Macro Pad 2 at Crowd Supply. We have a stable product and we are ready to proceed with low-volume manufacturing. We hope you help us bring this entirely open source project to life by ordering a developer or a maker kit!

You may also like

ANAVI Smiley Add-on Board for Raspberry Pi

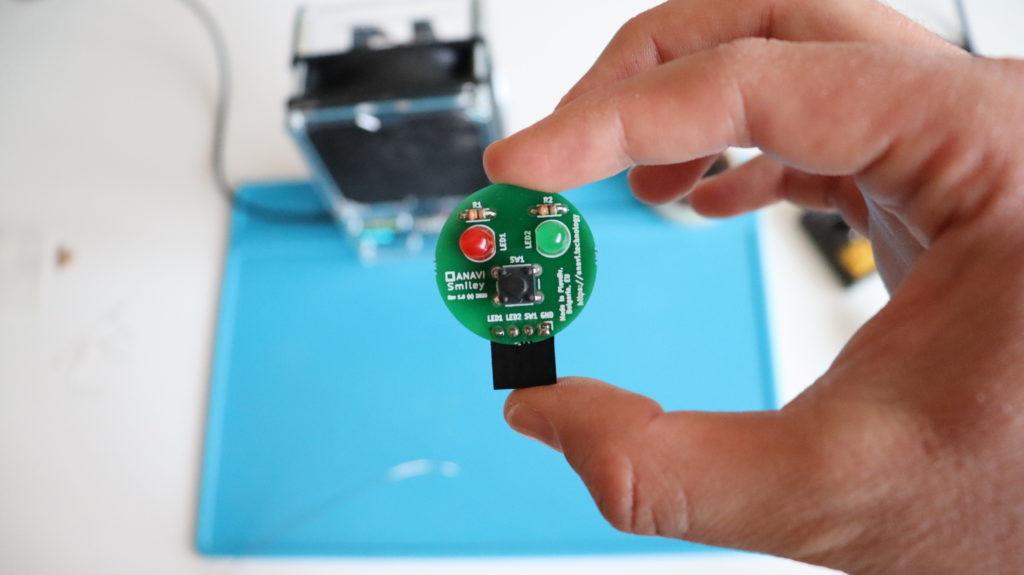
ANAVI Smiley is a simple open source hardware add-on board for Raspberry Pi. It is compatible with any Raspberry Pi model or version. ANAVI Smiley has educational purposes: it is useful for learning how to solder and how to program. The simplicity of the board makes the kit appropriate for beginner. Example application written in Python shows how to use it.

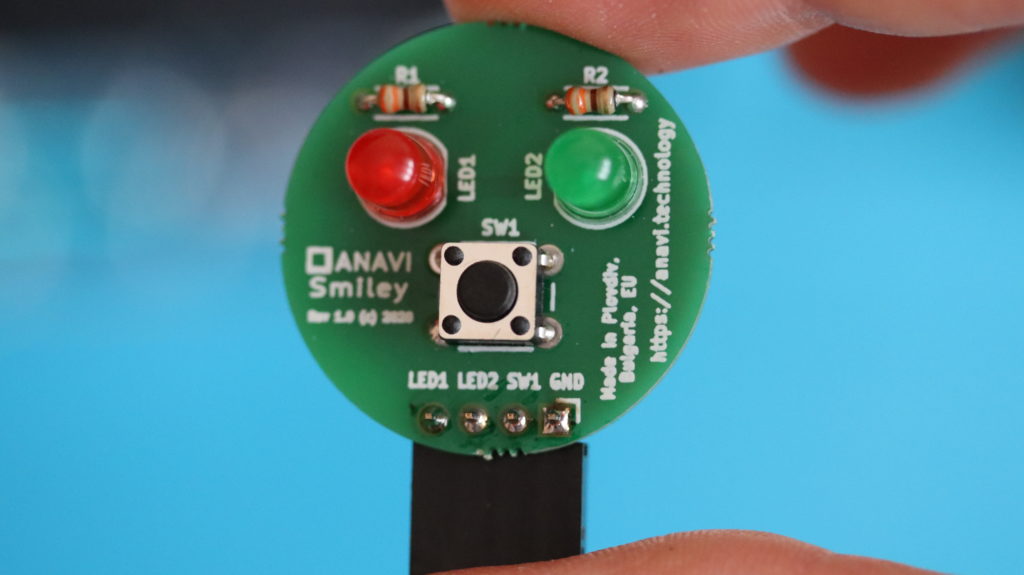
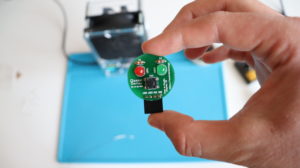
Closer look at ANAVI Smiley after soldering the kit

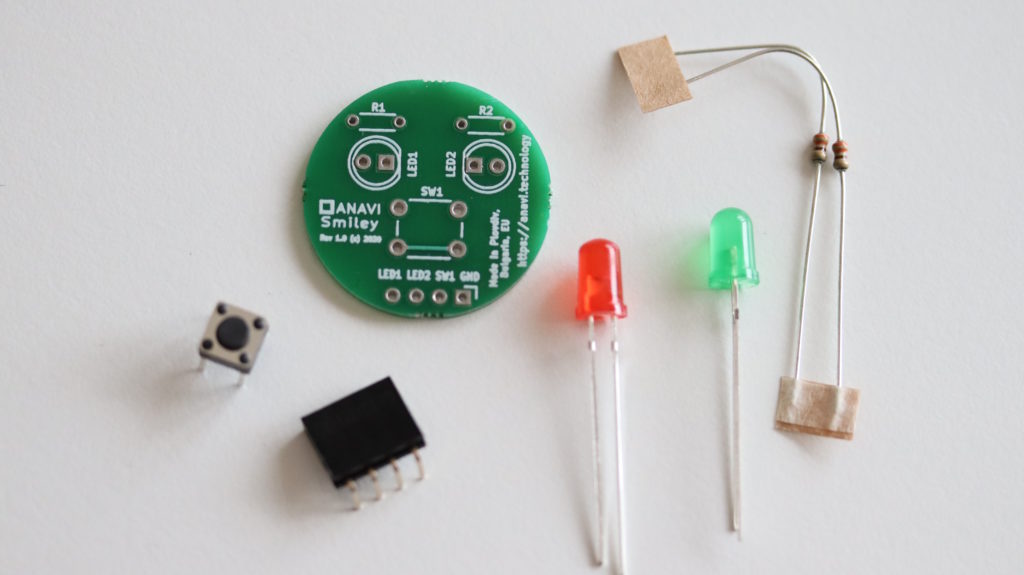
ANAVI Smiley combines open source hardware with free and open source software. It has been certified by the Open Source Hardware Association under UID BG000061. ANAVI Smiley is available as a soldering kit with through-hole components:

  • Printed Circuit Board (PCB)
  • 2 LEDs
  • 2 resistors
  • Tactile button
  • Female connector
ANAVI Smiley soldering kit with all components

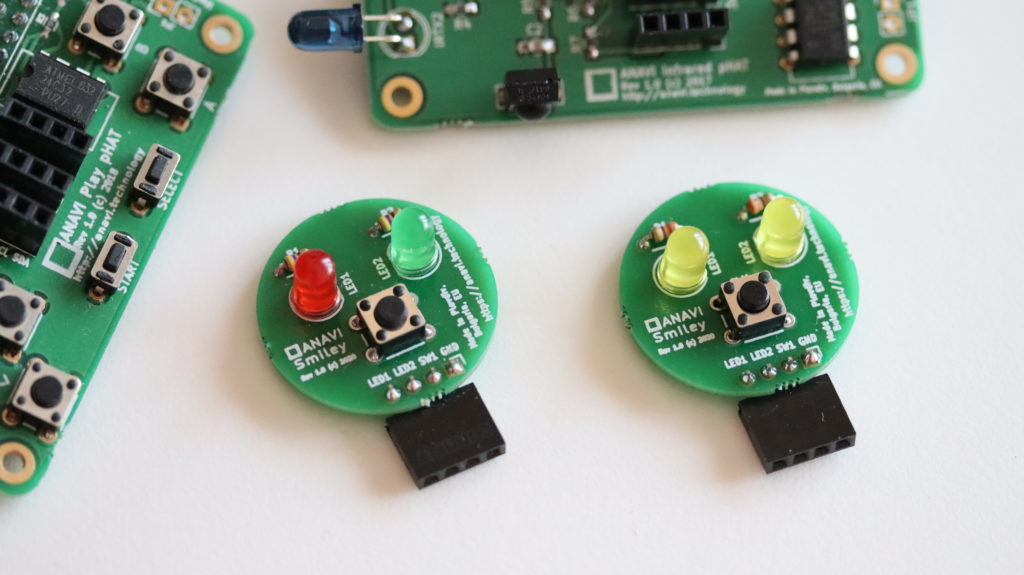
The color of the LEDs may vary. The primary kit includes with one green and another red LED, but there is also a kit with 2 yellow LEDs.

ANAVI Smiley with red and green LED as well another unit with 2 yellow LEDs

Have a look at the video for the exact steps how to solder ANAVI Smiley and to use it with Raspberry Pi.

A photo of ANAVI Smiley a moment after the kit has been assembled.

The short leg of the LED must go to ground (GND), aka the hole marked with a square on the printed circuit board. It is recommended to solder 4-pin connector on the opposite side, as shown on the picture. This way ANAVI Smiley will fit better on the 40-pin header of Raspberry Pi.

Python3 script to use ANAVI Smiley on a Raspberry Pi is available at GitHub. It relies on gpiozero to control the LEDs and to read the state of the button. Gpiozero is a simple and convenient Python interface to GPIO devices with Raspberry Pi, started by Ben Nuttall and Dave Jones.

Please note that SW1 button on the PCB doesn’t have a resistor, therefore your application must use the internal pull-up resistor present on each Raspberry Pi GPIO, for example with gpiozero in Python and pin 26:

btn = Button(26, pull_up = True, bounce_time=0.1)
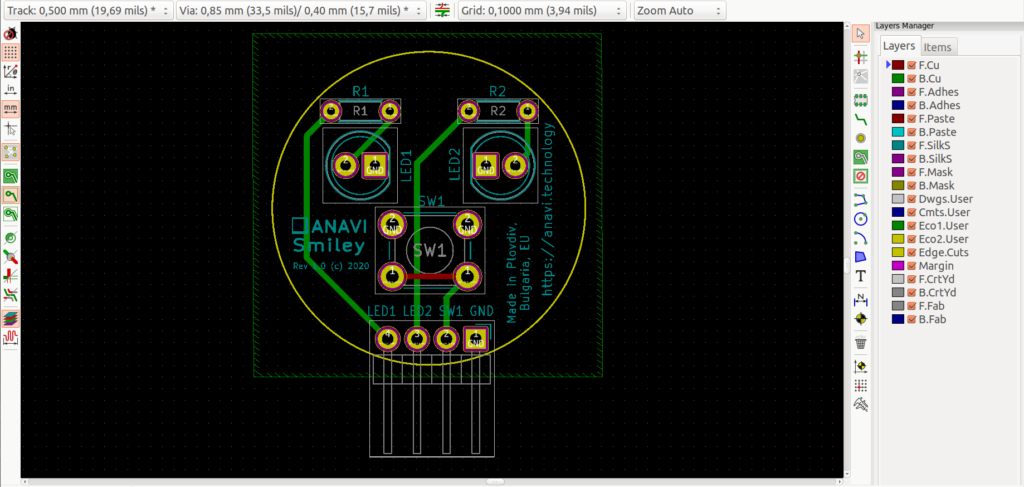
ANAVI Smiley PCB in KiCad

ANAVI Smiley has been designed with the free and open source software tool KiCad. The whole KiCad project is also in GitHub. The two layer printed circuit board is made in Plovdiv, Bulgaria.

You may also like

Plovdiv – European Capital of Open Source Hardware!

OSHdata is a brand new independent project launched in 2020. The goal is to report the state of the Open Source Hardware (OSH) based on the data from the certification program of Open Source Hardware Association. Recently OSHdata announced a public report for 2020.

All time open source hardware frequent creators as of February 2020

ANAVI Technology made it to 7th place in the hall of fame for OSH Frequent Certification Creators! Absolute number 1 are our neightbours Olimex. We are all from Plovdiv, Bulgaria and this is not just a coincidence!

Olimex is specialized in open source hardware. They are open source hardware pioneers and have hundreds of open source products. The company was established in 1991 in Plovdiv, Bulgaria. Olimex development boards and derivatives based on them are used in numerous industrial applications around the world: agricultural tractors, 3D printers, huge mining machines, smart traffic lights, variable speed drivers for oil, gas pumps and conveyors, etc. If you are curious to learn more have a look at Tsevan Uzunov’s (CEO of OLimex) talk at FOSDEM 2020.

Several years ago Olimex decided to switch from EAGLE to KiCad for designing their printed circuit boards. They designed complicated devices with multi-layer boards using KiCad like the do-it-yourself laptop Olimex Teres-I and A64-OLinuXino embedded Linux computer. FreedomBox Foundation even relies on Olimex for Pioneer-FreedomBox-HSK!

After switching to KiCad, engineers from Olimex made numerous free workshop to share their experience. KiCad is a free and open source Electronic Design Automation (EDA) tool that runs on MS Windows, Mac OS and GNU/Linux distributions.

Is there any point to make open source hardware with proprietary tools? Not at all! This is why KiCad is a great open source tool for making open source hardware. Back in the days, ANAVI Technology was started and adopted KiCad entirely because of all the knowledge shared by Olimex.

Considering the total number of certified products by Olimex and ANAVI Technology, Bulgaria is the leading country in Europe and obviously Plovdiv is European capital of open source hardware!

Since March 2018, following the recommendations of Drew Fustini, all products of ANAVI Technology are certified by the Open Source Hardware Association (OSHWA).

One more thing: Olimex, Drew, thank you 🙂

You may also like

How to Use MQ-135 Gas Sensor?

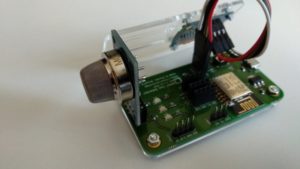
There is a huge variety on the market of analog MQ gas sensor modules for Arduino compatible devices. In this article we will focus on MQ-135.  This low-cost analog sensor is used in air quality control equipment for buildings and offices. It is suitable for detecting of NH3, NOx, alcohol, Benzene, smoke, CO2 and other dangerous gases.

Continue reading “How to Use MQ-135 Gas Sensor?”

You may also like