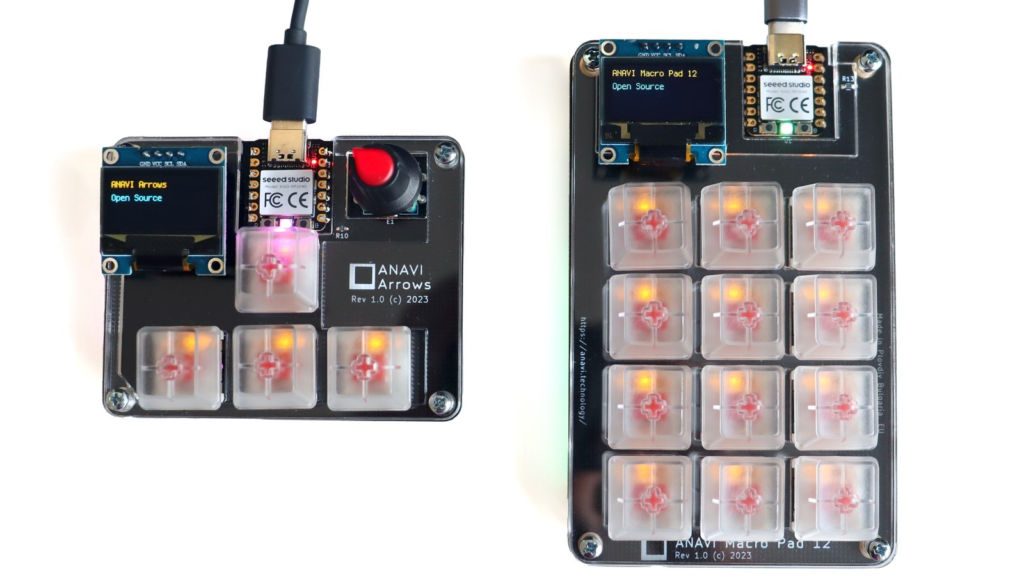
I2C (Inter-Integrated Circuit) is a popular serial communication protocol that allows multiple integrated circuits to communicate with each other over a short distance, typically limited to a few meters. Each device on the bus has a unique address, identifying it and allowing it to communicate individually. The protocol was developed by Philips (now NXP Semiconductors) in the 1980s. Over the years it has become a standard for communication between various electronic components in embedded devices. I2C can be used to connect various peripherals, such as sensors, displays and EEPROMs. The mini OLED yellw-blue displays on our compact mechanical keyboards ANAVI Macro Pad 12 and ANAVI Arrows are connected to the Raspberry Pi RP2040 microcontrollers over I2C.
I2C is easy to use becase it requires only two wires for communication:
- SDA (Serial Data) for transmitting and receiving data between devices
- SCL (Serial Clock) for a clock signal to synchronizes the data transfer between the devices
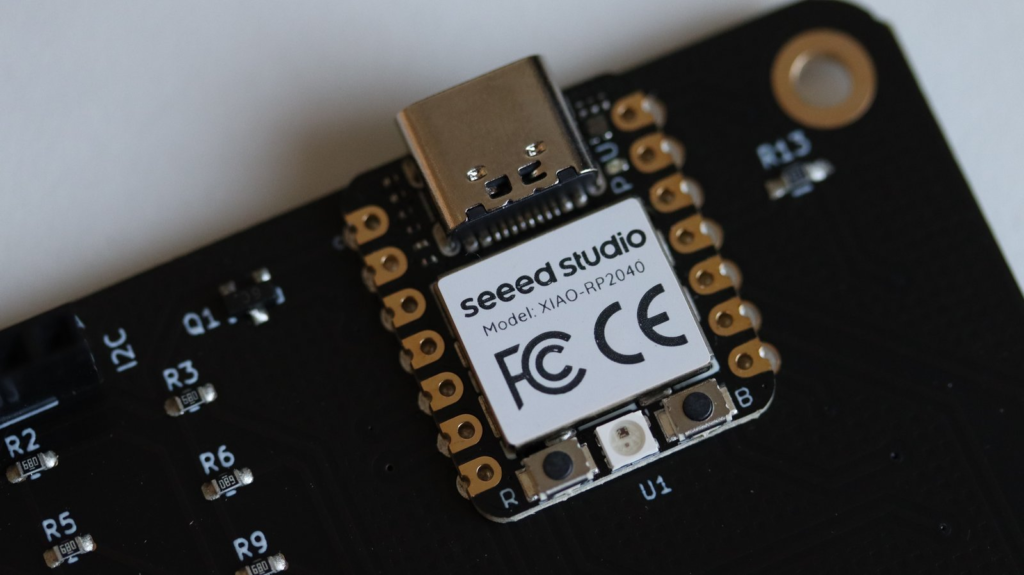
The core component of our hot-swappable mechanical keyboards ANAVI Macro Pad 12 and ANAVI Arrows is Seeed Studio XIAO RP2040 module. This is actually a tiny development board suitable for surface-mount technology (SMT) assembly and equipped with a Raspberry Pi RP2040 32-bit dual-core ARM Cortex M0+ MCU, 264 KB SRAM, 2 MB Flash memory, 11 GPIO pins and USB-C connector. The I2C interface is located on pins D4 (for SDA) and D5 (for SCL) of XIAO RP2040.
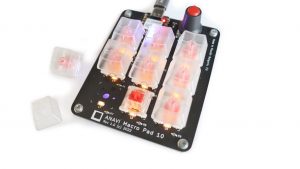
A yellow-blue mini OLED I2C display is included in all kits with ANAVI Macro Pad 12 and ANAVI Arrows. It has 4 pins: GND (ground), VCC (supply voltage), SCL, and SDA. This display relies on SSD1306, a single-chip CMOS OLED/PLED driver with controller for organic / polymer light emitting diode dot-matrix graphic display system which consists of 128 segments and 64 commons. It is the same display we include in our other mechanical keyboards like the ANAVI Macro Pad 10 and ANAVI Macro Pad 8, Internet of Things devices like the ANAVI Thermometer and ANAVI Gas Detector, tools like ANAVI Fume Extractor, and Raspberry Pi add-on boards like ANAVI Info uHAT. This versatile mini OLED display is a great fit for many projects, You can pick one up at Mouser if you need a spare.
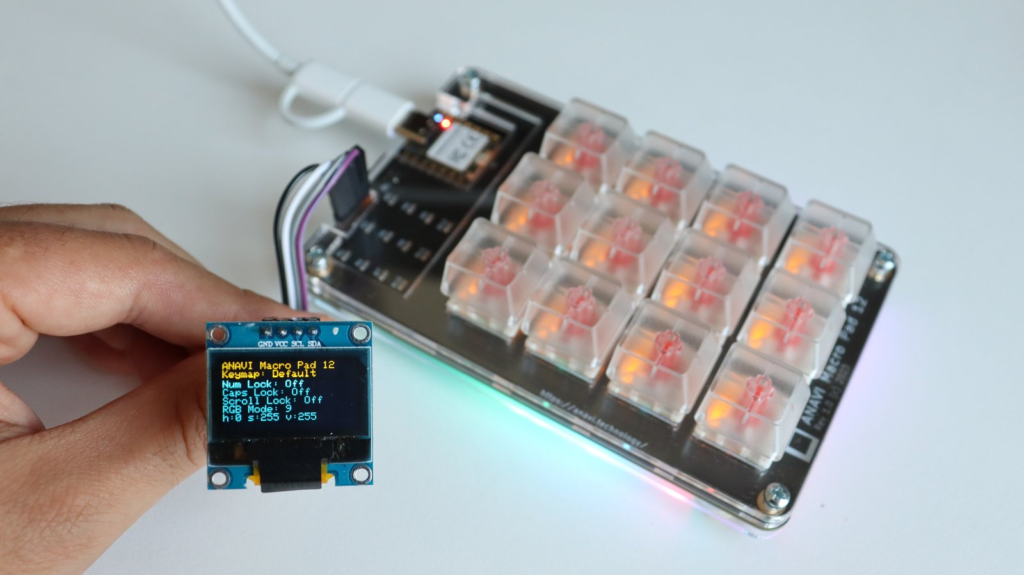
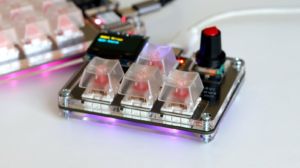
There is a dedicated slot for the display on the printed circuit board. Just plug the mini OLED display into it and then connect the mechanical keyboard to a computer. In every kit with ANAVI Macro Pad 12 and ANAVI Arrows, you will find four additional male-to-female jumper wires included, providing you with an exciting opportunity to get creative with your project. If you decide to design your own 3D printed case for the keyboard, these jumper wires may become handy. They grant you the flexibility to reposition the mini OLED display to a location of your choice within the case.
ANAVI Macro Pad 12 is compatible the two most popular open source firmwares for mechanical keyboards: KMK and QMK. KMK is written in CircuitPython and QMK in the C programming language. Both support OLED displays over I2C.
Out of the box ANAVI Macro Pad 12 and ANAVI Arrows come with the KMK firmware. It uses the extension Peg Oled Display based on the open source CircuitPython libraries Adafruit_CircuitPython_DisplayIO_SSD1306 and Adafruit_CircuitPython_Display_Text. This extension allows your keyboard to display images or text and even to react to the currently selected keyboard layer.
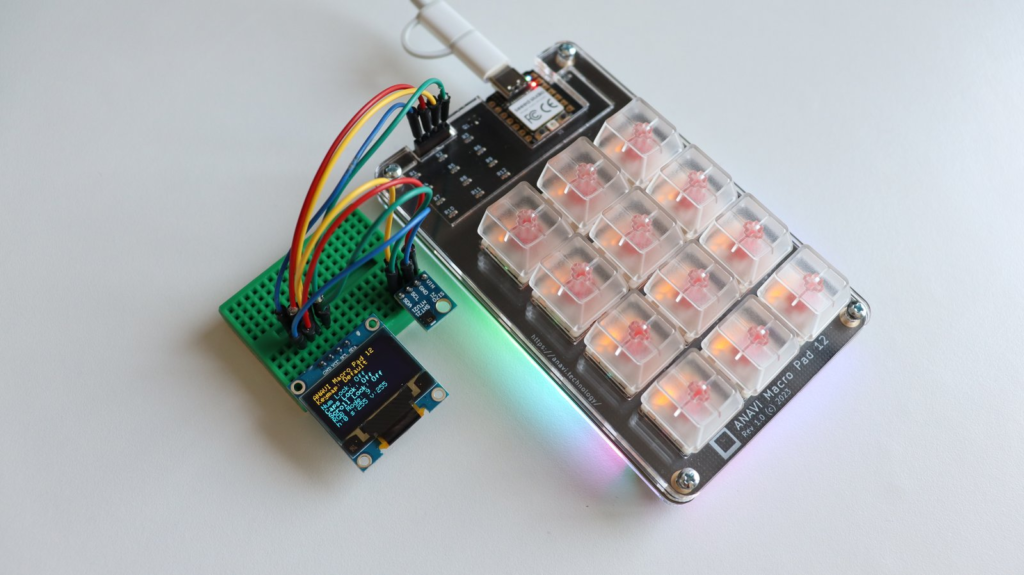
Makers with advanced skills have a fantastic opportunity to extend the capabilities of the keyboard project by adding more I2C peripherals. Using a breadboard and without any soldering, makers can easily connect additional I2C peripherals, such as sensors or other modules that communicate via I2C, to the existing setup. This allows them to expand the project’s functionalities and explore various creative ideas. Those seeking a more permanent and tailored extension can even design their own custom I2C add-on printed circuit board. The mini OLED displays included in the kits work out of the box, but it is important to be aware that incorporating any other I2C devices into the keyboard will require adjusting the KMK firmware to support the additions.
Support our crowdfunding campaign and get the open source mechanical keyboards ANAVI Macro Pad 12 and ANAVI Arrows with a mini OLED display for real-time notifications and customizable graphics at your fingertips. Learn how to use I2C and unleash your creativity by extending the keyboard with additional peripherals!