We are thrilled to announce the successful completion of our crowdfunding campaign at Crowd Supply for the ANAVI Miracle Emitter, which wrapped up on May 29th 2025. Your enthusiastic support made this possible – thank you! Backers from across seven different countries came together to champion this open-source development board designed for controlling NeoPixel LEDs, featuring the ESP32-C3 chip built on the open architecture RISC-V.
We’re happy to report that the project is progressing smoothly. All printed circuit boards have been produced and assembled, and the custom laser-cut acrylic cases are ready. We have also secured environmentally friendly packaging materials, including recyclable cardboard boxes and a fresh batch of stickers to add some flair.
On the software side, version 1.0.1 of the default open-source firmware that works with Home Assistant over MQTT is now live and will be pre-installed on each unit. As always, the board’s fully open design means you can install alternatives like WLED or create your own custom firmware as you see fit.
In the coming days, we will complete the final packaging and deliver everything to the Crowd Supply warehouse in the US. Shipping to backers will begin shortly afterward, and your kits will be on their way!
We are incredibly grateful for your continued support, input, and engagement with our open-source GitHub repositories. More exciting news and updates are just around the corner so stay connected!
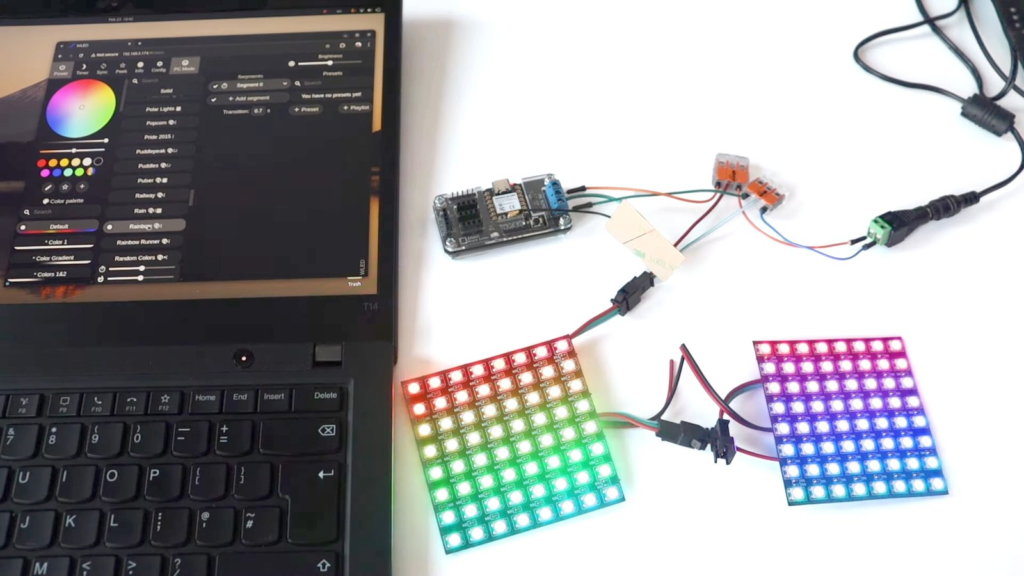
WLED is a powerful open-source firmware that makes managing NeoPixel WS2812B LED panels simple and efficient. Designed for ESP32 and ESP8266, it provides an intuitive interface for seamless LED control. Whether you’re a DIY enthusiast or a professional, WLED offers a highly customizable lighting experience.
Why Choose WLED for NeoPixel LED Panels?
Our previous blog post shared the exact steps how to install WLED directly from a web browser. This firmware includes a built-in local HTTP server, allowing LED control from any device on the same network. It also integrates smoothly with Home Assistant, enabling smart home automation, voice control, and advanced lighting effects. WLED supports both LED strips and 2D LED matrices, making it a versatile choice for various lighting projects.
Demo: ANAVI Miracle Emitter + XIAO ESP32C3
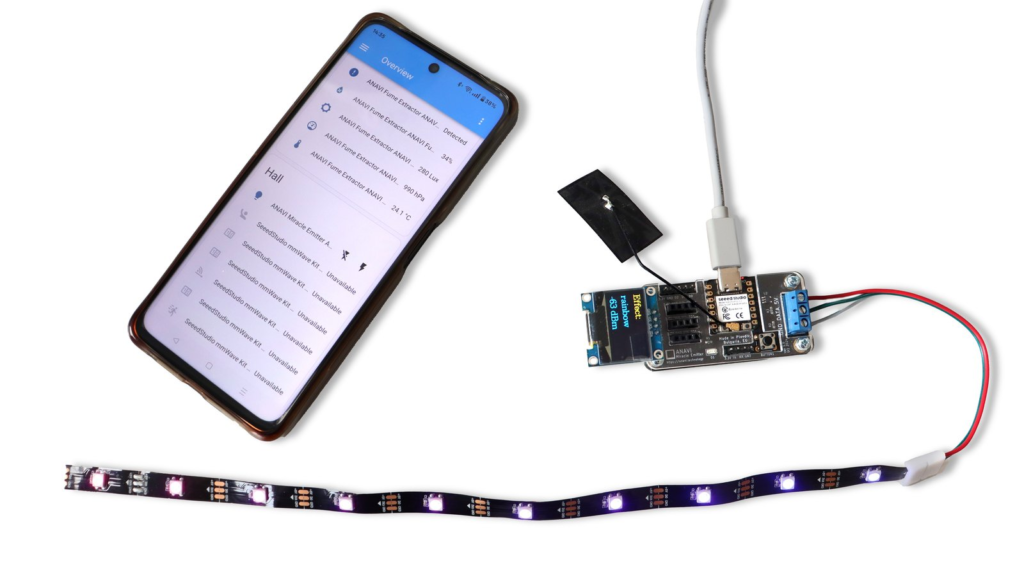
In this tutorial, we will walk through the setup and configuration of NeoPixel WS2812B LED panels using WLED firmware. The demonstration features the open source hardware ANAVI Miracle Emitter, an open-source IoT board designed specifically for controlling NeoPixel LEDs.
Hardware & Accessories Used:
ANAVI Miracle Emitter – A small ESP32C3-based board, ideal for WLED applications.
NeoPixel WS2812B LED Panels – High-quality, customizable LED panels.
DC Barrel Jack to Terminal Block Adapter – Simplifies power connections. For example AP364 or from Pololu.
External 5V Power Supply – Powers both the LED panels and the development board.
ANAVI Miracle Emitter: Open-Source LED Controller
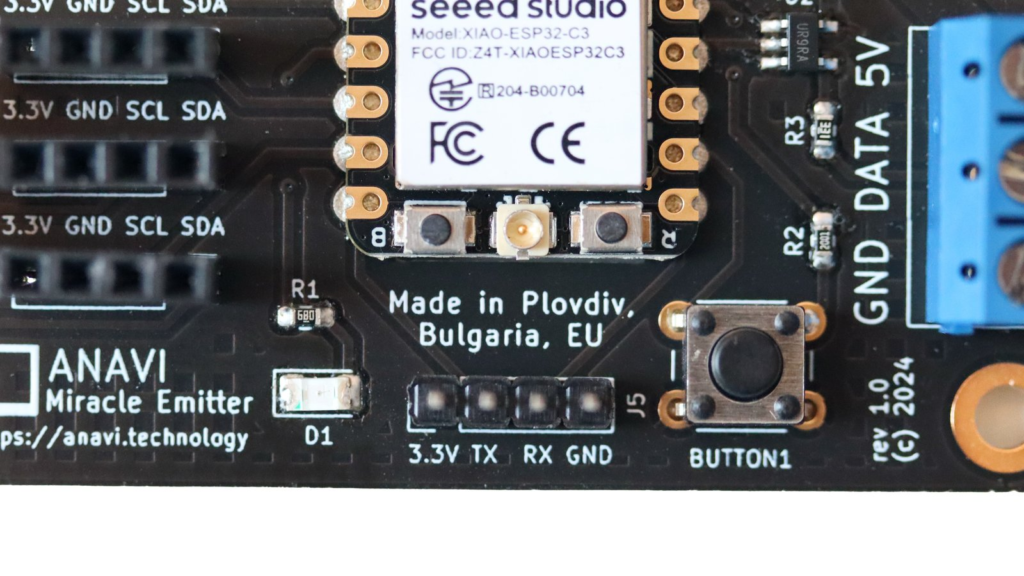
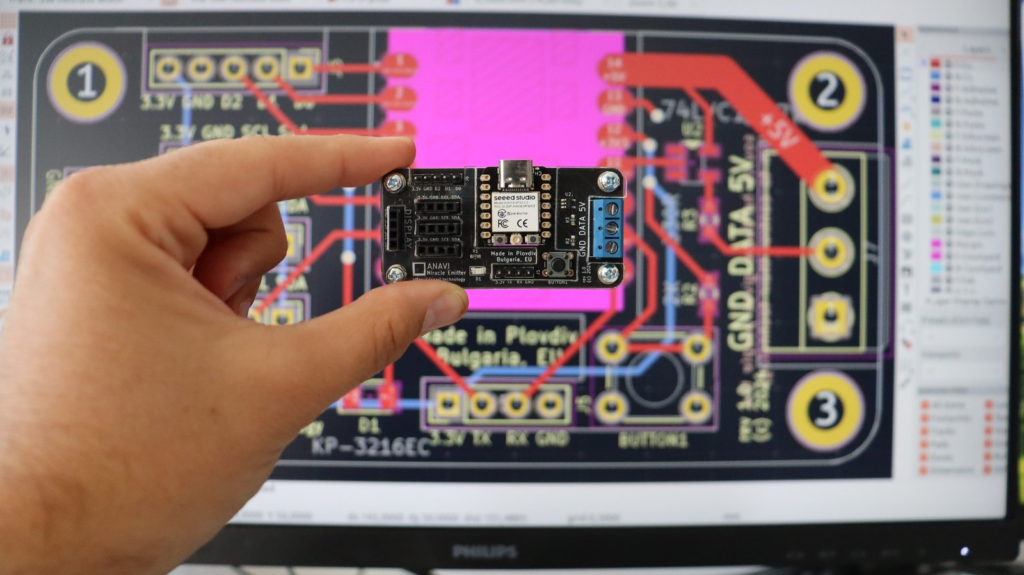
ANAVI Miracle Emitter is a compact open-source IoT board built for NeoPixel LED control. It also supports I2C sensors and a mini OLED display, making it a great choice for interactive projects. Designed using KiCad, this board will soon be available through a Crowd Supply crowdfunding campaign. If you’re looking for a powerful and compact way to control NeoPixel WS2812B LED panels, the ANAVI Miracle Emitter with WLED is an excellent solution. The XIAO ESP32C3, with its 32-bit RISC-V core, delivers strong performance in a small package, making it ideal for compact LED projects. Stay tuned for more tutorials on maximizing WLED and the ANAVI Miracle Emitter for your next LED lighting setup.
WLED is a powerful open-source firmware designed for controlling addressable LED strips, including NeoPixel LEDs like WS2811, WS2812B, TM1809, and more. It supports ESP32 and ESP8266 devices, making it a go-to solution for DIY lighting projects. WLED runs a local HTTP server with a sleek, modern UI, allowing you to control your LEDs easily from any device on the same network. It also integrates seamlessly with Home Assistant, enabling smart home automation, voice control, and advanced lighting effects.
In this tutorial, you will learn the exact steps to install WLED directly from a web browser onto an ESP32 board—no additional software required. The demonstration uses Google Chrome and the ANAVI Miracle Emitter, featuring the XIAO ESP32C3 RISC-V microcontroller. To install WLED from a web browser, visit: https://install.wled.me/.
ANAVI Miracle Emitter is an open-source hardware IoT development board for controlling NeoPixel LEDs. To use it with WLED, the Data GPIO from LED Preferences must be set 10. Furthermore, it supports various I2C sensors and a mini OLED display. I designed the printed circuit board (PCB) using the popular open-source software KiCad. It will soon be available through a crowdfunding campaign on Crowd Supply.
Happy New Year! Wishing you a 2025 filled with the power of open source!
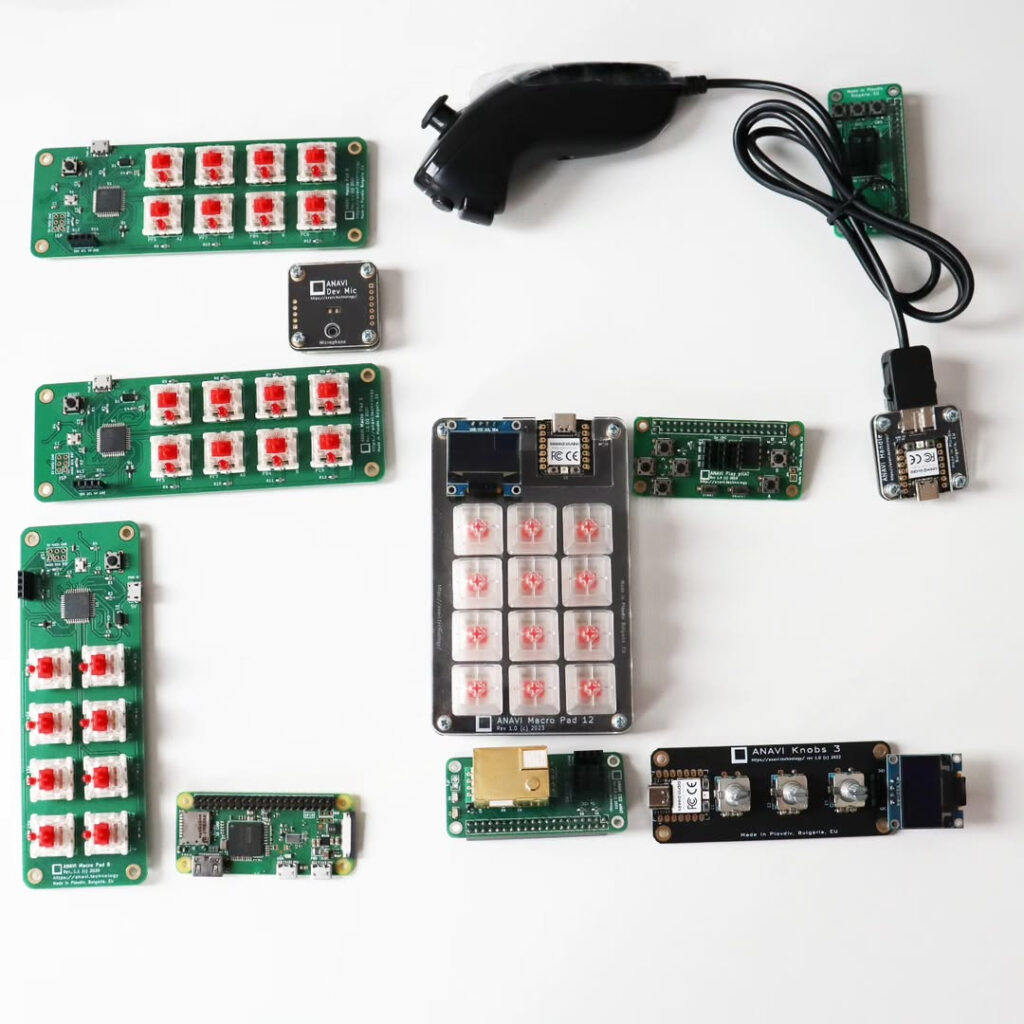
In 2024, ANAVI Technology introduced just two new open-source hardware gadgets, but they turned out pretty good. Looking ahead, we are excited to share that several innovative projects are already in the pipeline for 2025!
ANAVI Handle
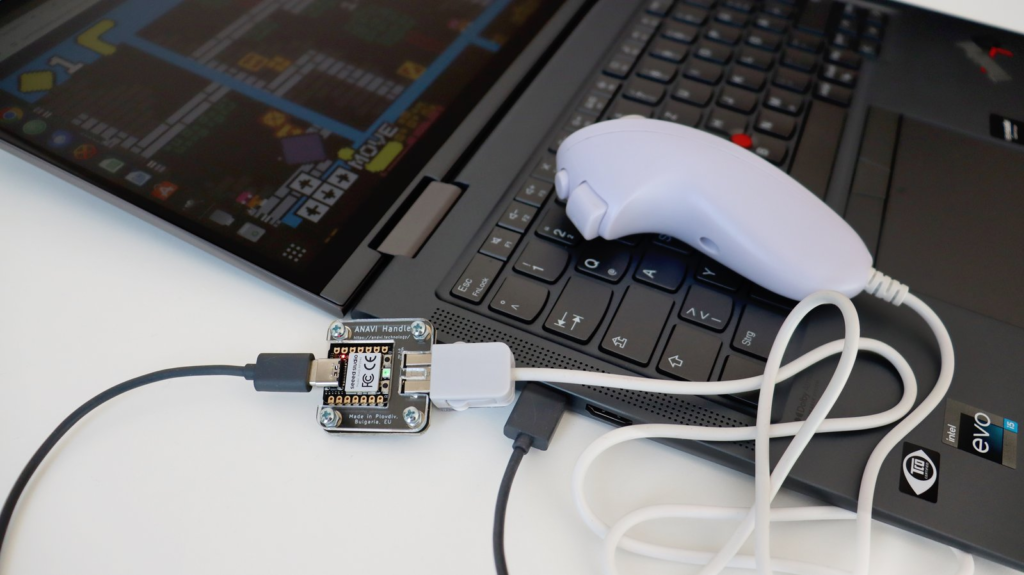
In April 2024, we launched a crowdfunding campaign for ANAVI Handle, an open-source USB adapter that allows you to connect Wii Nunchuk-compatible controllers to a PC. As always, the printed circuit board was designed using the free and open source tool KiCad. The design is simple, featuring a XIAO module with a USB-C connector and a Raspberry Pi RP2040 microcontroller. The default firmware, written in CircuitPython, is available as open-source on GitHub. Additionally, ANAVI Handle has been certified by the Open Source Hardware Association under UID BG000134.
The default firmware lets you configure the Wii Nunchuk as a mouse, keyboard, or joystick, offering a variety of uses, with retro gaming being one of the most popular. Be sure to check out the video demonstrating how ANAVI Handle and a Wii Nunchuk can breathe new life into an old netbook!
ANAVI Handle successfully reached its crowdfunding goal on Crowd Supply on May 30, with orders shipped to backers in July 2024. Today, you can purchase ANAVI Handle from either Crowd Supply or Mouser.
ANAVI Dev Mic
Our second and final crowdfunding campaign of 2024 was for ANAVI Dev Mic, an open-hardware USB Type-C omnidirectional microphone powered by a programmable Raspberry Pi RP2040 microcontroller. This is not your typical USB PC microphone. ANAVI Dev Mic gives you the freedom to modify and customize the firmware, as well as expand the hardware with various peripherals like LEDs, buttons, and even sensors.
There are countless ways to use a USB microphone, especially one as flexible and open-source as ANAVI Dev Mic. However, the most impressive technical application was using it for offline speech-to-text recognition with Python 3 and OpenAI Whisper ASR on a Raspberry Pi 5. This project demonstrated that even a microphone plays a crucial role in modern AI-driven solutions.
ANAVI Dev Mic received certification from the Open Source Hardware Association under UID BG000144. The crowdfunding campaign concluded on September 26, 2024, with all units shipped to backers in October. You can now purchase ANAVI Dev Mic directly from Crowd Supply or Mouser.
What’s Next?
We have some exciting new projects planned for 2025. We aim to release two boards for addressable LED strips (aka NeoPixels): ANAVI Miracle uHAT and ANAVI Miracle Emitter. The PCB for ANAVI Miracle uHAT was designed in 2023 but was put on hold due to software issues with Raspberry Pi 5, which have now been resolved. ANAVI Miracle Emitter is a stand-alone device featuring the XIAO ESP32C3 module. It will be our first open-source hardware using the RISC-V open instruction set. The firmware will seamlessly integrate with Home Assistant through the machine-to-machine MQTT protocol. Additionally, we are developing a gardening device with the ESP32C3 to monitor flowers, plants, and crops.
A huge thank you to all the backers and customers who supported our open-source hardware projects in 2024. We’re also deeply grateful to our trusted partners, especially Crowd Supply, Mouser and the Pi Hut! Wishing you all a healthy and prosperous 2025!
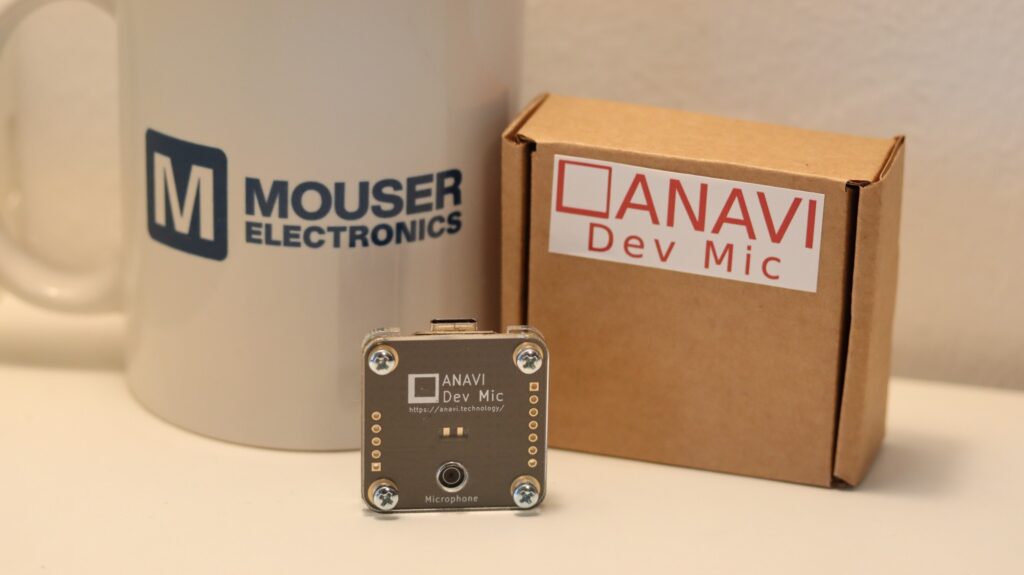
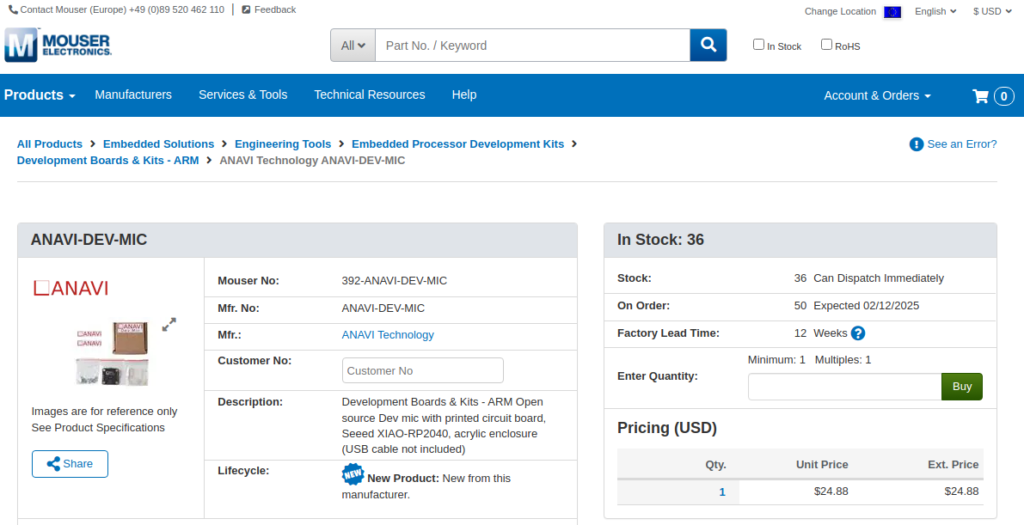
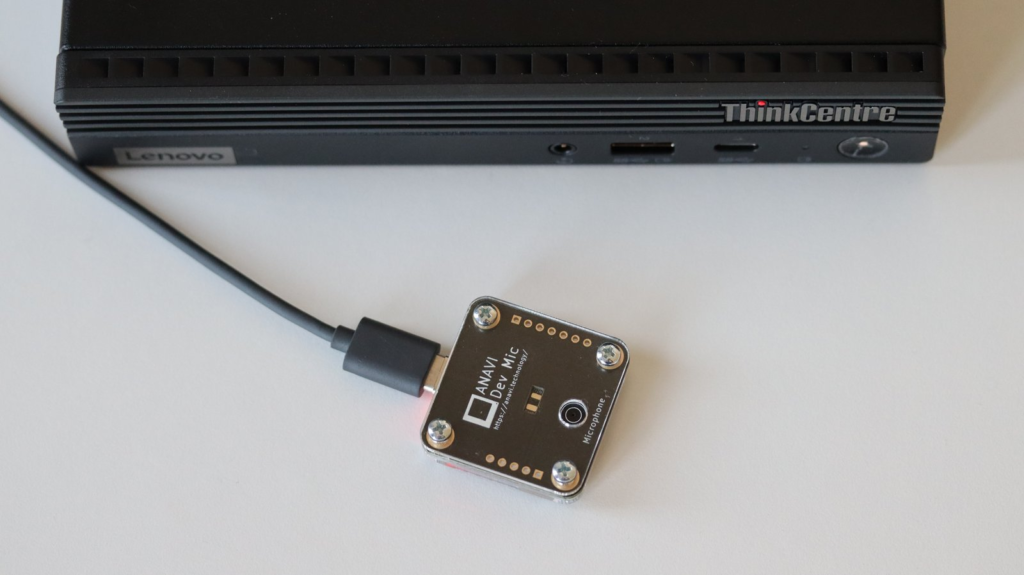
The ANAVI Dev Mic, our open-source USB-C computer microphone powered by the Raspberry Pi RP2040 microcontroller, is now also available at Mouser Electronics. Designed for AI and machine learning voice applications, it combines the Seeed Studio XIAO RP2040 module with an omnidirectional STMicroelectronics MP23DB01HP digital microphone, delivering crystal-clear audio and exceptional flexibility for makers, developers and enthusiasts.
Mouser Electronics, a trusted global distributor and part of the Berkshire Hathaway family, provides access to the latest tech innovations. They offer free shipping to select locations, including in the EU, on most orders over €50 EUR or $60 USD.
ANAVI Dev Mic is an open source hardware computer microphone powered by Raspberry Pi RP2040 microcontroller. It was successfully crowdfunded through Crowd Supply on Sep 26 2024.
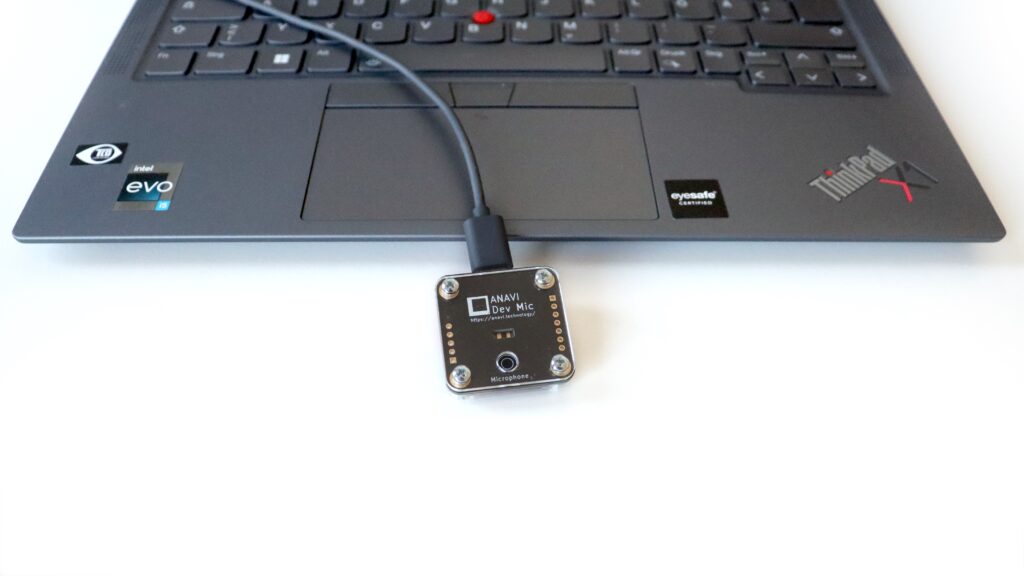
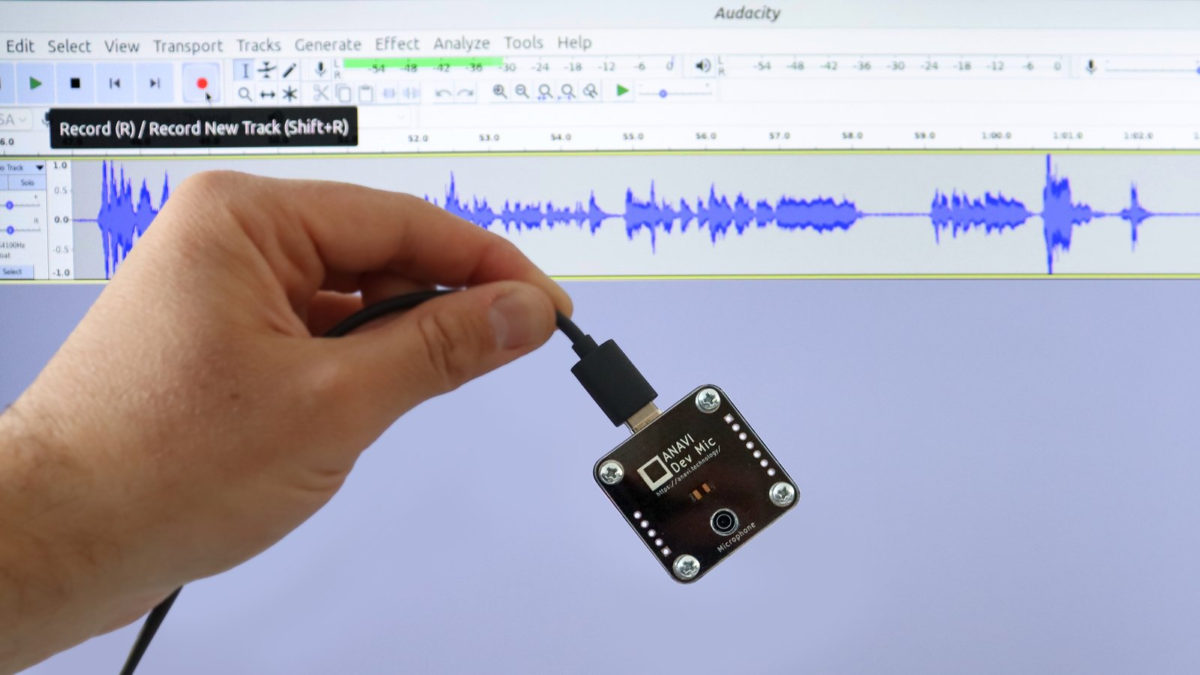
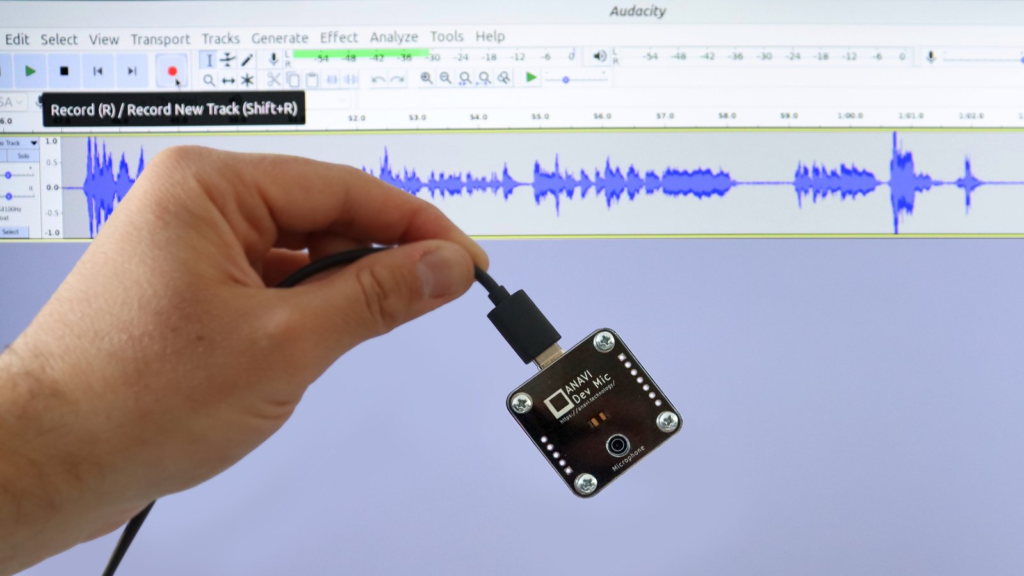
ANAVI Dev Mic connected to a laptop as an external USB-C microphone
The initially estimated shipping date was Nov 17, 2024. However, we have great news to share! A few days ago we dispatched all ANAVI Dev Mic kits to Crowd Supply’s warehouse. This means that shipping to backers will start ahead of schedule. Over the next few weeks, orders will be processed through their fulfillment system.
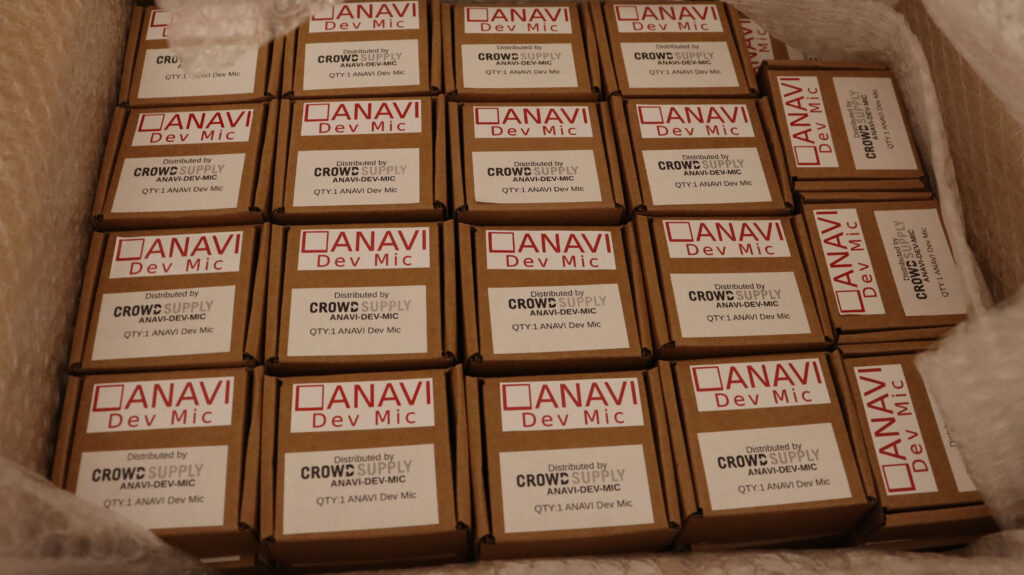
ANAVI Dev Mic eco-friendly packaging
If you have backed the crowdfunding campaign and you need to update your shipping address, please do so via your Crowd Supply account as soon as possible. Shipping to backers will begin soon, and you’ll receive a tracking number once your order is on its way. You can also check your order status and other details through your account.
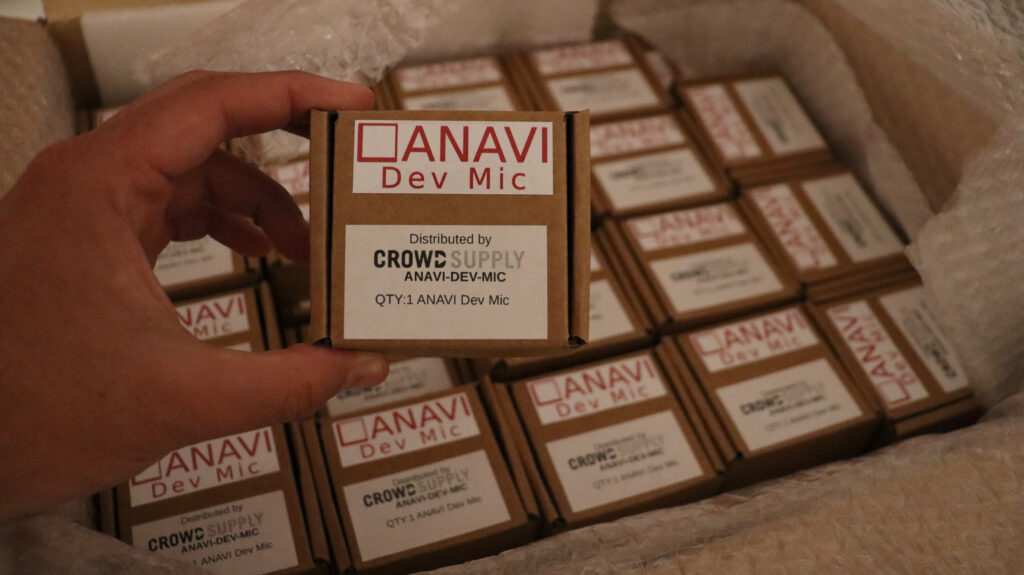
DIY kits with ANAVI Dev Mic
Each kit is packaged in an eco-friendly cardboard box made from recycled materials, reflecting our commitment to sustainability and responsible packaging.
We sincerely thank you for supporting our open-source computer microphone! If you missed the crowdfunding period you can still order your new microphone from Crowd Supply. In the coming months we stock ANAVI Dev Mic through other trusted distributors and online stores. As usual, stay tuned for further technical updates and new exciting open source projects!
Our crowdfunding campaign at Crowd Supply for ANAVI Dev Mic successfully wrapped up on September 26th, and we couldn’t be more grateful! Thank you! Over 30 backers from eight countries supported this open-source hardware project for a computer microphone powered by the Raspberry Pi RP2040 microcontroller.
ANAVI Dev Mic is a compact, affordable, exceptionally adaptable open-source microphone. The printed circuit board has been designed with KiCad and feetures Seeed Studio XIAO module with the Raspberry Pi RP2040 microcontroller and an omnidirectional digital microphone that work together to ensure high-quality sound capture and processing.
The production of the printed circuit boards and component assembly is now complete, and we’ve also finished the laser-cut acrylic enclosures. Packaging materials, including cardboard boxes and stickers, are ready to go. In the coming weeks, we’ll complete packaging and transfer everything to the warehouse. From there, Crowd Supply’s fulfillment service will ship the ANAVI Dev Mic kits to all our backers.
Thank you again for your tremendous support, feedback, and contributions to our GitHub repositories. More updates are coming soon—stay tuned!
The ANAVI Dev Mic is a small, open-source microphone kit designed for hobbyists and developers. It’s easy to assemble on your own, even with minimal tools. While you can complete the assembly using just your hands, a screwdriver will make the process quicker.
Components
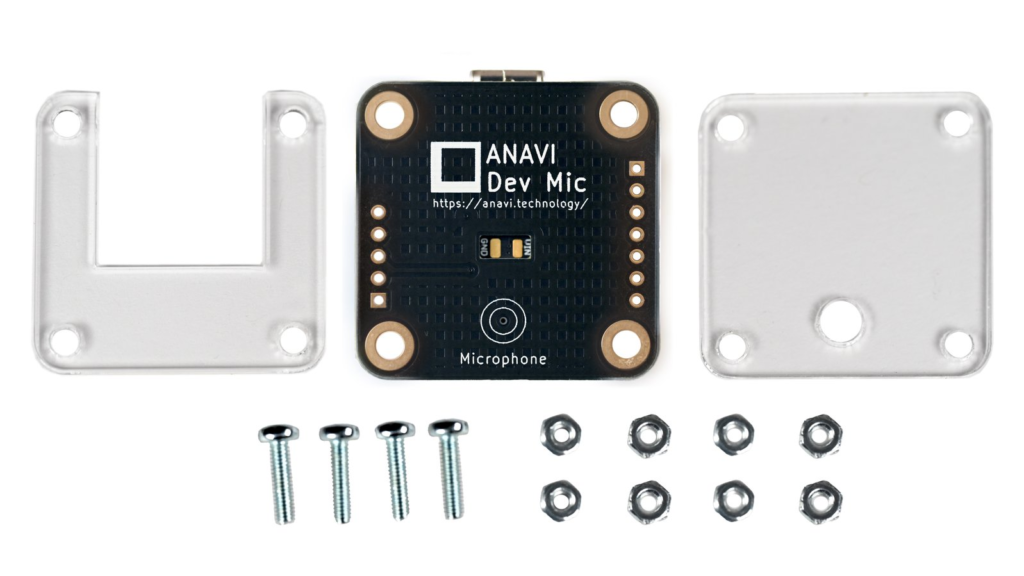
When you open the ANAVI Dev Mic kit, you’ll find the following parts:
Black PCB with gold plating and white markings
Acrylic top cover
Acrylic bottom cover
Four 10 mm screws (M2.5)
Eight M2.5 nuts
NOTE: The kit does not include a USB-C cable. You can use one you already have or buy one separately.
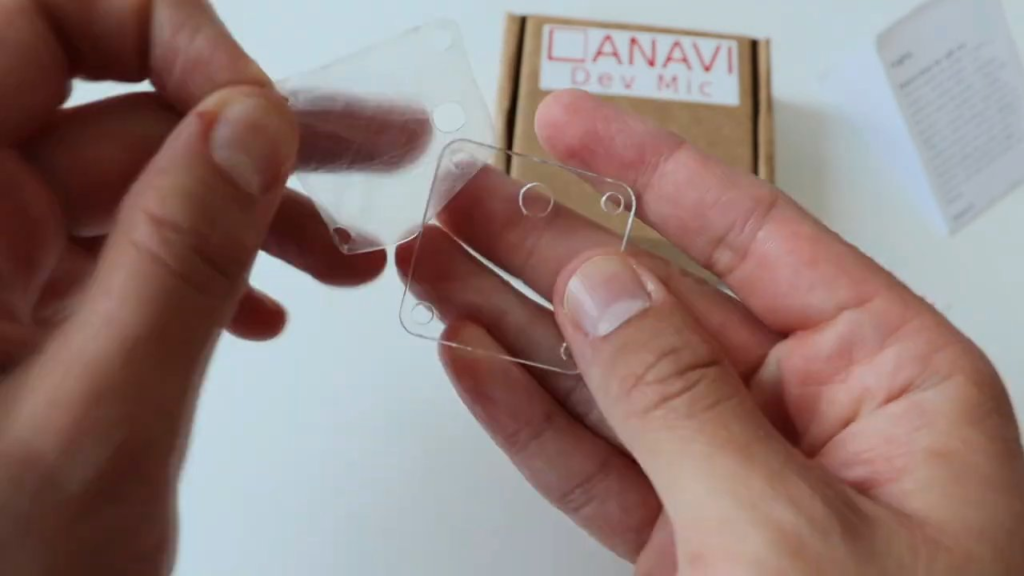
Step 1: Remove Protective Layer
The acrylic covers are laser-cut and come with a protective film on both sides. Carefully peel off this film to reveal the clear acrylic.
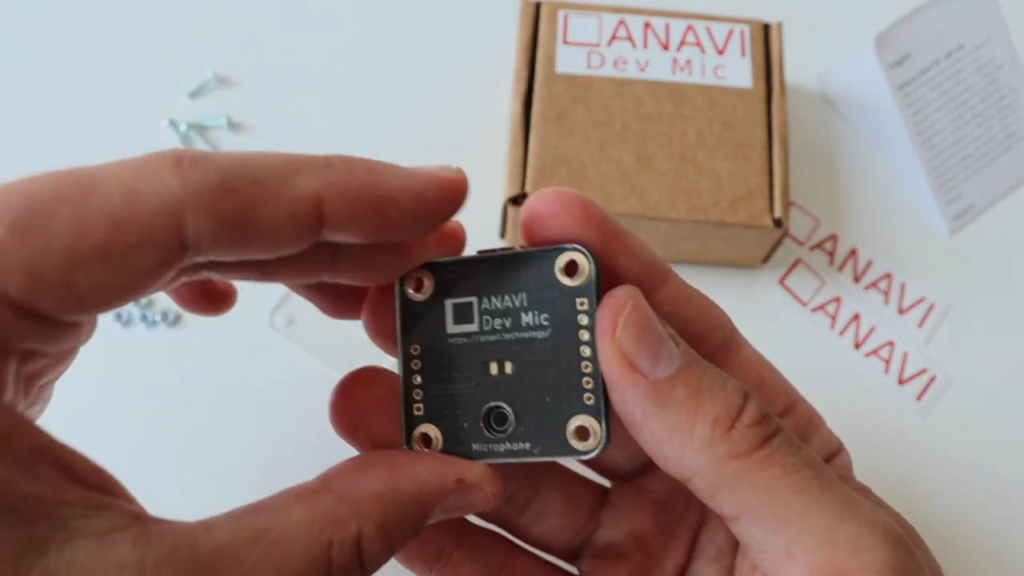
Step 2: Attach the Top Cover
Take the PCB and the top acrylic cover, which has a circular cutout for the microphone. Align the cover with the corresponding circle on the PCB. Insert a screw into each of the four mounting holes and secure them with the nuts provided.
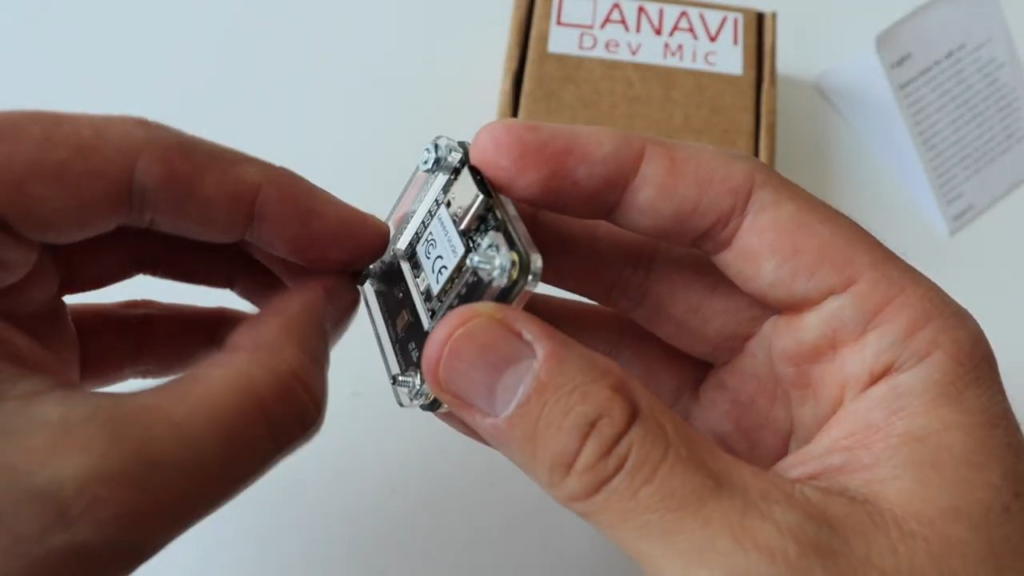
Step 3: Install the Bottom Cover
Next, place the bottom acrylic cover over the side of the PCB where the XIAO RP2040 module is located. Secure the cover by tightening it with the remaining four nuts.
Step 4: Connect and Use
With these simple steps completed, your microphone is ready to go. Just plug ANAVI Dev Mic into your computer using a USB-C cable, and you’re good to go!
Let’s explore how to retrofit a classic Wii Nunchuk controller using ANAVI Handle, an open source hardware USB-C adapter that lets you connect a wired Nunchuk controller to any modern PC, be it a laptop or desktop. In this tutorial, you will learn how to configure the Nunchuk as a joystick and enjoy the open-source game “Tiny Crate”, all within your web browser.
Hardware Requirements
To get started, you’ll need:
A personal computer
A USB Type-C cable
An ANAVI Handle along with a Wii Nunchuk (or another compatible controller)
Software Configuration
Begin by connecting your Wii Nunchuk controller to your computer using the ANAVI Handle, an open-source hardware adapter. Next, edit the config.json file to enable joystick mode by adding:
{
    "type": "joystick"
}
The ANAVI Handle’s default open-source firmware (written in CircuitPython) uses the analog stick and buttons on the Nunchuk to control movement in joystick mode. After modifying config.json, disconnect and reconnect the ANAVI Handle to apply the changes.
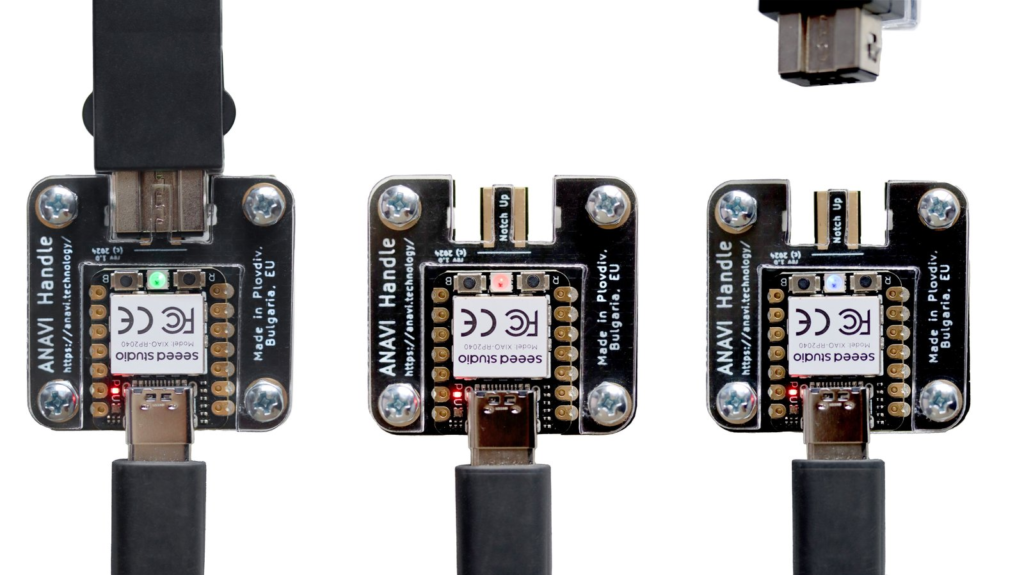
The ANAVI Handle’s RGB LED provides visual feedback on the connection status:
A green light indicates a successfully connected Nunchuk controller.
A blue light shows the controller has been disconnected from the ANAVI Handle.
A red light signals an absent or improperly connected Nunchuk controller.
In the video, you’ll see the green light illuminated, confirming that everything is functioning correctly.
To quickly verify that your controller is working in joystick mode, load the HTML5 Gamepad Test in a modern web browser. This open-source tool is available on GitHub under the MIT license and provides a simple way to check your controller’s functionality.
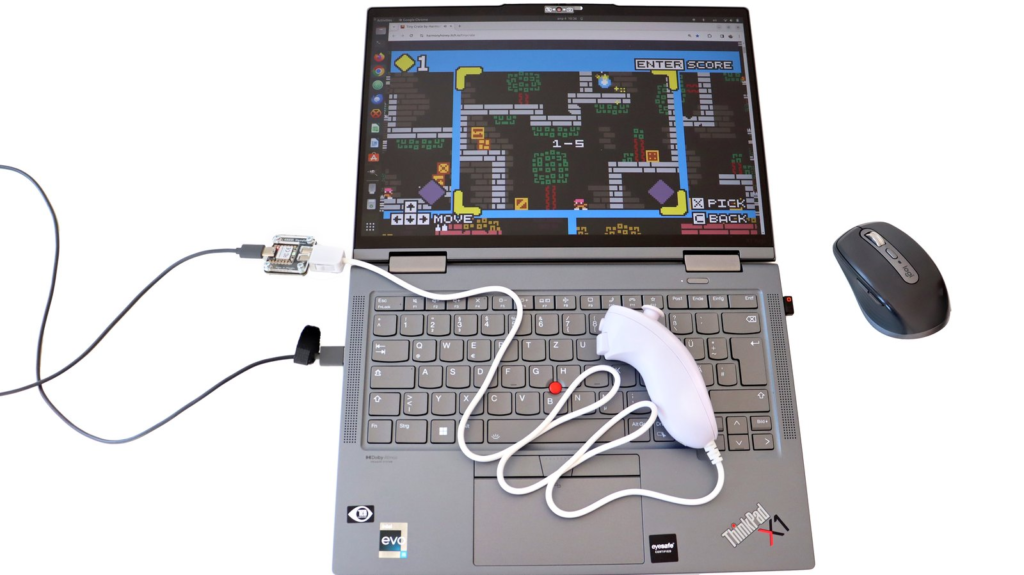
Let’s Play!
Once everything is set up, you’re ready to dive into games that support joysticks!
While preparing this video, I discovered an incredible game called Tiny Crate. It’s a 2D puzzle game with charming pixel art graphics and joystick compatibility. Despite being a puzzle game, its game play evokes a sense of nostalgia for classic jump-and-run titles. Tiny Crate is an open-source game, with its source code available on GitHub. Developed using the Godot game engine, it’s playable on multiple platforms including Windows, macOS, Linux, and even Android.
I featured Tiny Crate while demonstrating the ANAVI Handle during the “Show and Tell” segment of Pi Wars, a Raspberry Pi-based, non-destructive robotics competition. Pi Wars 2024 took place on April 20th-21st in Cambridge, UK, attracting 58 teams of robot engineers. During my demonstration, children of all ages were captivated by Tiny Crate, so much so that many were too absorbed in solving game levels to notice the ANAVI Handle or the Nunchuk controller. This speaks volumes about the quality of Tiny Crate and the effectiveness of the ANAVI Handle in seamlessly converting the Nunchuk controller into a USB HID device.
If you’re passionate about gaming innovation and eager for a new experience, all you need is a Nunchuk controller and an ANAVI Handle. After a successful crowdfunding campaign ANAVI Handle is available at Crowd Supply. We will soon stock it at our other distributors. Follow this guide and get ready to enjoy hours of fun with your favorite games!
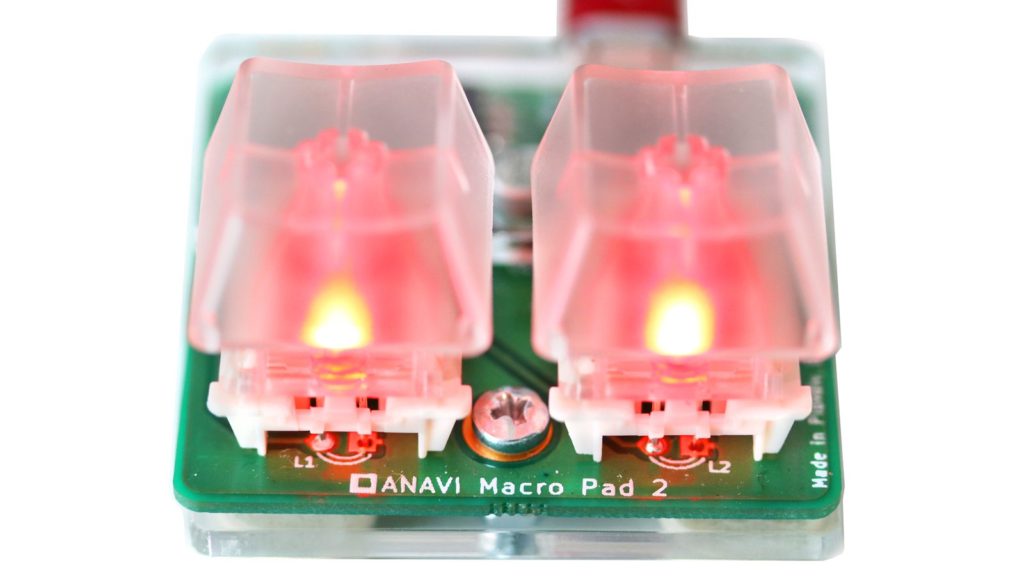
Do you remember the ANAVI Macro Pad 2, our tiny mechanical keyboard with just two keys? Built around the Microchip ATtiny85 microcontroller, it comes with QMK version 0.13.19 and is often used as a cool copy-paste keypad. However, its open-source firmware can be reprogrammed for various uses. Recently, Henrik shared a Crowd Supply “field report” about his impressive setup, using the ANAVI Macro Pad 2 to control audio streams with his favorite songs. Although the ANAVI Macro Pad 2 was successfully funded on Crowd Supply three years ago, in June 2021, we continue to update the documentation and share news with our backers. It’s fantastic to keep improving the product based on community feedback.
Henrik created a custom QMK keymap for the ANAVI Macro Pad 2 based on his needs: the left button is for “play/pause,” and the right button is for “next song.” He even configured the LEDs to light up when the buttons control media playback. Why hire a DJ when you can be the DJ with your homemade setup using the ANAVI Macro Pad 2?
After modifying the firmware, Henrik made a hardware customization. For fun, he changed the keycap on the right button to one featuring a sleeping unicorn. This new keycap, being heavier than the default translucent one, adds weight to the otherwise lightweight ANAVI Macro Pad 2. The keyboard comes with Gateron red mechanical switches, which are Cherry MX compatible, allowing for easy keycap changes. Henrik also shared his plans for future modifications, including a second custom keycap.