Is CircuitPython Suitable for Mechanical Keyboards?

Is CircuitPython suitable for mechanical keyboards? Yes, absolutely!  KMK firmware for mechanical keyboards is writen in CircuitPython and we use it of ANAVI Macro Pad 10 and Knobs.

ANAVI Knob 1, ANAVI Knobs 3 and ANAVI Macro Pad 10

1991 was a remarkable year for computer science and the open source movement. On February 20th, Guido van Rossum released the first version of Python and then, several months later on August 25th, then 21-year old Linus Torvalds announced the first version of what would become Linux. Now, 31 years later, both projects are more popular than ever!

ANAVI Knob 1, ANAVI Macro Pad 10 and ANAVI Knobs 3

Python is a general-purpose programming language. It supports both object-oriented programming and structured programming which makes Python suitable for a broad range of tasks. MicroPython and CircuitPython are Python 3 variants optimized for constrained devices, primarily microcontrollers. MicroPython appeared in 2014. Three years later, in July 2017, MicroPython was forked into another open source project called CircuitPython. There are some differences, most notably that each of them supports a different set of hardware devices.

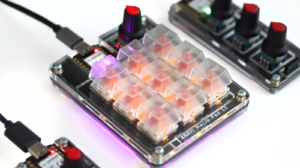
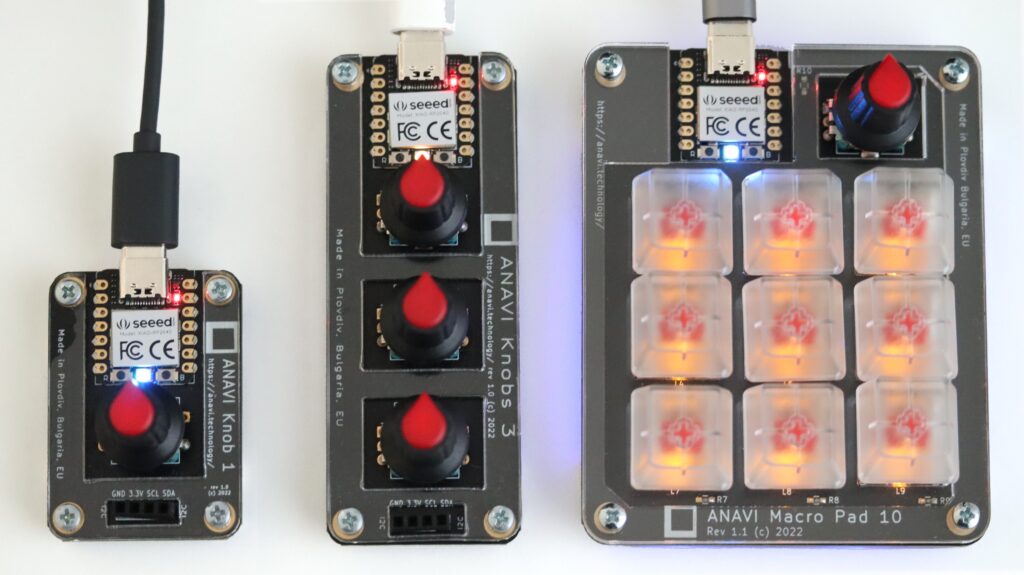
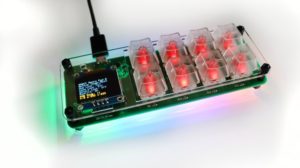
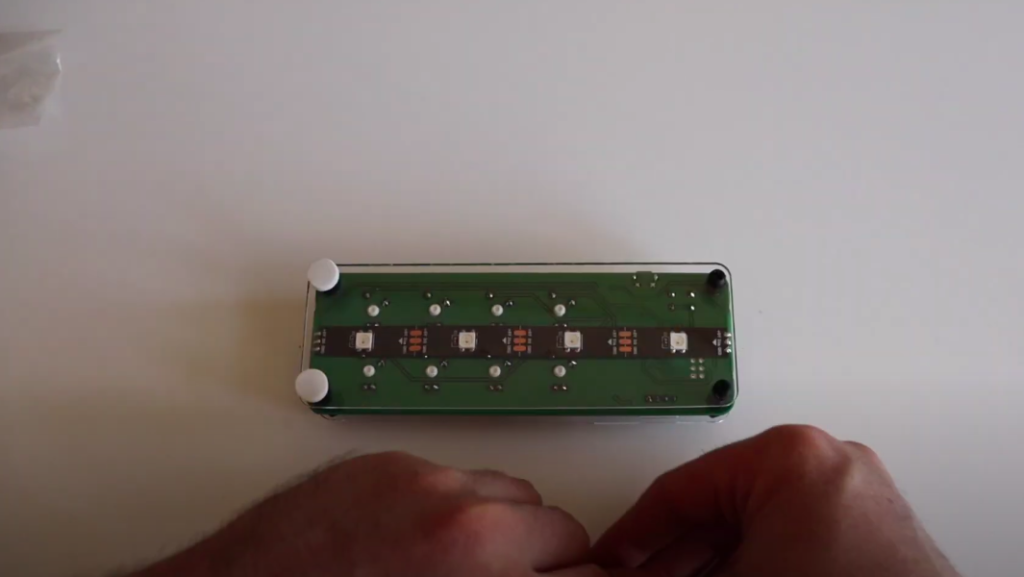
CircuitPython is very simple to use. The idea is for it to be accessible to students and beginners. Its development is supported by Adafruit Industries. CircuitPython runs on Raspberry Pi RP2040 microcontrollers and, as you know from our previous update, ANAVI Macro Pad 10, ANAVI Knobs 3 and ANAVI Knob 1 all rely on the XIAO module from Seeed Studio with RP2040.

ANAVI Macro Pad 10

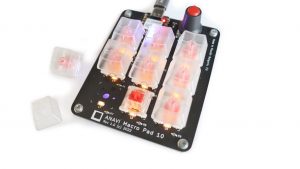
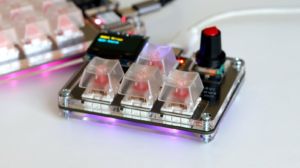
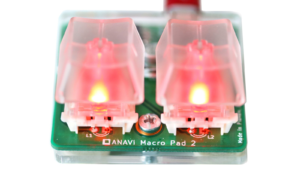
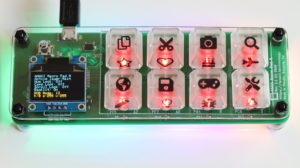
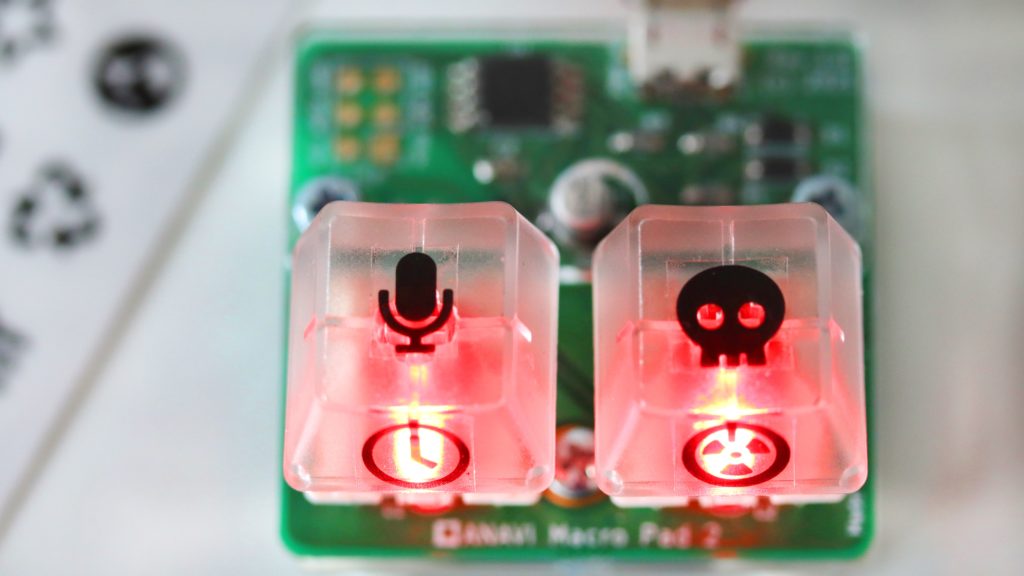
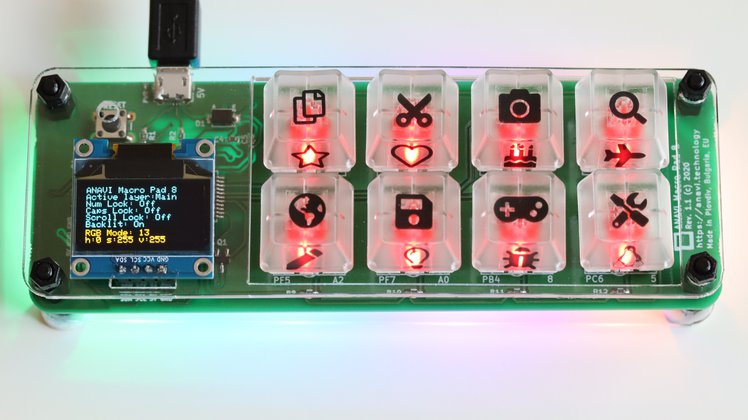
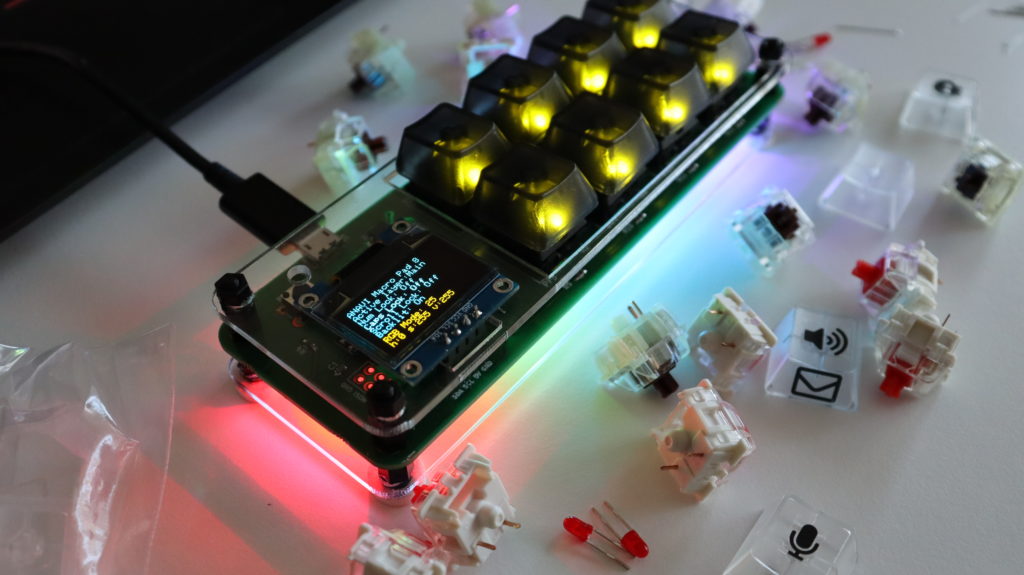
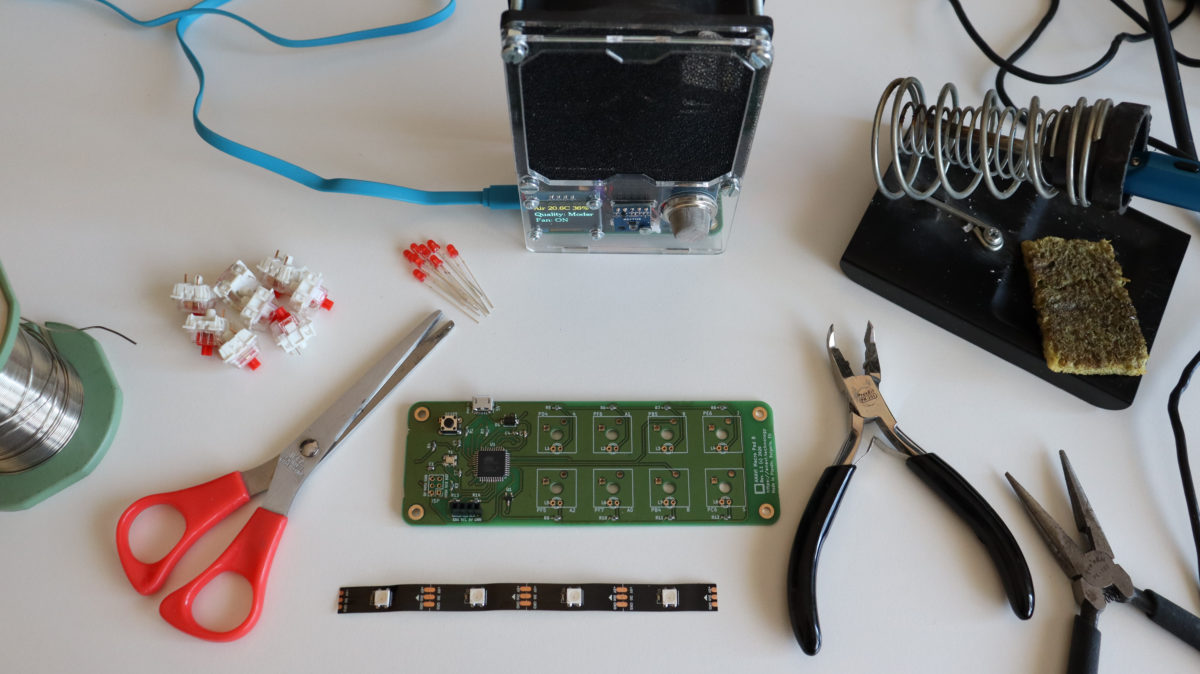
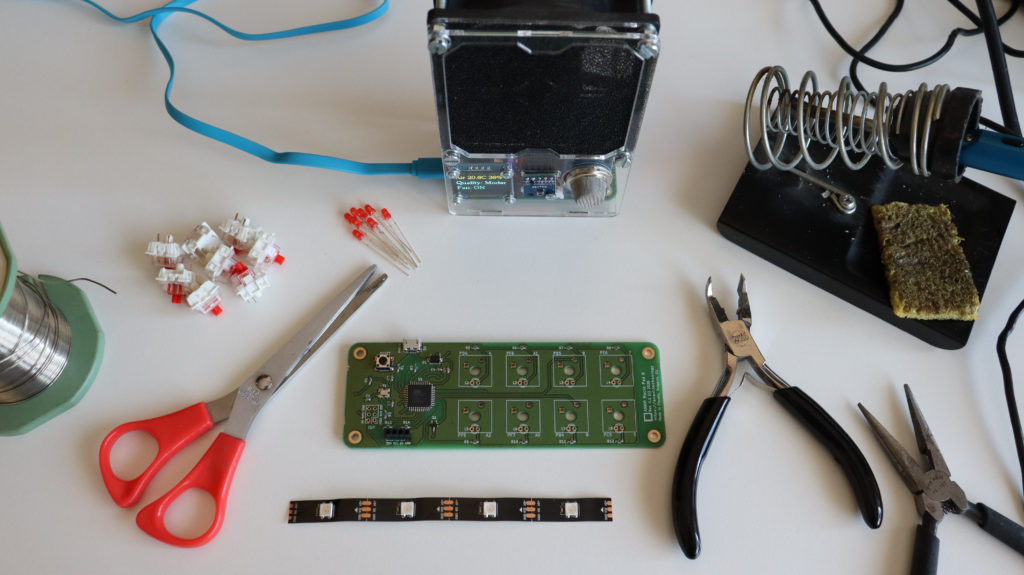
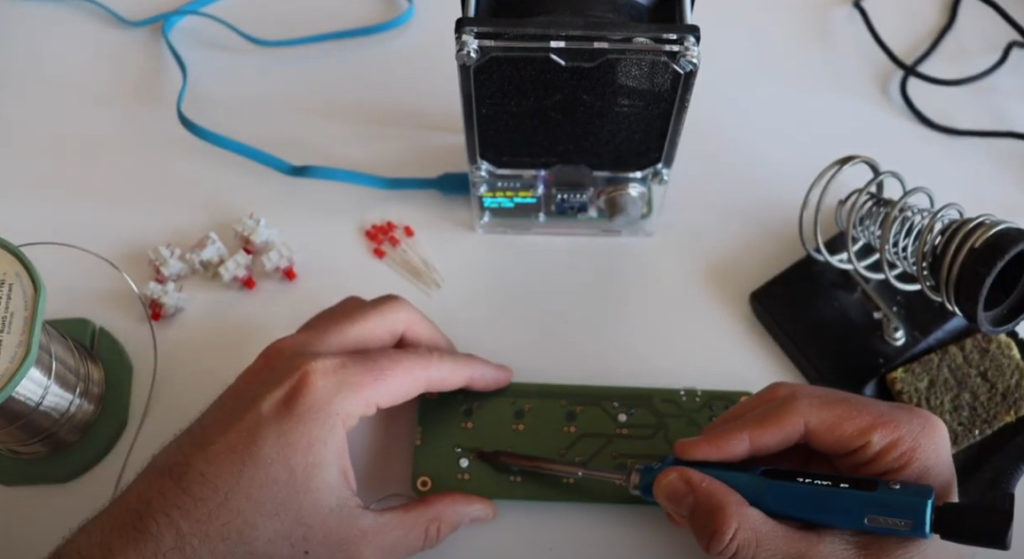
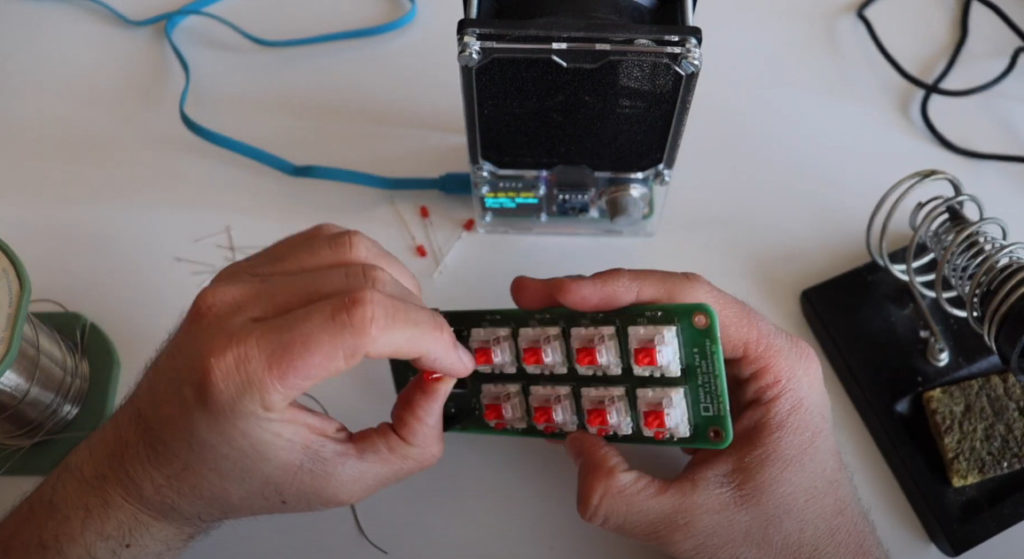
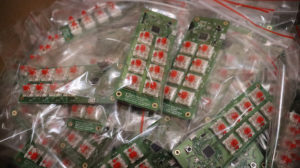
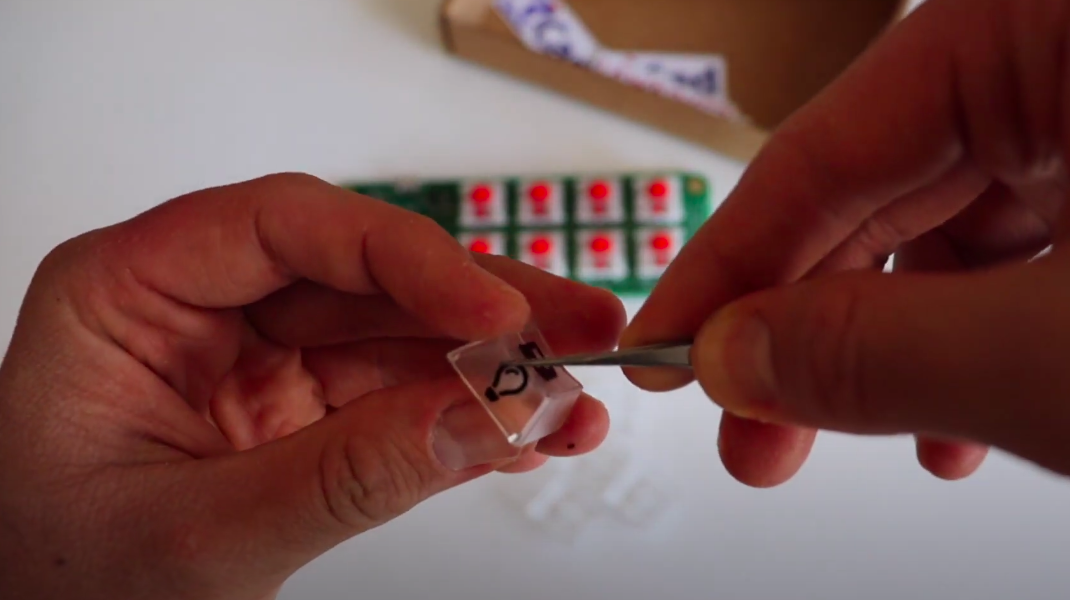
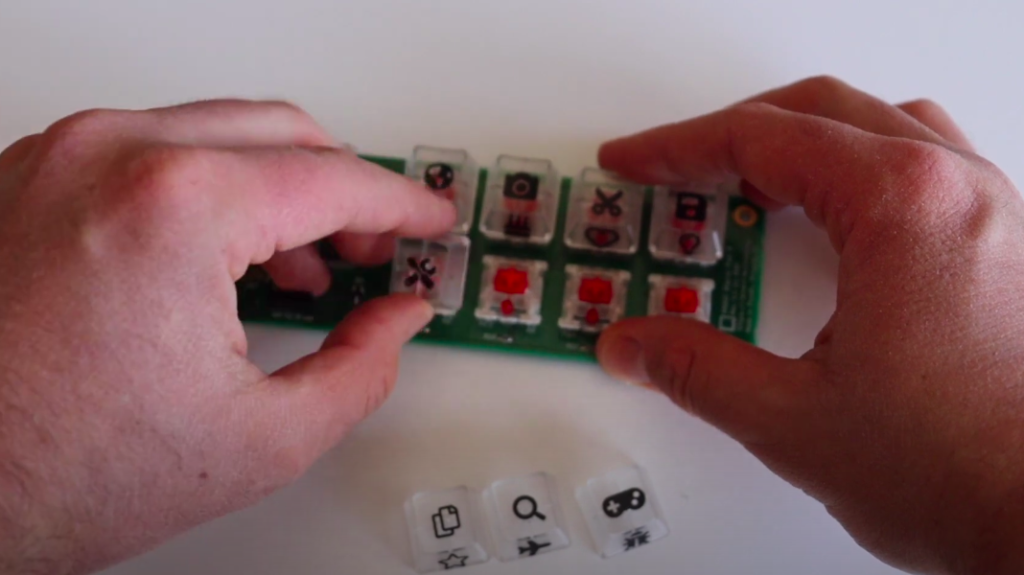
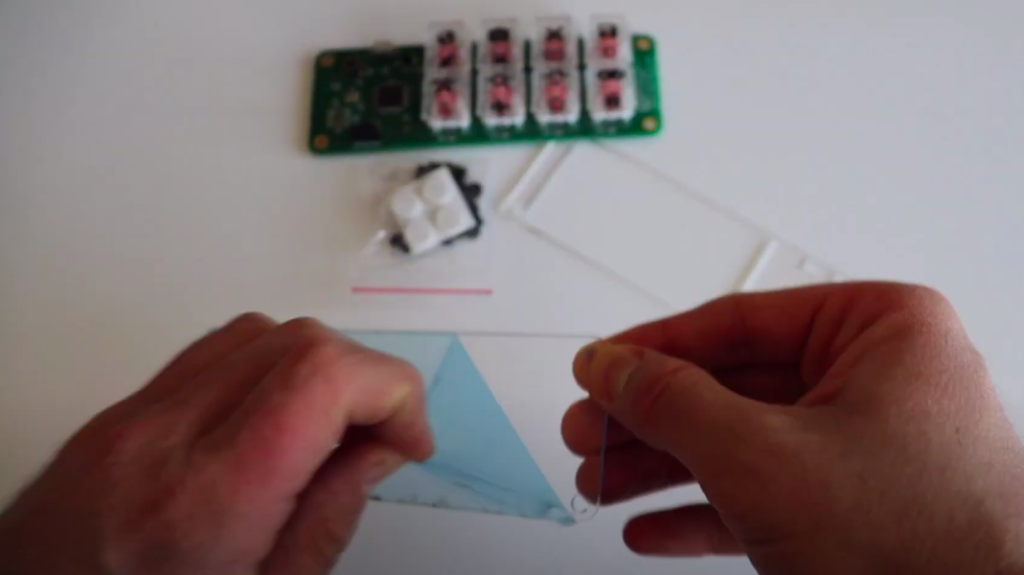
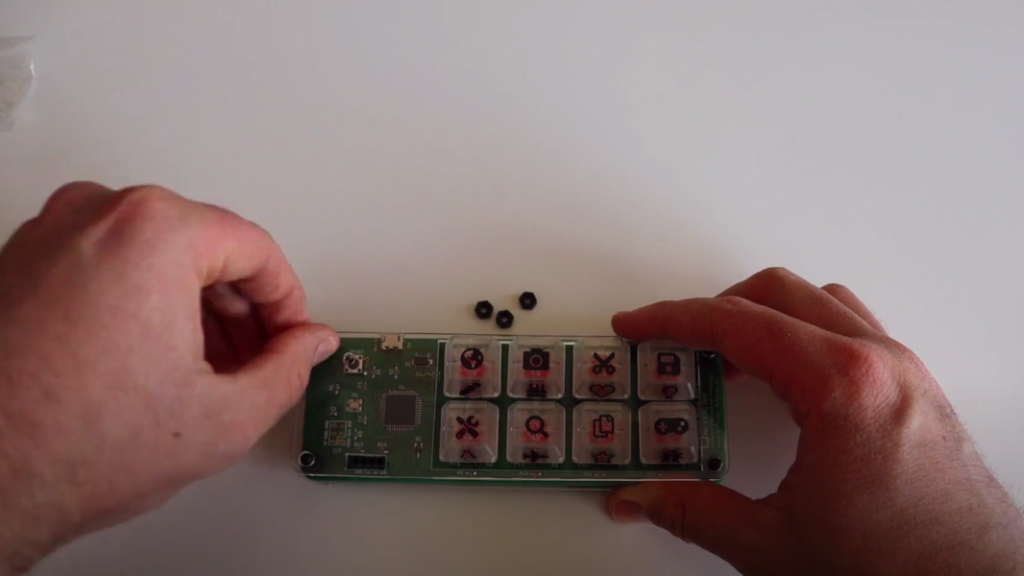
A classical mechanical keyboard consists of keys (mechanical switches with keycaps) wired to a microcontoller. There are a huge variety of models, variants, and manufacturers of mechanical switches. For example, the ANAVI Macro Pad 10 comes with Gateron red mechanical switches, but the hot-swap sockets allow you to actually use any other kind of Cherry MX compatible switch. Firmware on the microcontroller maps the keys to specific characters.

Hot-swap mechanical switches on ANAVI Macro Pad 10

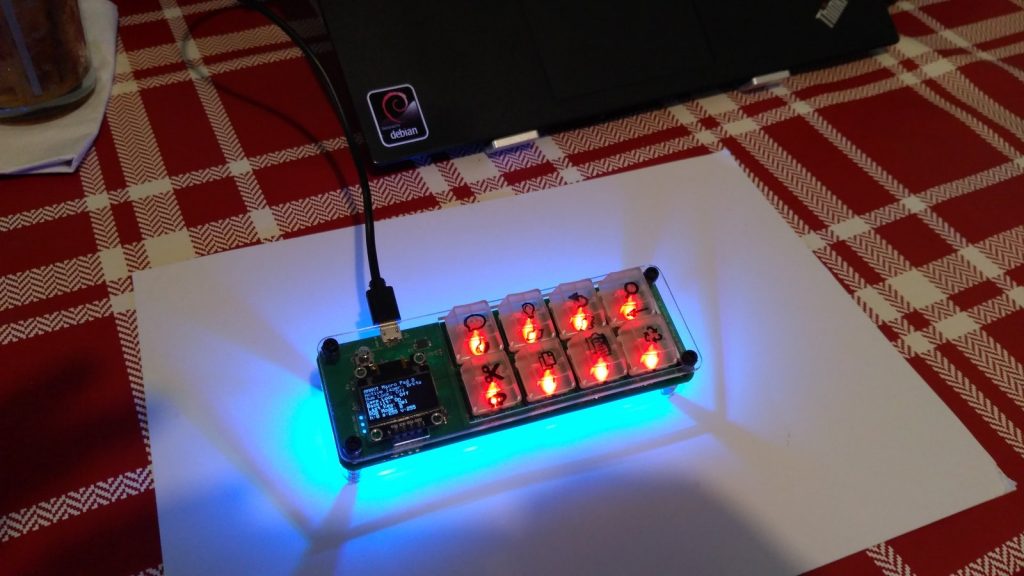
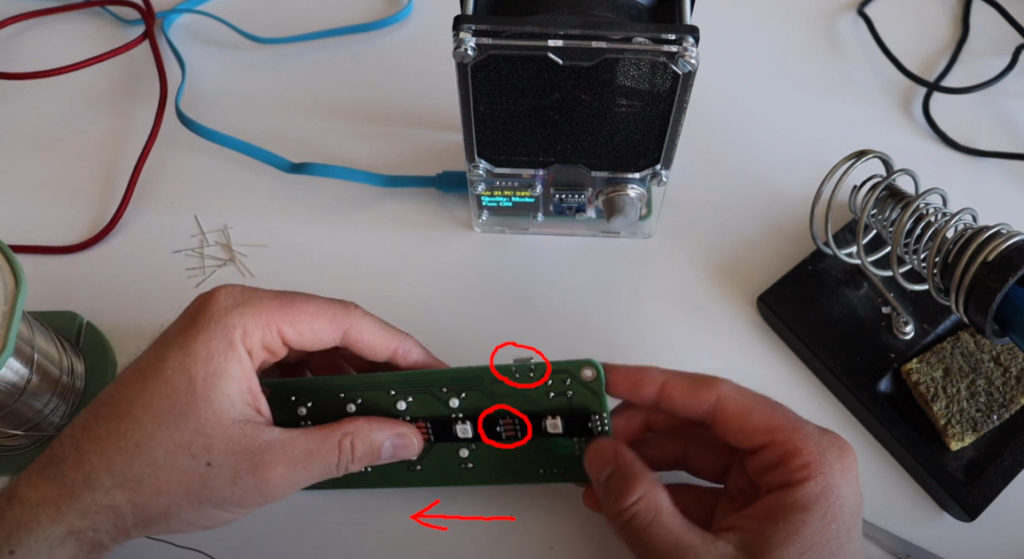
In general, a microcontoller has a limited number of GPIO (general-purpose input/output) pins, so the keys are most commonly organized in a matrix. For example, ANAVI Macro Pad 10 is designed with a three-by-three matrix which only requires six GPIO pins instead of nine. The role of the firmware is to detect when a key is pressed and then send a specific character or sequence of characters (i.e., a macro) to the computer.

Front and back of ANAVI Macro Pad 10

Ease of use combined with the power of the RP2040 makes CircuitPython a very good programming framework for implementing mechanical keyboard firmware. Of course CircuitPython is not as fast as C. However this is not a problem for the RP2040 because it is a dual-core Arm Cortex-M0+ processor with a clock running up to 133 MHz. Furthermore RP2040 has 264kB on-chip SRAM – more than enough for keyboard firmware. Thanks to the powerful microcontoller, it is easy to get started and customize keyboard behavior directly by altering the CircuitPython source code. There is no need to install complex toolchains or to cross-compile the source code. With KMK, it is easy to edit the source code in CircuitPython on pretty much any operating system, no matter if you are a Microsoft Windows, MacOS or a GNU/Linux user.

Of course, since ANAVI Macro Pad 10, ANAVI Knobs 3 and ANAVI Knob 1 are entirely open source projects, you have the freedom to replace the default firmware with whatever you like, no matter if it is KMK, QMK or anything else!

You may also like

ANAVI Macro Pad 10 and Knobs Coming Soon

With Crowd Supply we are preparing a new crowdfunding campaign for 3 open source hardware mechanical keyboards: ANAVI Macro Pad 10, ANAVI Knobs 3 and ANAVI Knob 1.

ANAVI Macro Pad 10, ANAVI Knobs 3 and ANAVI Knob 1

There are many common things between these 3 mini mechanical keyboards:

  • Seeed XIAO RP2040 – a power module with USB-C and Raspberry Pi RP2040 MCU from Seeed Studio
  • Rotary encoders
  • KMK – an open source firmware for mechanical keyboards written in CircuitPython
  • Open source hardware designed with the free and open source software KiCad

Subscribe at our pre-launch page at Crowd Supply to be the first to know when we launch the crowdfunding campaign!

You may also like

VisualStudio Keymap for ANAVI Macro Pad 8

Many thanks to Efthimios Iosfidis, an open source engineer, maker and developer from Greece. Efthimis added a QMK keymap with VisualStudio shortcuts for ANAVI Macro Pad 8.

ANAVI Macro Pad 8
ANAVI Macro Pad 8

Furthermore Efthimis modifed the hardware a little bit and raised the keypad 15 degrees from the back side with metal stand-offs. As you can see on the photos the result is pretty cool!

ANAVI Macro Pad 8 with modified enclosure

More details about the new keymap and the modification of the enclosure are available as a Crowd Supply field report submitted by Efthimios Iosfidis.

Efthimis, well done and thank you again!

By the way, “field report” is a program by Crowd Supply to highlight talented creators by publishing their projects, spreading the word among the community and also giving a $25 Crowd Supply credit. So if you are using any of our open source hardware products available at Crowd Supply don’t think twice and submit a Crowd Supply Field Report now šŸ™‚

You may also like

ANAVI Macro Pad 2 Developer Kit Assembly Guide

ANAVI Macro Pad is an open source, programmable two-key mechanical keyboard with backlighting. It was funded through a crowdfunding campaign at Crowd Supply.

ANAVI Macro Pad 2 Developer Kit does not require soldering. The assembly is easy, please take a look at theĀ assembly videoĀ above for details. Although you can complete assembly with your bare hands, you might find a screwdriver and tweezers helpful.

ANAVI Macro Pad 2 Developer Kit includes a fully-soldered gold-plated green printed circuit board with two Gateron red mechanical switches, red 3 mm LEDs, an acrylic enclosure in two parts, two translucent keycaps, M2.5 screws, washers, and nuts, and awesome stickers!

To assemble ANAVI Macro Pad 2 follow these steps asĀ shown in the video:

  • Peel off the protective films from both sides of the acrylic enclosure parts.
  • Assemble the top acrylic enclosure using two longer screws. It is not symmetric, so please pay attention to the position of capacitor C1.
  • Assemble the bottom acrylic enclosure using six nuts, three washers, and the shorter screw which is for the mounting hole between the two mechanical switches.
  • Stick the eight silicon protective pads onto the bottom: add two of them on top of each other to all four corners of the bottom acrylic plate.
  • Optionally, add stickers to the translucent keycaps.
  • Press the translucent keycaps onto the mechanical switches.

Finally, gently plug in a USB to microUSB cable and connect the ANAVI Macro Pad 2 to a personal computer. Please be careful with the microUSB connector, because harsh bending of the USB cable may damage it.

More details are available inĀ chapter 2 of the userā€™s manual. As an open source project, we always welcome contributions and, if you like, you can help up improve the documentation by submitting a GitHub pull request or providing us with feedback over email. Thanks again for supporting this entirely open source project!

You may also like

How OpenSCAD Helped ANAVI Macro Pad 2?

A week ago we received the acrylic enclosures for ANAVI Macro Pad 2. We contracted a trusted local company in a near-by town in Bulgaria to make them using laser cutting of 2 mm transparent clear acrylic sheets. There are blue protective films on both sides of each acrylic enclosure which you will need to remove when you receive your ANAVI Macro Pad 2 kit.

ANAVI Macro Pad 2 acrylic enclosures with blue protective films on both sides

The design of the acrylic enclosures has been done with the popular open source software OpenSCAD. It is a simple and lightweight application that runs on MS Windows, MacOS and Linux. I am using it on Ubuntu. OpenSCAD is a script-only based modeller that uses its own description language to create solid 3D CAD objects. The .scad files for ANAVI Macro Pad 2 are available in GitHub. OpenSCAD supports exporting to various different file formats, including svg and pdf.

The acrylic enclosures were designed using a script in OpenSCAD

Before the launch of the crowdfunding campaign at Crowd Supply we experimented with several different designs but finally settled on a very simple design with is easy to manufacture. Furthermore, if in future you need a spare part and have a 3D printed, you can also export stl file from OpenSCAD and print it. By the way, there is a line in the source code that you need to uncomment to covert the enclosure parts from 2D to 3D for 3D printing. The OpenSCAD files and schematics for the acrylic enclosures of ANAVI Macro Pad 2 are available in GitHub.

You may also like

ANAVI Macro Pad 2 Successful Crowdfunding

ANAVI Macro Pad 2 was successfully crowdfunded at Crowd Supply! Furthermore more all stretch goals were met! Thank you!

ANAVI Macro Pad 2 with all stickers which are part of the crowdfunding campaign stretch goals.

Having met the stretch goals means all kits will include 32 awesome transparent Emoji stickers. You can put them on any side of the translucent keycaps. It is entirely up to you to decide whether to use the stickers and on which keys to put them. This way you can customize your ANAVI Macro Pad 2 with its own unique look!

These transparent Emoji stickers feature icons fromĀ Font Awesome, available under CC BY 4.0 License in GitHub. Thank to our trusted local supplier in Plovdiv, Bulgaria they are printed on a glossy transparent foil and laser-cut in rectangular or square shapes, depending on the icon dimensions and proportions. We already have experience with the same stickers because they are also part of theĀ ANAVI Macro Pad 8 kits.

In addition, ANAVI Macro Pad 2 includes logo stickers for ANAVI Technology and KiCad, the free and open source CAD software we used to design the printed circuit board for ANAVI Macro Pad 2.

You may also like

ANAVI Macro Pad 2 – a Tiny 2% Mechanical Keyboard

ANAVI Macro Pad 2

Meet ANAVI Macro Pad 2! It is an open source, programmable two-key mechanical keypad with backlighting. Each of the keys on ANAVI Macro Pad 2 can be reprogrammed for use as a macro or even as a dedicated shortcut key, making it perfect for a number of applications across various industries.

ANAVI Macro Pad 2

ANAVI Macro Pad 2 runs on aĀ Microchip ATtiny85, which is a reliable, low-cost, 8-bit AVR RISC-based microcontroller. It has a gold-plated printed circuit board, Gateron red mechanical switches, 3mm red LEDs and translucent keycaps.

Gateron red mechanical switches with 3mm LEDs on ANAVI Macro Pad 2

Only free and open source software tools like KiCad, OpenSCAD, and Inkscape were used to design ANAVI Macro Pad 2.Ā Quantum Mechanical Keyboard (QMK)Ā with V-USB is the default open source firmware. Source code and schematics areĀ available on GitHub.

ANAVI Macro Pad 2 with stickers on the translucent keycaps of the mechanical switches

We kicked off a crowdfunding campaign for ANAVI Macro Pad 2 at Crowd Supply. We have a stable product and we are ready to proceed with low-volume manufacturing. We hope you help us bring this entirely open source project to life by ordering a developer or a maker kit!

You may also like

Git Keymap for ANAVI Macro Pad 8

Out of the box ANAVI Macro Pad 8 comes with the popular open source Quantum Mechanical Keyboard (QMK) firmware. In a previous blog post we covered it in more details and we had a look at the existing keymaps.

Recently, we added a brand new keymap for ANAVI Macro Pad 8 for Git users. Git is a free and open source distributed version control system started by the famous Linus Torvalds, the creator of Linux kernel. Nowadays, there are many offerings of Git repositories as a service by GitHub, GitLab, Bitbucket, etc.

The Keys

The Git keymap for ANAVI Macro Pad 8 contains the following shortcuts for Git. On the first row from left to right:

  • git status
  • git log
  • git pull
  • git push

On the second row from left to right:

  • git diff
  • git add
  • git commit
  • FN key to switch to the 2nd layout and control lights
ANAVI Macro Pad 8
ANAVI Macro Pad 8

How It Works?

From technical point of view for developers this Git keymap demonstrates a couple of interesting features of QMK firmware:

  • Typing words with a single key press
  • Reducing the QMK firmware size

In order to send commands like git log by pressing a single key, the Git keymap follows the QMK guidelines for custom keycodes.This keymap uses enum to define data type in the C programming language for all new custom keycodes. After that through function process_record_user and using SEND_STRING the text is send if a specific key on the macro pad is pressed. Details are available at QMK documentation and as an example directly in GitHub.

Using SEND_STRING in the Git keymap increases the total firmware size. This is dangerous because Microchip ATmega32U4, the microcontroller on ANAVI Macro Pad 8, may not have enough free space for it. If the firmware exceeds the size limit any attempts to flash it will fail with a similar error message:

The firmware is too large! 28866/28672 (194 bytes over)

If you run in such a use case, the easiest way to reduce the size of QMK firmware in a keymap for ANAVI Macro Pad 8 is to cut some of the default RGB lighting animations and effects. For example, as in the Git keymap, you can create config.h file in the keymap directory that overwrites the main config.h with a reduced number of supported RGB lighting animations and effects:

#pragma once

#undef RGBLIGHT_ANIMATIONS
#define RGBLIGHT_EFFECT_BREATHING
#define RGBLIGHT_EFFECT_CHRISTMAS
#define RGBLIGHT_EFFECT_RAINBOW_MOOD
#define RGBLIGHT_EFFECT_SNAKE

How to Flash It?

We have already covered in details how to install QMK firmware and how to flash a keymap from the command line in a previous blog post and in the user’s manual. Here is it in a nutshell for the Git keymap. Connect ANAVI Macro Pad 8 to a computer with USB to microUSB cable follow the steps below:

  • Execute the following command to compile QMK and the Git keymap for ANAVI Macro Pad 8:
qmk compile -kb anavi/macropad8 -km git
  • Execute the following command in a terminal to flash the git keymap:
qmk flash -kb anavi/macropad8 -km git
  • Press the RESET button on ANAVI Macro Pad 8 when asked:
Detecting USB port, reset your controller now.....
  • Wait until the firmware flashes successfully:
avrdude done.  Thank you.

ANAVI Macro Pad 8 is available at our distributors Crowd Supply and Mouser. We are constantly trying to improve this open source project and we are interested in finding more distributors around the world. If you have any questions please do not hesitate to contact us.

You may also like

ANAVI Macro Pad 8 Maker Kit Assembly Guide

In a previous update we shared the exact steps how to assemble ANAVI Macro Pad 8 Developer Kit. Now let’s have a look at the Maker Kit.

ANAVI Macro Pad 8 Maker Kit Soldering and Assembly Video Tutorial

The maker kit provides the printed circuit board (PCB) and an addressable LED strip. There are also some nice stickers. Other accessories have to be purchased separately. You can use any mechanical switches compatible with Cherry MX plate footprint and 3mm LEDs.

ANAVI Macro Pad 8 Maker Kit Unboxing

Furthermore with the maker kit you can perform a hot-swap upgrade of ANAVI Macro 8. It requires a very specific procedure which was explained in a previous article. If you have this in mind don’t solder anything and have a look at the other video tutorial.

Required tools for soldering of ANAVI Macro Pad 8 Maker Kit

The assembly of ANAVI Macro Pad 8 Maker Kit requires soldering and advanced skills. The following tools are required:

  • Soldering iron
  • Scissors
  • Optionally: screwdriver, tweezers and a keycap puller

It is also a good idea to stay safe and get a smoke absorber while soldering, for example our open source ANAVI Fume Extractor.

Please have a look at the video and follow the steps below if you have ANAVI Macro Pad 8 Maker Kit.

Solder mechanical switches to the PCB

Any type of mechanical switch compatible with Cherry MX plate footprint is suitable for ANAVI Macro Pad 8. The developer kit comes with Gateron mechanical switches. The maker kit allow you to use different brand and color.

Choosing the most appropriate switch for your needs and taste is a matter of personal preference. There are many different brands and colors. For example, the blue mechanical switches are more noisy which could be sometimes fun but also annoying during daily work. The red switches are fast and not very noisy therefore they are often proffered by gamers.

There are two pins on each mechanical switch that must be soldered to the printed circuit board. That makes 16 pins in total. The position of the each pin is very specific and the switch goes into the PCB. One of the pins is for the signal coming from the Microchip ATmega32U4 microcontroller, the other pin is for ground.

Solder 3mm LED

This step is actually optional depending on the the type of the mechanical switch. Some mechanical switches may not have a hole in the plastic enclosure for a 3mm LED.

Each 3mm LED for through-hole soldering has 2 legs. The longer leg is the positive terminal, also known as anode. The shorter leg is negative and also known as cathode.

The shorter leg that indicates the negative terminal must go into the square hole of the PCB. ANAVI Macro Pad 8 has 8 mechanical switches therefore 8 LEDs are required. If you want you can use different color of the LEDs. You can even mix colors.

Solder WS2812B addressable LED strip to the back of the PCB

Using scissors cut a little bit from both ends of the LED strip to make sure it will stretched when placed on the board. However it is tricky, be careful and make sure enough from the pads are available to make a good contact after soldering them.

It is very important to properly set the direction of the WS2812B LED strip. On the LED strip you will notice small arrows indicating the direction. They should point from the microUSB connector towards the other end of the PCB as shown in the video.

If you have successfully completed these 3 steps your ANAVI Macro Pad 8 should look just like a developer kit having all accessories soldered. Therefore the next steps are the same as for both the developer and the maker kit. Explore them at our previous blog post as well as in the user’s manual.

Thank you for using ANAVI Macro Pad 8 and for supporting this entirely open source project!

You may also like

ANAVI Macro Pad 8 Developer Kit Assembly Guide

Please have a look at the video and follow the steps below to assemble ANAVI Macro Pad 8 Developer kit. Although you can do it with your bare hands, simple tools like a screwdriver, tweezers and a keycap puller might be useful.

ANAVI Macro Pad 8 developer kit comes with 8 Gateron mechanical switches and red leds. If you prefer another type of switches or color of the LEDs, please have a look at the Maker kit which requires soldering but allows to use different Cherry MX compatible switches or even make a hot-swap upgrade.

Step 1: Stickers

The first step optional. Each kit includes a set stickers. Feel free to add them to the translucent keycaps included in ANAVI Macro Pad 8 developer kit. You can do it with your bare hand or eventually with the help of tweezers.

You can place a sticker on the top or on the side of the keycap. If you like retro electronics you may find some similarities in this approach to the famous keyboard of the best selling personal computer of the 20th century Commodore 64.

ANAVI Macro Pad 8 is powered by the popular open source firmware QMK which allows you to create various layouts. You can make a keymap with 2 or more layouts. A sticker on the side of the keycap might be useful as a visual aid to indicate the additional function of the key.

Step 2: Keycaps

Place all keycaps on 8 mechanical switches of ANAVI Macro Pad 8. You can easily do this with your bare hands. It takes just a few seconds.

As you can see in the video a keycap puller might be useful if you make a mistake and want to pull off a keycap and place it on another location.

Step 3: Peel Off Protective Films from the Acrylic Enclosure

Peel off the protective films from both sides of the two laser cut transparent acrylic parts. The removal of the protective films is quite annoying but once you get rid of them, the acrylic enclosure will be crystal clear and fully transparent.

Step 4: Assemble the Acrylic Enclosure

Assemble the acrylic enclosures. In the cardboard box you also will find M3 black plastic screws, nuts and standoffs. Although you can assemble them with your bare hands a screw driver might be handy.

First place 4 of stand-offs with screws to the bottom acrylic part. After that place ANAVI Macro Pad 8 on top of them. The printed circuit board has 4 mounting holes for this purpose.

Add the rest of stand-offs on top of ANAVI Macro Pad 8 to secure the printed circuit board to the bottom part as shown in the video. Place the top acrylic part and fasten it with the 4 M3 nuts. Finally add the silicon protective pads on the screws on the bottom.

Step 5: Mini OLED Display

Step number 5 is optional. The default open source QMK firmware for ANAVI Macro Pad 8 support mini OLED display connected over the communication bus I2C.

By default mini display in yellow-blue 0.96″ I2C OLED. It comes with 4 jumper wires which might be useful for debugging purposes or if you plan to make a custom 3D printed case. However for the default acrylic enclosure the wires are not needed.

Peel off the protected film and place the mini OLED display as shown in the video to ANAVI Macro Pad 8. Pay attention to the labels that indicated the pin connectors of the display. They must match the labels on the keyboard.

Step 6: Turn On ANAVI Macro Pad 8

Gently plug a USB to microUSB cable to connect ANAVI Macro Pad 8 to a personal computer. Please be careful with the microUSB connector because a harsh bending of the USB cable may damage the microUSB connector.

Thanks to the QMK firmware ANAVI Macro Pad 8 will be detected as human interface device and should work out of the box. Furthermore with QMK you have the freedom to fully customize each key.

ANAVI Macro Pad 8
ANAVI Macro Pad 8

Please note that a USB to microUSB cable is not included in any of the kits. Reuse a cable from an old electronic device or purchase a cable according to your taste. Make sure that the cable supports both power and data transfer over USB.

Thank you for supporting and using our open source kits. Stay tuned for more updates, including details for soldering ANAVI Macro Pad 8 Maker kit.

You may also like