ANAVI Macro Pad is an open source, programmable two-key mechanical keyboard with backlighting. It was funded through a crowdfunding campaign at Crowd Supply.
ANAVI Macro Pad 2 Developer Kit does not require soldering. The assembly is easy, please take a look at the assembly video above for details. Although you can complete assembly with your bare hands, you might find a screwdriver and tweezers helpful.
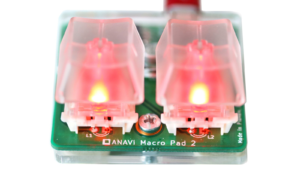
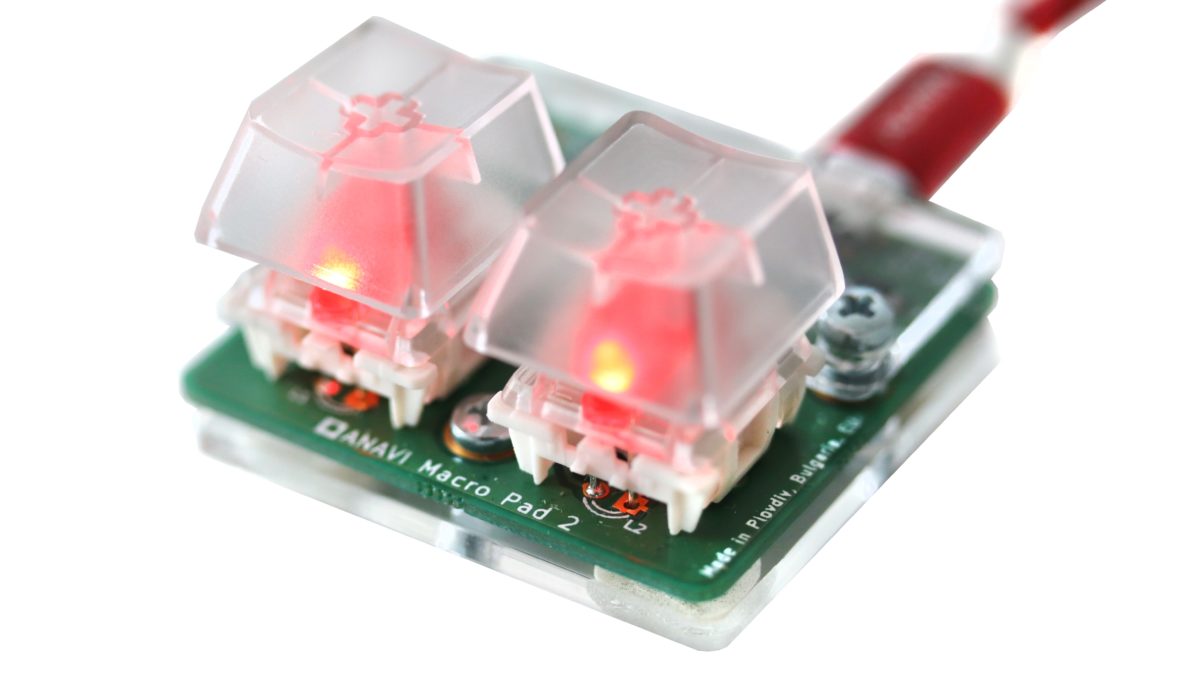
ANAVI Macro Pad 2 Developer Kit includes a fully-soldered gold-plated green printed circuit board with two Gateron red mechanical switches, red 3 mm LEDs, an acrylic enclosure in two parts, two translucent keycaps, M2.5 screws, washers, and nuts, and awesome stickers!

To assemble ANAVI Macro Pad 2 follow these steps as shown in the video:
- Peel off the protective films from both sides of the acrylic enclosure parts.
- Assemble the top acrylic enclosure using two longer screws. It is not symmetric, so please pay attention to the position of capacitor C1.
- Assemble the bottom acrylic enclosure using six nuts, three washers, and the shorter screw which is for the mounting hole between the two mechanical switches.
- Stick the eight silicon protective pads onto the bottom: add two of them on top of each other to all four corners of the bottom acrylic plate.
- Optionally, add stickers to the translucent keycaps.
- Press the translucent keycaps onto the mechanical switches.

Finally, gently plug in a USB to microUSB cable and connect the ANAVI Macro Pad 2 to a personal computer. Please be careful with the microUSB connector, because harsh bending of the USB cable may damage it.
More details are available in chapter 2 of the user’s manual. As an open source project, we always welcome contributions and, if you like, you can help up improve the documentation by submitting a GitHub pull request or providing us with feedback over email. Thanks again for supporting this entirely open source project!