
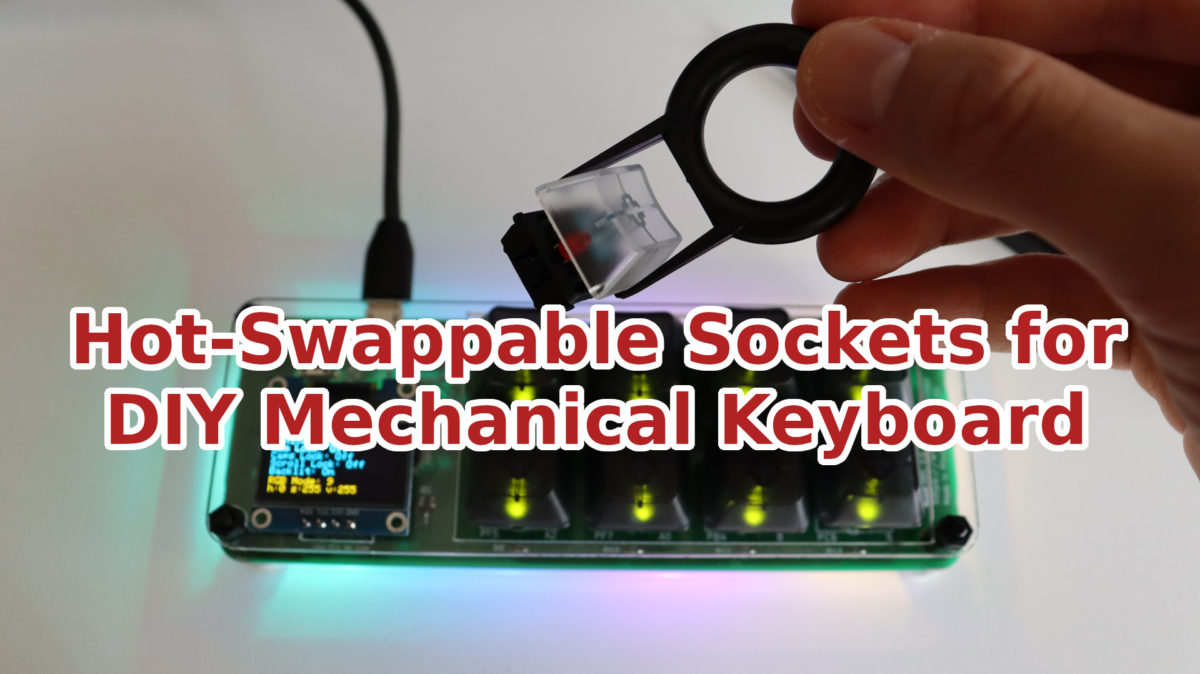
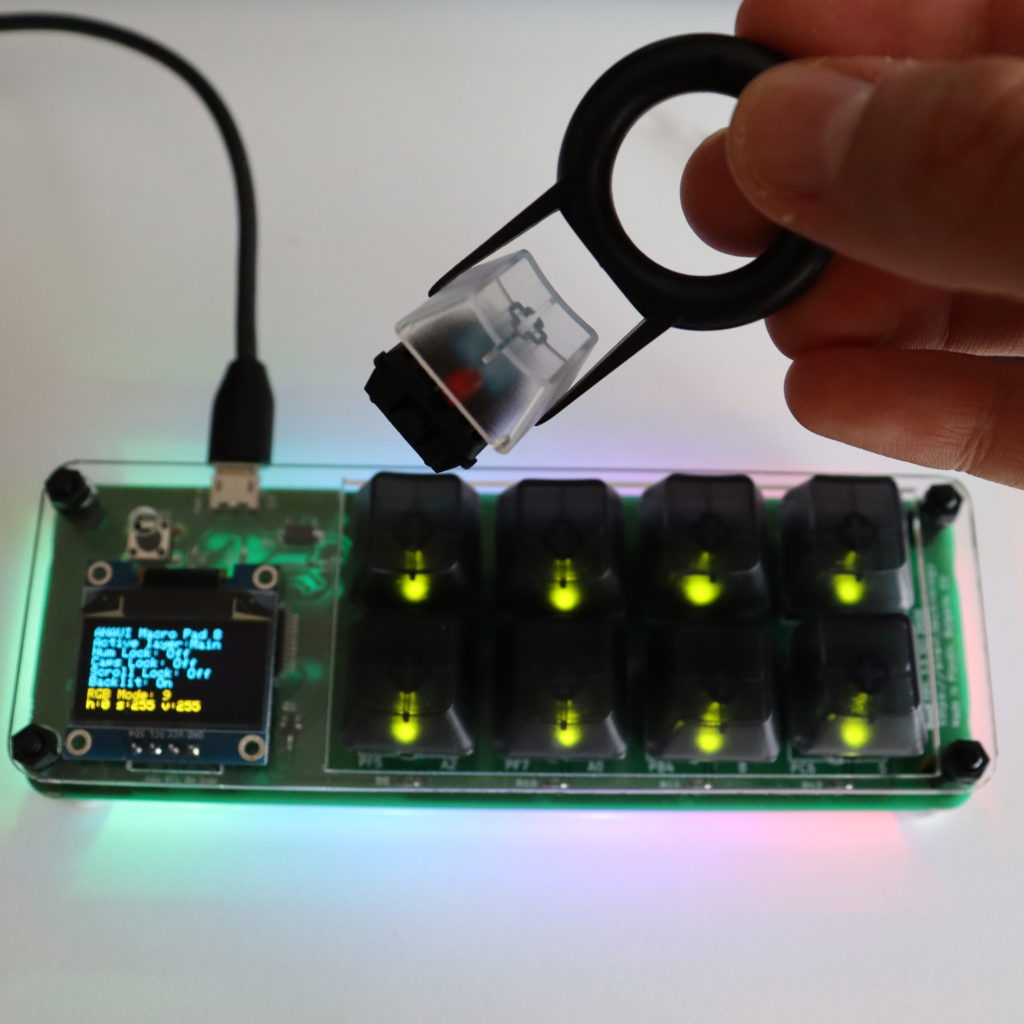
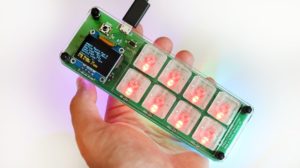
Hot-swappable mechanical keyboard allows you to replace switches and LEDs on the go without soldering and without even powering off the keyboard. In this short video tutorial I explain how to make hot-swappable any printed circuit board for a mechanical keyboard with footprints for Cherry MX plate switches. Other brands such as Gateron and Kaihl are compatible with the Cherry MX switches so this solutions is universal.
The video has been created with a maker kit of the open source mechanical keypad ANAVI Macro Pad 8. I have customized it by adding holtite sockets to make it hot-swappable.
Required Hardware
- Appropriate printed circuit board (for example for ANAVI Macro Pad 8 maker kit)
- Mechanical switches
- 3mm LEDs which are optional depending on the type of the PCB and the switches
- Keycaps
- Holtite sockets: TE Connectivity / AMP 8134-HC-8P2 for the mechanical switches and TE Connectivity / AMP 8134-HC-5P2 for the 3mm LEDs
- Tools: tweezers , cutters and a soldering iron
Step 1
Using the tweezers place the holtite sockets into the PCB. The sockets are small so be careful not to lose any of them. Turn on the soldering iron. Heat each socket and gently push it. So we are using a soldering iron but in this case not for soldering. We are just mounting the sockets using its heat.
It looks easier than it is. It took me some time to do it for all switches and LEDs. Each key has 2 holes for the switch and 2 holes for the LED so basically you need 4 sockets with appropriate sizes for each key.
Step 2
Next step is optional and specific for ANAVI Macro Pad 8. The maker kit includes WS2812B addressable LED strip which should be soldered on the back of side of the keyboard. Please note the arrow that indicates the direction of the LED strip and make sure you are placing it properly as shown in the video.
Step 3
Cut the legs of the 3mm LEDs to make sure they will fit well in the hot-swappable holtite sockets that we have already mounted.
Step 4
Assemble the switches, the LEDs and the key caps. Once you are done with steps 1 this is easy because you already have a hot-swappable printed circuit board for your mechanical keyboard.
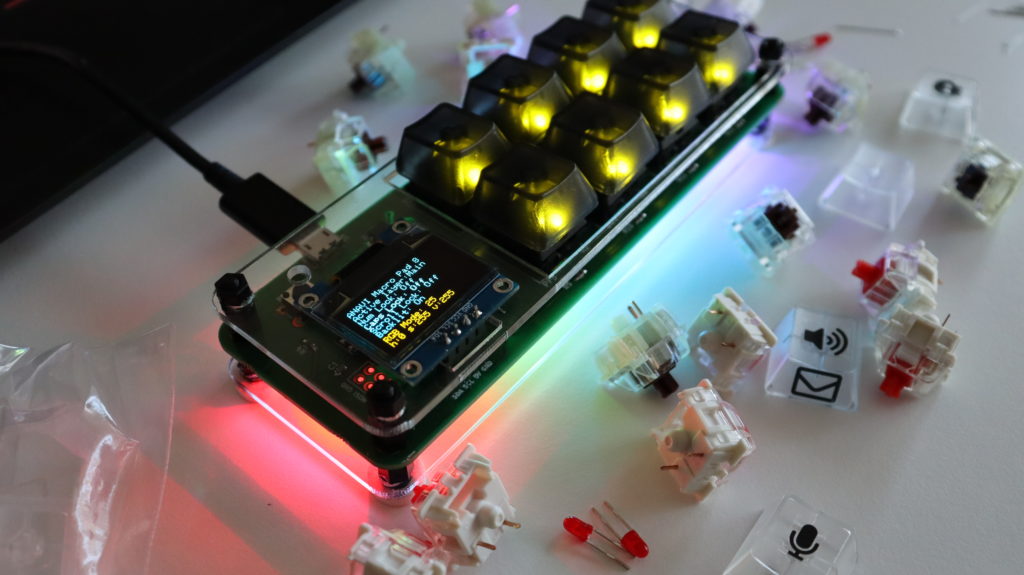
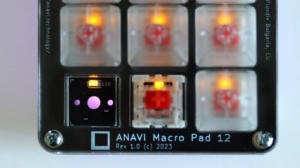
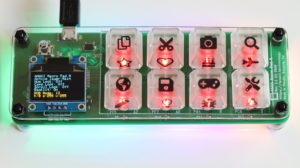
By default ANAVI Macro Pad 8 is with Gateron red switches, red LEDs and white translucent keycaps. However, in this case with the hot-swappable version I am experimenting primary with blue Cherry MX switches, green LEDs and dark translucent keycaps. I have purchased several different mechanical switches: Gateron Red, Cherry MX blue and Cherry MX brown. Please note that these particular Cherry MX brown switches in the video do not have slots for the 3mm LEDs.
Although in this video I am using the maker kit of ANAVI Macro Pad 8. The same approach with holtite sockets can be applied on any other PCB for mechanical keyboard with footprint for Cherry MX switches.

One thought on “How to Make Hot-Swappable Mechanical keyboard PCB?”
Comments are closed.