ANAVI Macro Pad 8 Developer Kit Assembly Guide

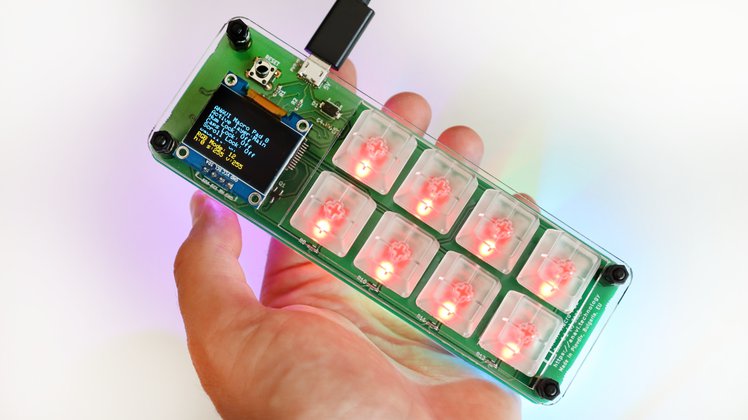
Please have a look at the video and follow the steps below to assemble ANAVI Macro Pad 8 Developer kit. Although you can do it with your bare hands, simple tools like a screwdriver, tweezers and a keycap puller might be useful.

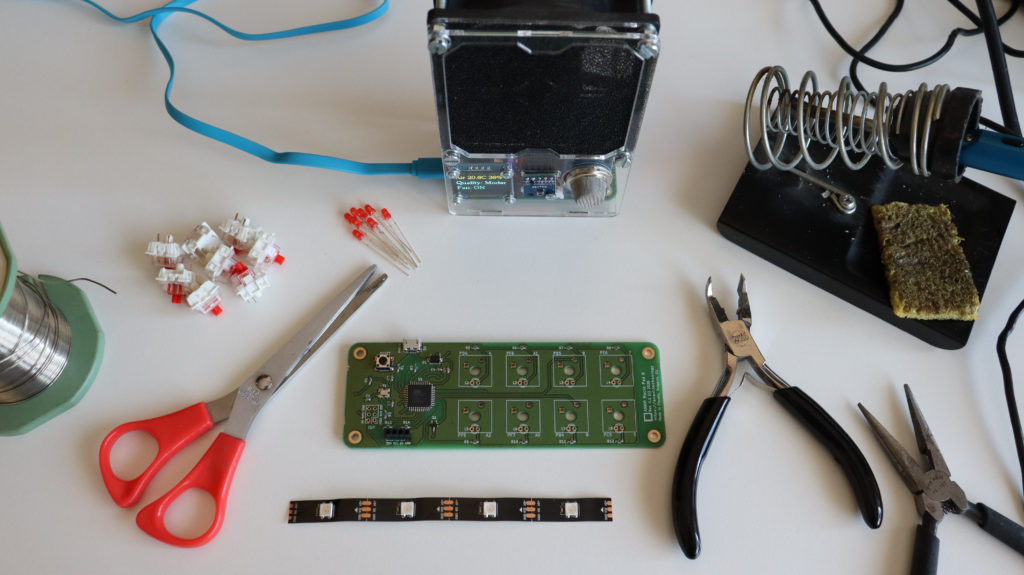
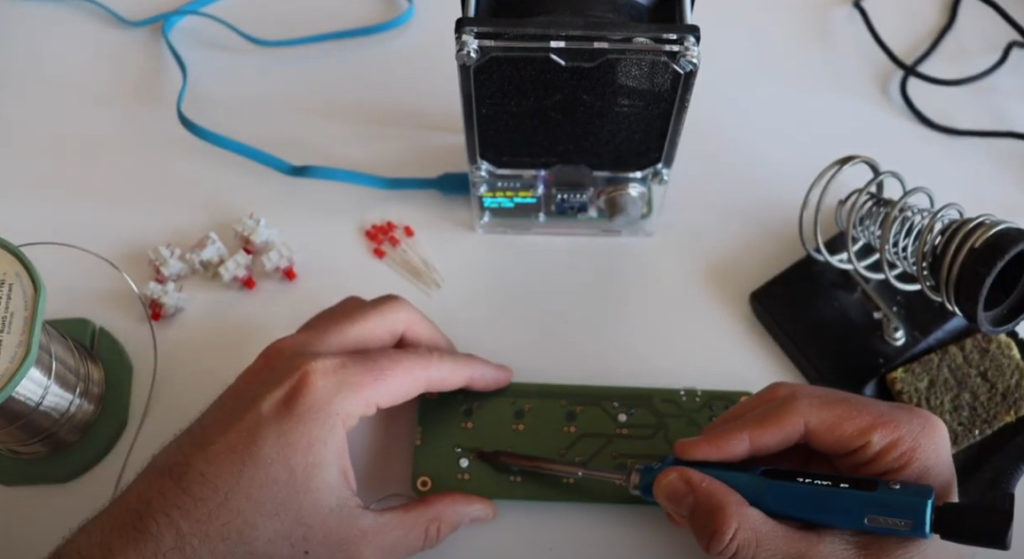
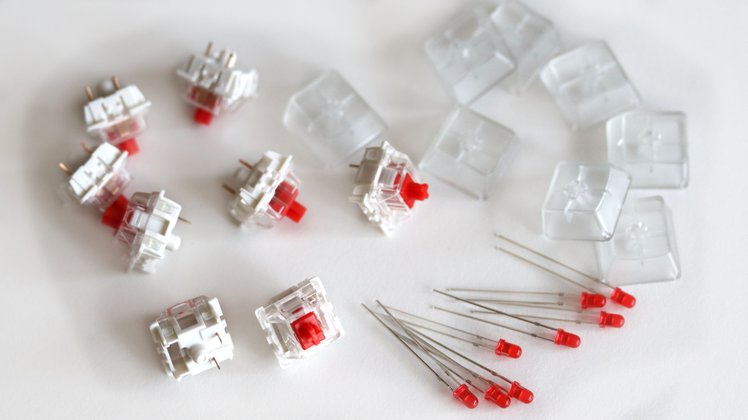
ANAVI Macro Pad 8 developer kit comes with 8 Gateron mechanical switches and red leds. If you prefer another type of switches or color of the LEDs, please have a look at the Maker kit which requires soldering but allows to use different Cherry MX compatible switches or even make a hot-swap upgrade.

Step 1: Stickers

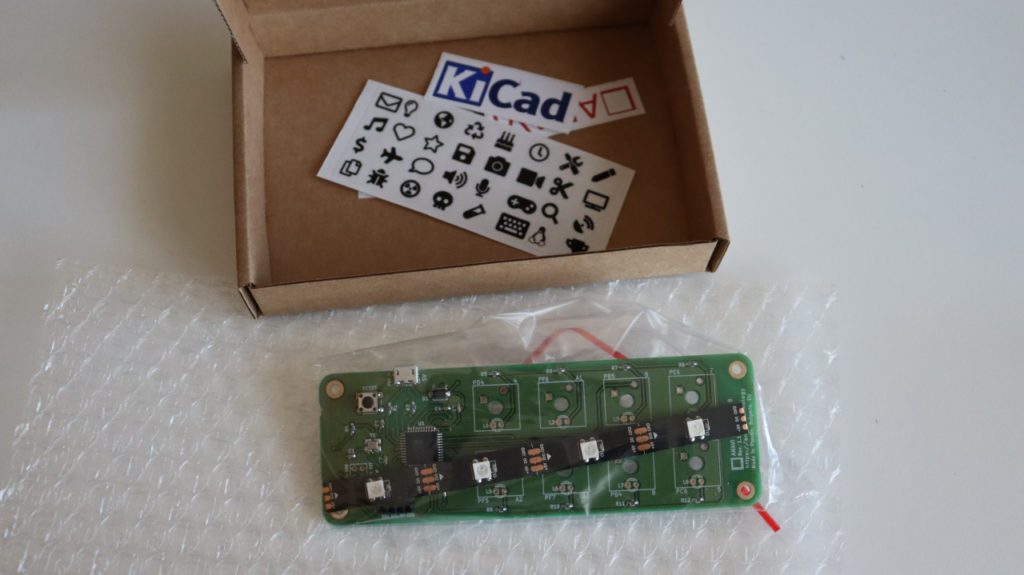
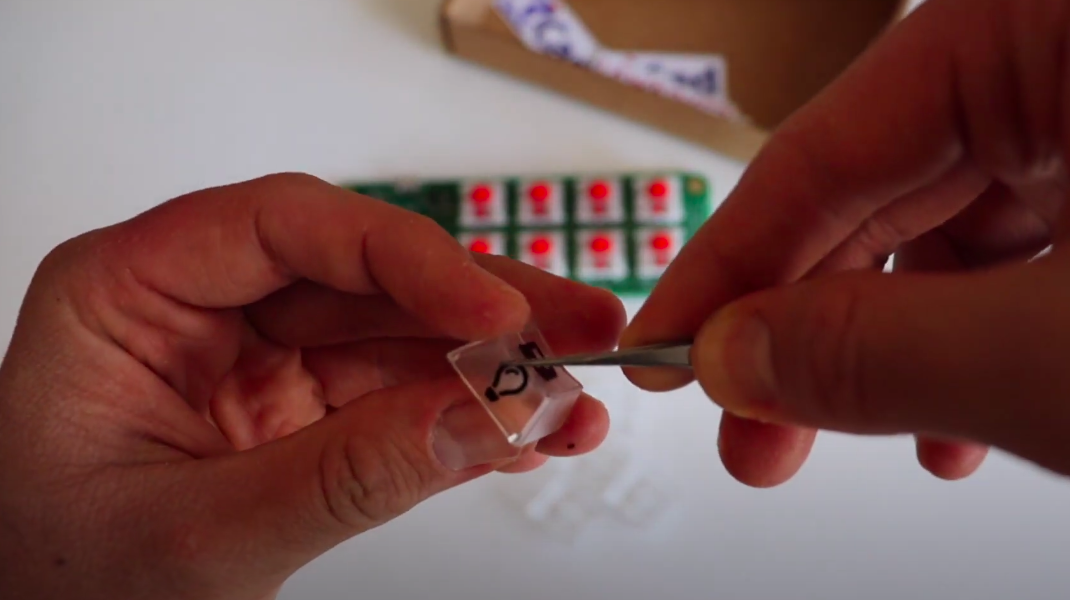
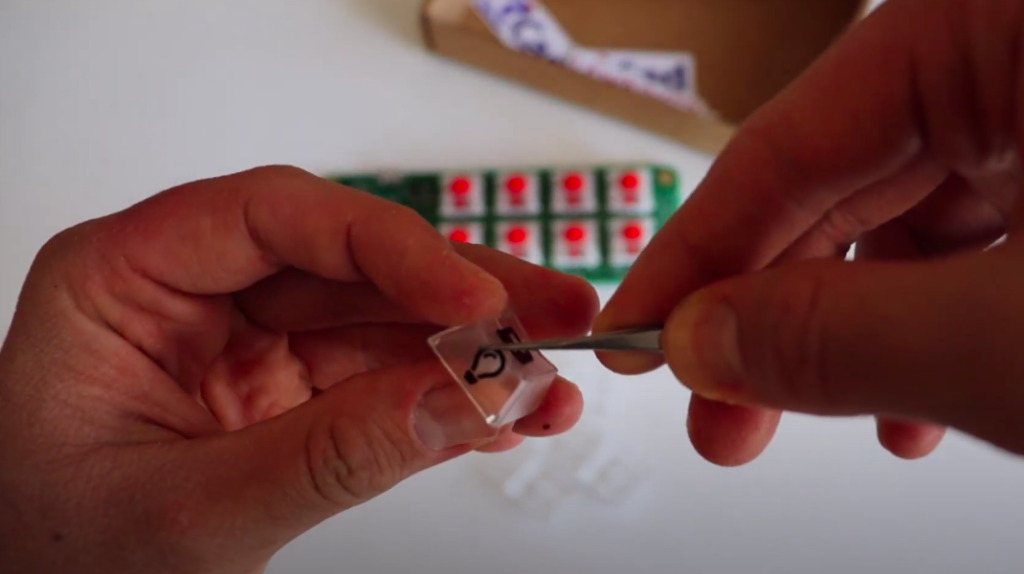
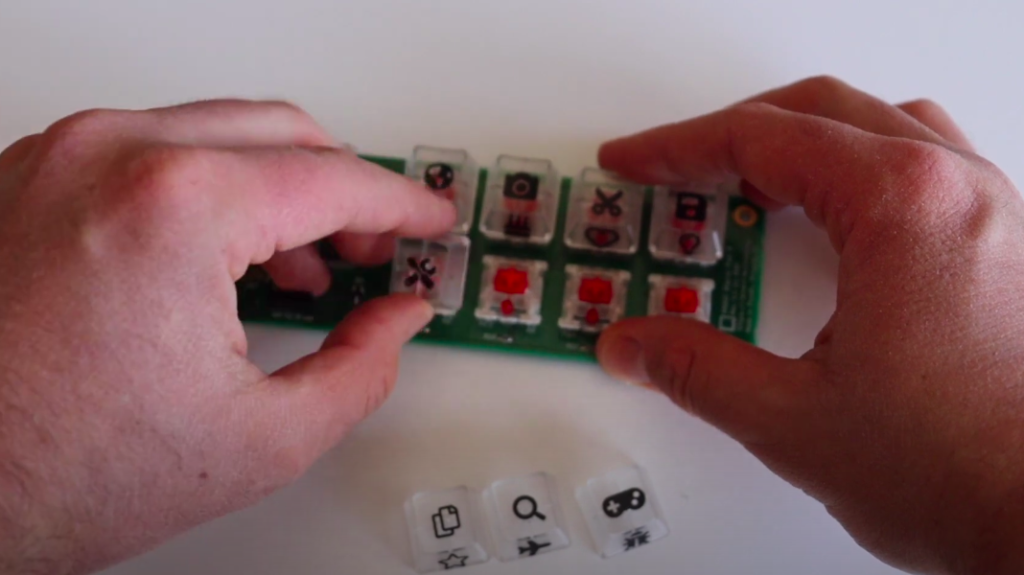
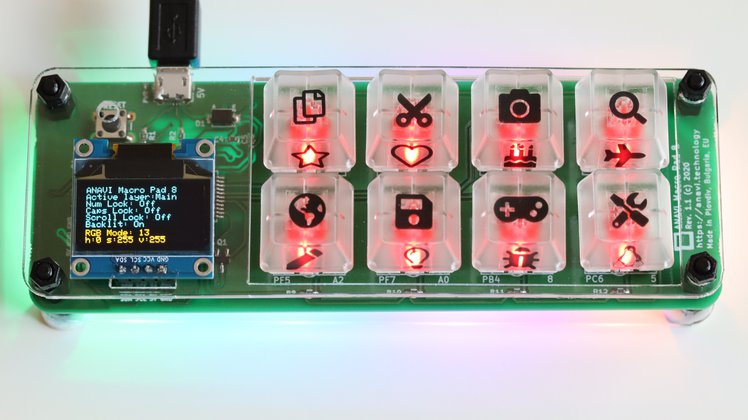
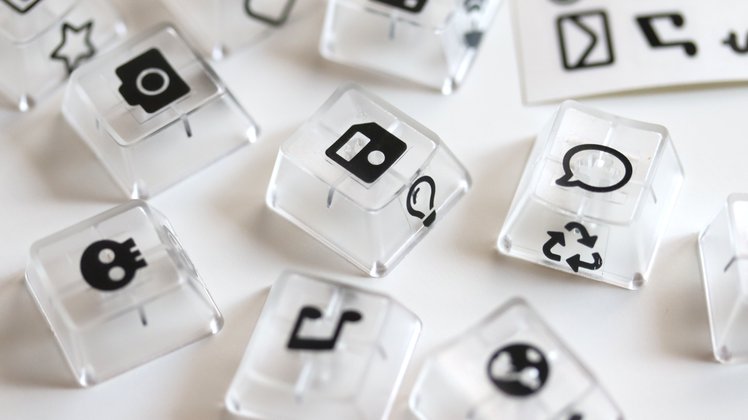
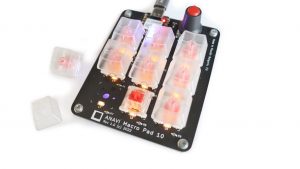
The first step optional. Each kit includes a set stickers. Feel free to add them to the translucent keycaps included in ANAVI Macro Pad 8 developer kit. You can do it with your bare hand or eventually with the help of tweezers.

You can place a sticker on the top or on the side of the keycap. If you like retro electronics you may find some similarities in this approach to the famous keyboard of the best selling personal computer of the 20th century Commodore 64.

ANAVI Macro Pad 8 is powered by the popular open source firmware QMK which allows you to create various layouts. You can make a keymap with 2 or more layouts. A sticker on the side of the keycap might be useful as a visual aid to indicate the additional function of the key.

Step 2: Keycaps

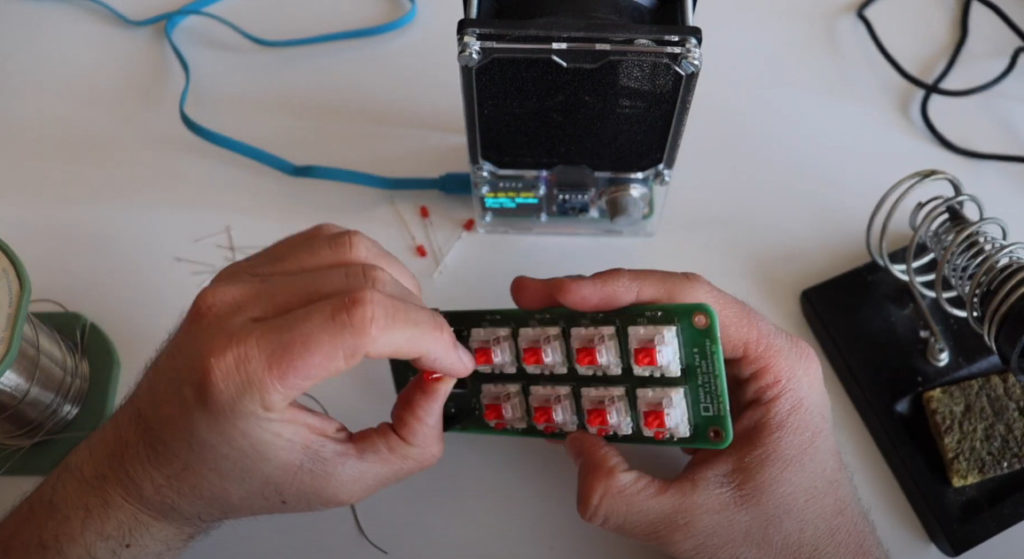
Place all keycaps on 8 mechanical switches of ANAVI Macro Pad 8. You can easily do this with your bare hands. It takes just a few seconds.

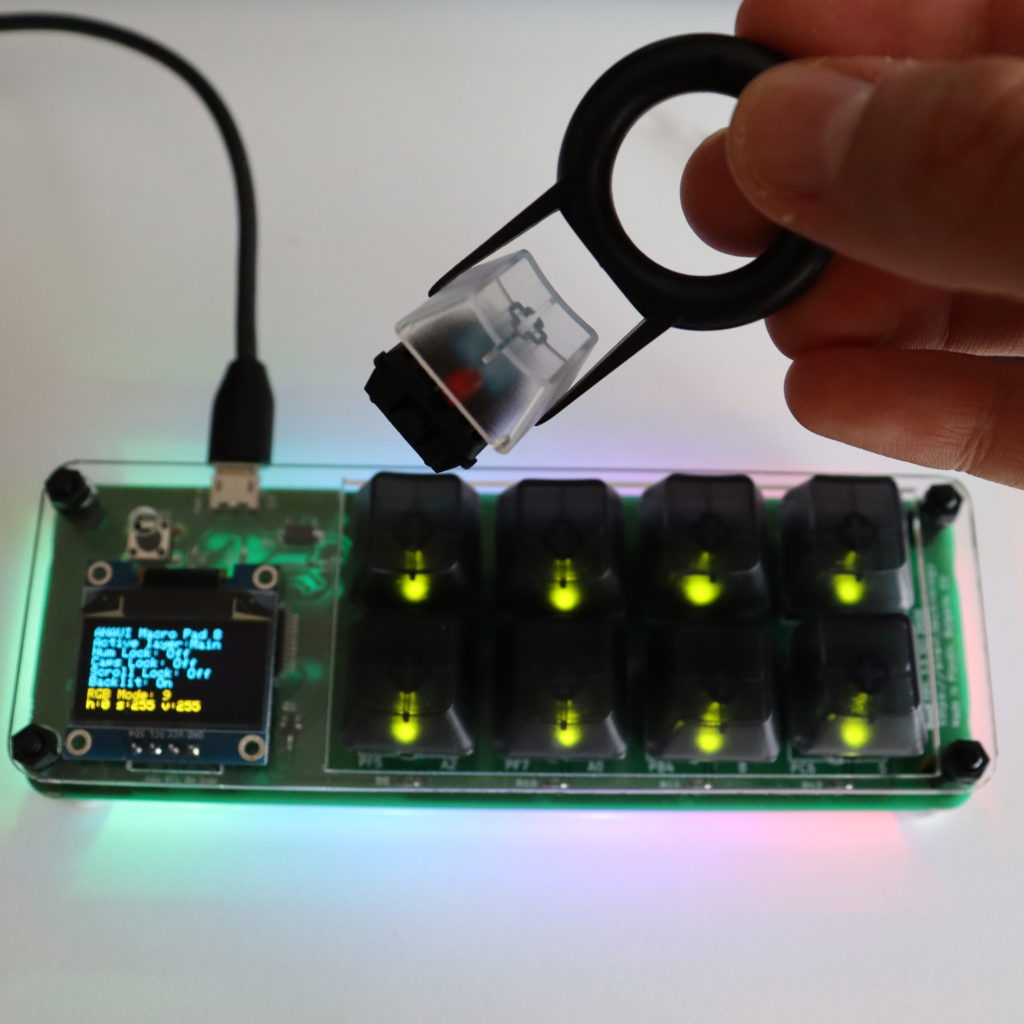
As you can see in the video a keycap puller might be useful if you make a mistake and want to pull off a keycap and place it on another location.

Step 3: Peel Off Protective Films from the Acrylic Enclosure

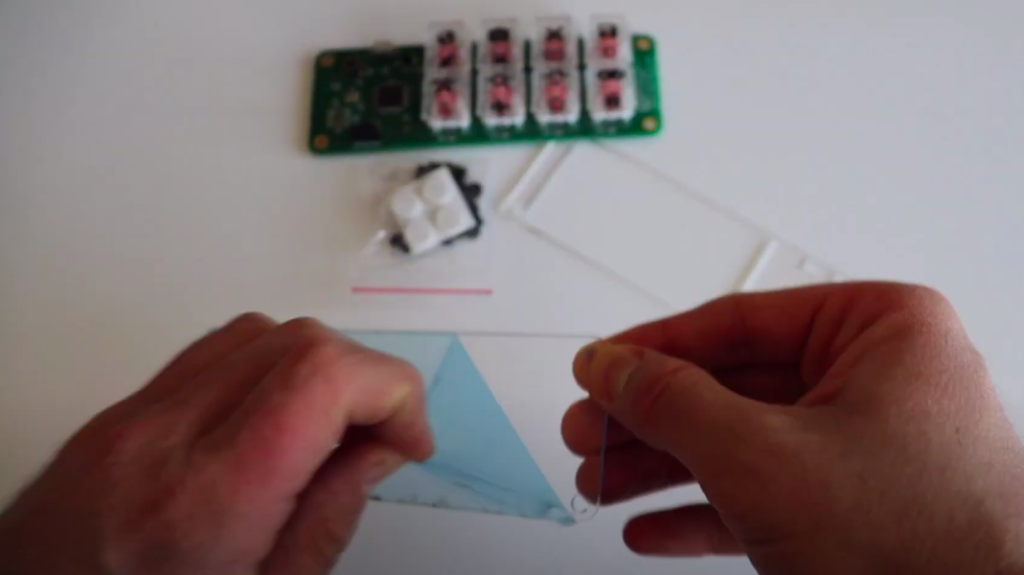
Peel off the protective films from both sides of the two laser cut transparent acrylic parts. The removal of the protective films is quite annoying but once you get rid of them, the acrylic enclosure will be crystal clear and fully transparent.

Step 4: Assemble the Acrylic Enclosure

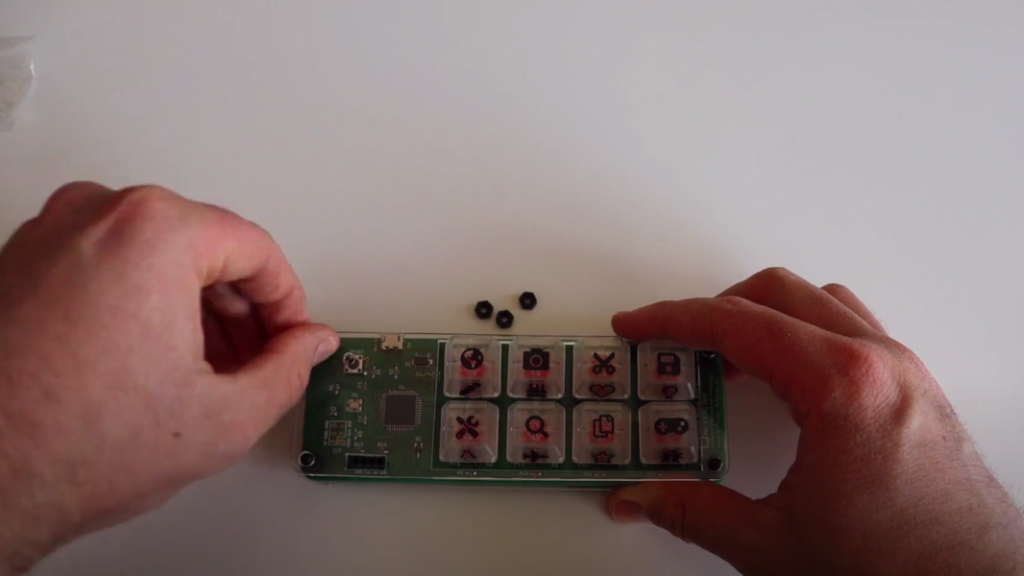
Assemble the acrylic enclosures. In the cardboard box you also will find M3 black plastic screws, nuts and standoffs. Although you can assemble them with your bare hands a screw driver might be handy.

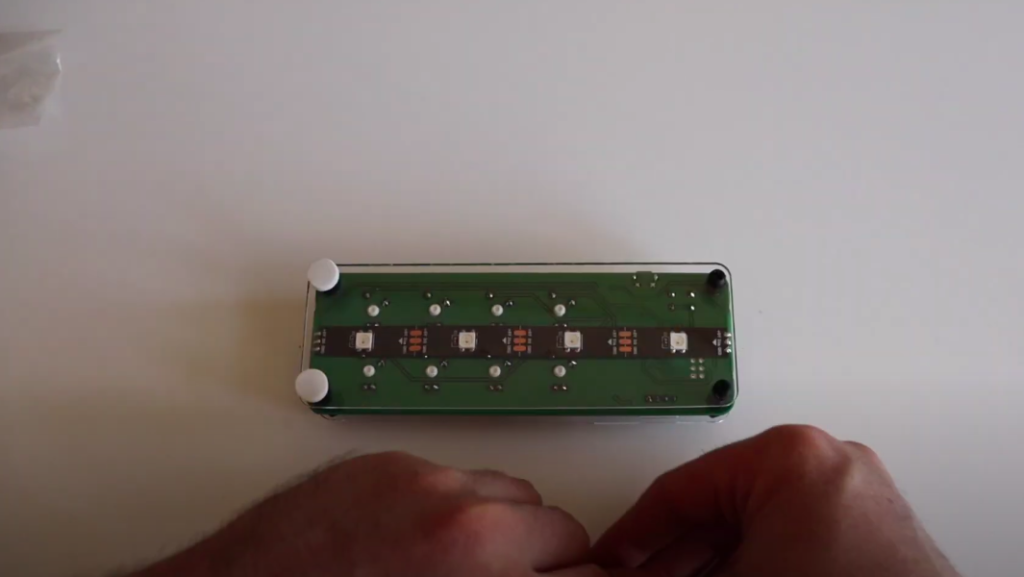
First place 4 of stand-offs with screws to the bottom acrylic part. After that place ANAVI Macro Pad 8 on top of them. The printed circuit board has 4 mounting holes for this purpose.

Add the rest of stand-offs on top of ANAVI Macro Pad 8 to secure the printed circuit board to the bottom part as shown in the video. Place the top acrylic part and fasten it with the 4 M3 nuts. Finally add the silicon protective pads on the screws on the bottom.

Step 5: Mini OLED Display

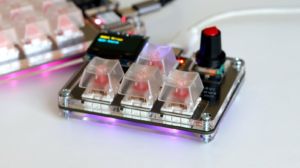
Step number 5 is optional. The default open source QMK firmware for ANAVI Macro Pad 8 support mini OLED display connected over the communication bus I2C.

By default mini display in yellow-blue 0.96″ I2C OLED. It comes with 4 jumper wires which might be useful for debugging purposes or if you plan to make a custom 3D printed case. However for the default acrylic enclosure the wires are not needed.

Peel off the protected film and place the mini OLED display as shown in the video to ANAVI Macro Pad 8. Pay attention to the labels that indicated the pin connectors of the display. They must match the labels on the keyboard.

Step 6: Turn On ANAVI Macro Pad 8

Gently plug a USB to microUSB cable to connect ANAVI Macro Pad 8 to a personal computer. Please be careful with the microUSB connector because a harsh bending of the USB cable may damage the microUSB connector.

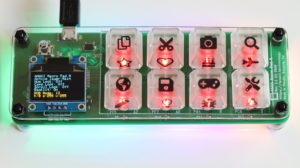
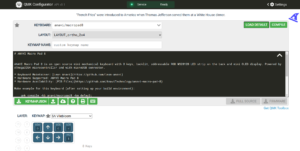
Thanks to the QMK firmware ANAVI Macro Pad 8 will be detected as human interface device and should work out of the box. Furthermore with QMK you have the freedom to fully customize each key.

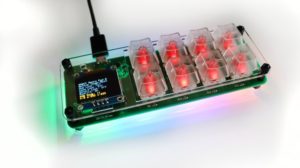
ANAVI Macro Pad 8
ANAVI Macro Pad 8

Please note that a USB to microUSB cable is not included in any of the kits. Reuse a cable from an old electronic device or purchase a cable according to your taste. Make sure that the cable supports both power and data transfer over USB.

Thank you for supporting and using our open source kits. Stay tuned for more updates, including details for soldering ANAVI Macro Pad 8 Maker kit.

You may also like

How to Make Hot-Swappable Mechanical keyboard PCB?

Hot-swappable mechanical keyboard allows you to replace switches and LEDs on the go without soldering and without even powering off the keyboard. In this short video tutorial I explain how to make hot-swappable any printed circuit board for a mechanical keyboard with footprints for Cherry MX plate switches. Other brands such as Gateron and Kaihl are compatible with the Cherry MX switches so this solutions is universal.

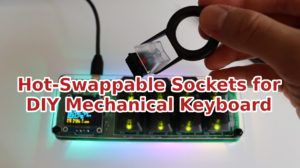
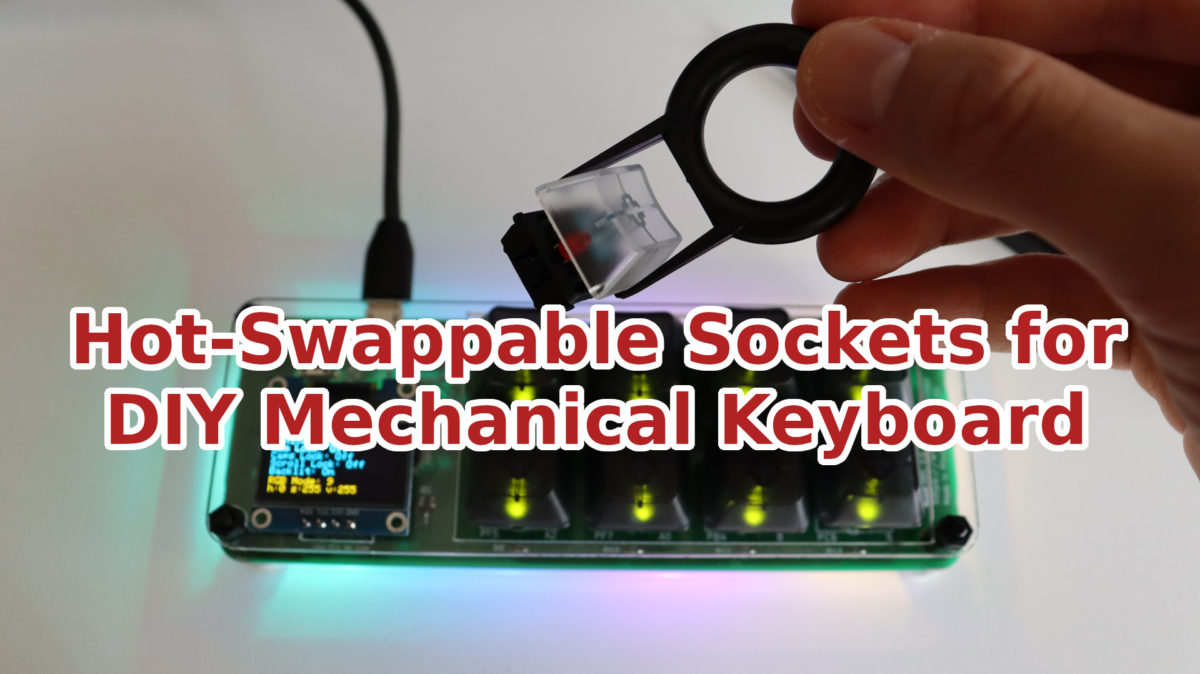
Hot-Swappable Sockets for DIY Mechanical Keyboard

The video has been created with a maker kit of the open source mechanical keypad ANAVI Macro Pad 8. I have customized it by adding holtite sockets to make it hot-swappable.

Required Hardware

ANAVI Macro Pad 8 with holtite sockets for hot-swap of Cherry MX and Gategron mechanical switches

Step 1


Using the tweezers place the holtite sockets into the PCB. The sockets are small so be careful not to lose any of them. Turn on the soldering iron. Heat each socket and gently push it. So we are using a soldering iron but in this case not for soldering. We are just mounting the sockets using its heat.

It looks easier than it is. It took me some time to do it for all switches and LEDs. Each key has 2 holes for the switch and 2 holes for the LED so basically you need 4 sockets with appropriate sizes for each key.

Step 2

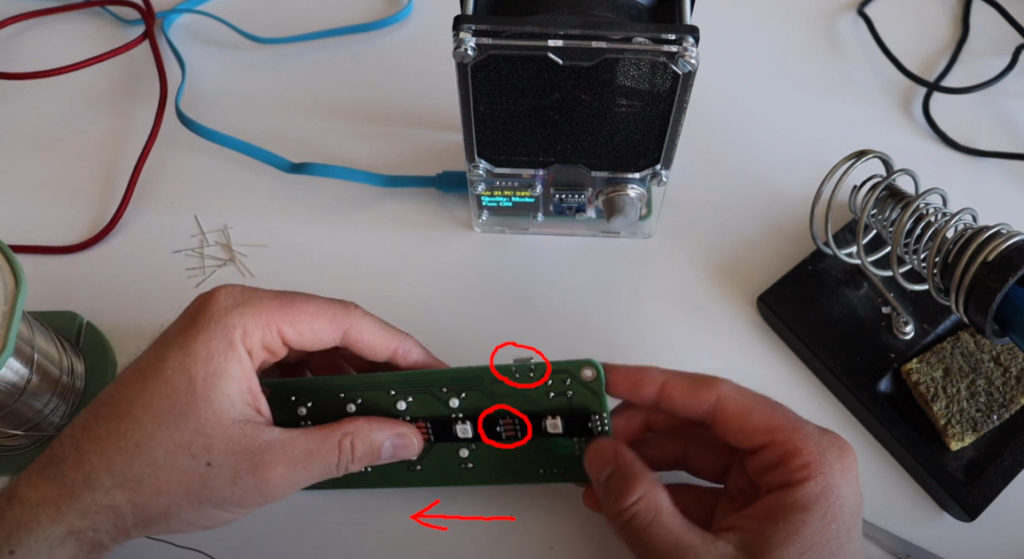
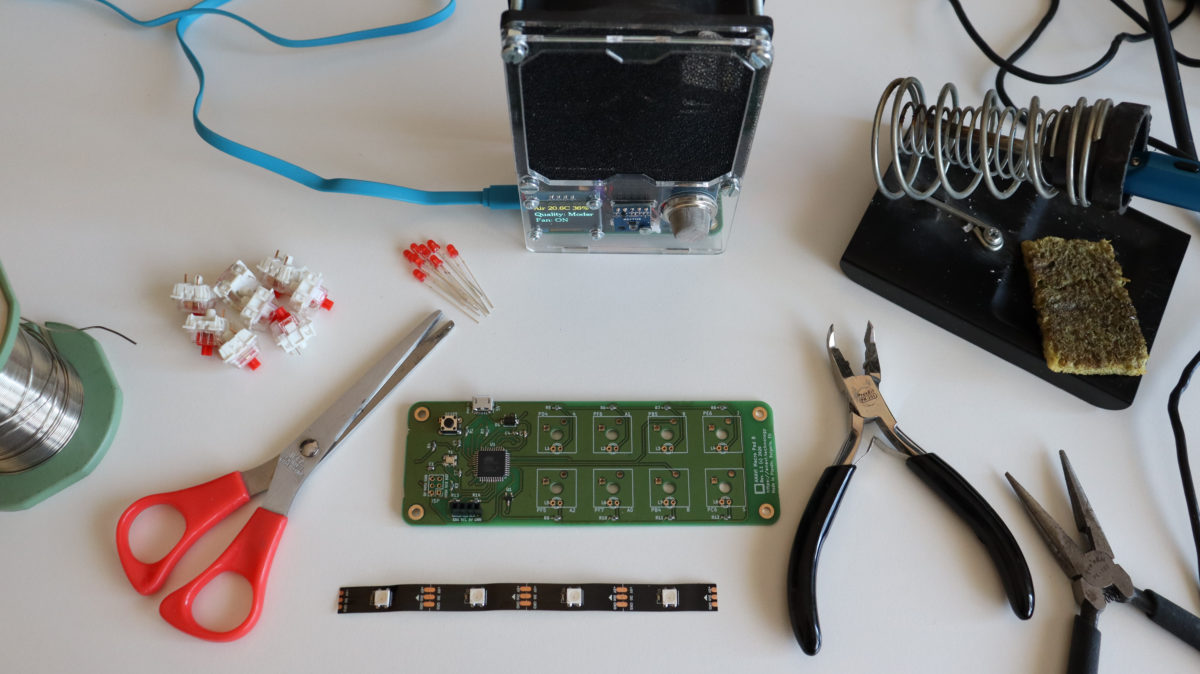
Next step is optional and specific for ANAVI Macro Pad 8. The maker kit includes WS2812B addressable LED strip which should be soldered on the back of side of the keyboard. Please note the arrow that indicates the direction of the LED strip and make sure you are placing it properly as shown in the video.

Step 3

Cut the legs of the 3mm LEDs to make sure they will fit well in the hot-swappable holtite sockets that we have already mounted.

Step 4

Assemble the switches, the LEDs and the key caps. Once you are done with steps 1 this is easy because you already have a hot-swappable printed circuit board for your mechanical keyboard.

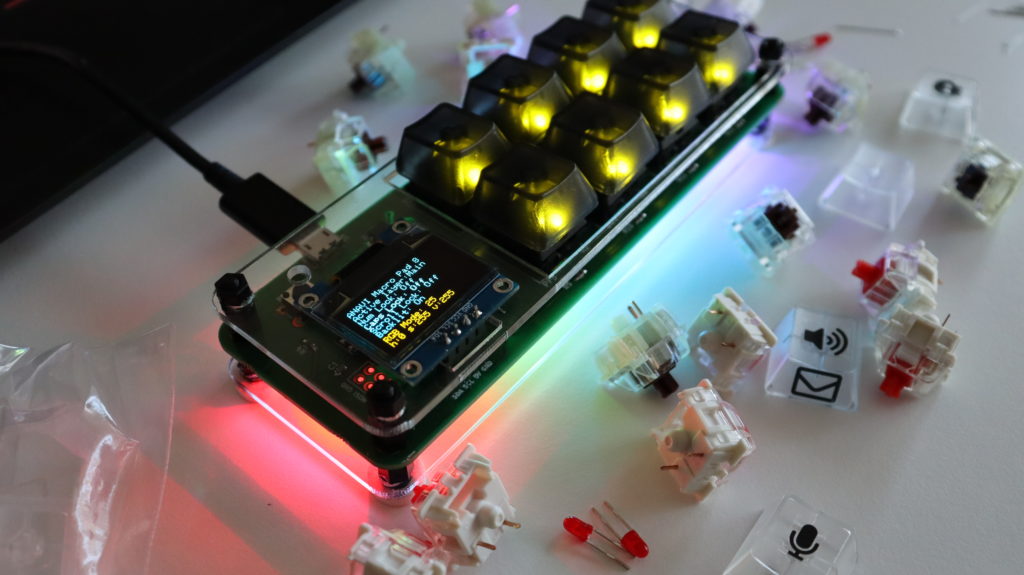
Custom ANAVI Macro Pad 8 with blue Cherry MX switches and green 3mm LEDs for backlit

By default ANAVI Macro Pad 8 is with Gateron red switches, red LEDs and white translucent keycaps. However, in this case with the hot-swappable version I am experimenting primary with blue Cherry MX switches, green LEDs and dark translucent keycaps. I have purchased several different mechanical switches: Gateron Red, Cherry MX blue and Cherry MX brown. Please note that these particular Cherry MX brown switches in the video do not have slots for the 3mm LEDs.

Although in this video I am using the maker kit of ANAVI Macro Pad 8. The same approach with holtite sockets can be applied on any other PCB for mechanical keyboard with footprint for Cherry MX switches.

You may also like

Microchip ATmega32U4 – The Heart of ANAVI Macro Pad 8

Have you already ordered our open source mechanical keypad ANAVI Macro Pad 8 from the recent crowdfunding campaign? It is powered by Microchip ATmega32U4: an 8-bit microcontroller with 32K bytes of ISP Flash, USB Controller and I2C. This microcontroller is part of the AVR family of microcontrollers developed since 1996 by Atmel and acquired by Microchip Technology in 2016.

Microchip ATmega32U4 on the open source mechanical keyboard ANAVI Macro Pad 8

Microchip ATmega32U4 is how ANAVI Macro Pad 8 connects to the USB port of a personal computer, shows graphics and text on the mini OLED display through I2C. Furthermore, this microcontroller has more than enough general-purpose input/output (GPIO) pins for the mechanical switches.

Photo of Microchip ATmega32U4 between microUSB connector and 4-pin slot for I2C mini OLED display on ANAVI Macro Pad 8

The popular open source Quantum Mechanical Keyboard (QMK) Firmware supports Microchip ATmega32U4 and therefore it is easy to use as the default firmware for ANAVI Macro Pad 8. However, it is technically also possible use ANAVI Macro Pad 8 as a development board and upload Arduino sketches compatible with Arduino Leonardo through Arduino IDE or PlatformIO. Many popular development boards such as Arduino LeonardoSparkFun Pro MicroTeensy 2.0Olimex eduArdu also use ATmega32U4.

ANAVI Macro Pad 8

You may also like

You Can Now Order Gateron Red Mechanical Switches, Keycaps and Red LEDs with the Maker Kit of ANAVI Macro Pad 8

After the launch of the crowdfunding campaign we received a lot of positive feedback about ANAVI Macro Pad 8 and great ideas from the community. Based on the recommendations of several backers a new option has been recently added. Now you can order a maker kit with an extra add-on: Gateron red mechanical switches, translucent keycaps and 3mm red LEDs.

Gateron red mechanical switches with 3mm red LEDs and translucent keycaps

Basically with this optional add-on, you can get the same parts as in the developer kit, but not soldered. In some use cases, having all the parts in one package is a convenient option for advanced users with soldering skills. This way they don’t need to purchase separately the keycaps, the LEDs and the switches. Furthermore, they can still make advanced modifications before using them with ANAVI Macro Pad 8.

ANAVI Macro Pad 8 mechanical keyboard/keypad

As part of the stretch goals that the crowdfunding campaign has already met, all kits of ANAVI Macro Pad 8 will also include 32 transparent Emoji stickers to customize further the keycaps!

Translucent keycaps for mechanical keyboard with emoji stickers included in all ANAVI Macro Pad 8 kits

You may also like