Within the realm of computer keyboards, a remarkable open-source firmware called KMK has surfaced, captivating enthusiasts from all corners. KMK possesses a potent capability to revolutionize mechanical keyboards into personalized instruments, enabling users to venture into uncharted territories of customization and productivity.
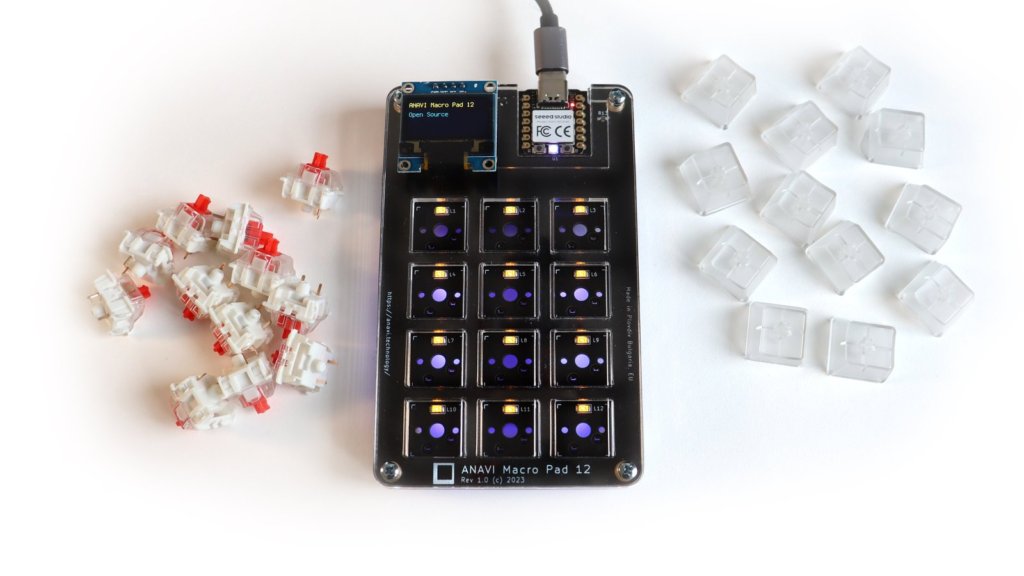
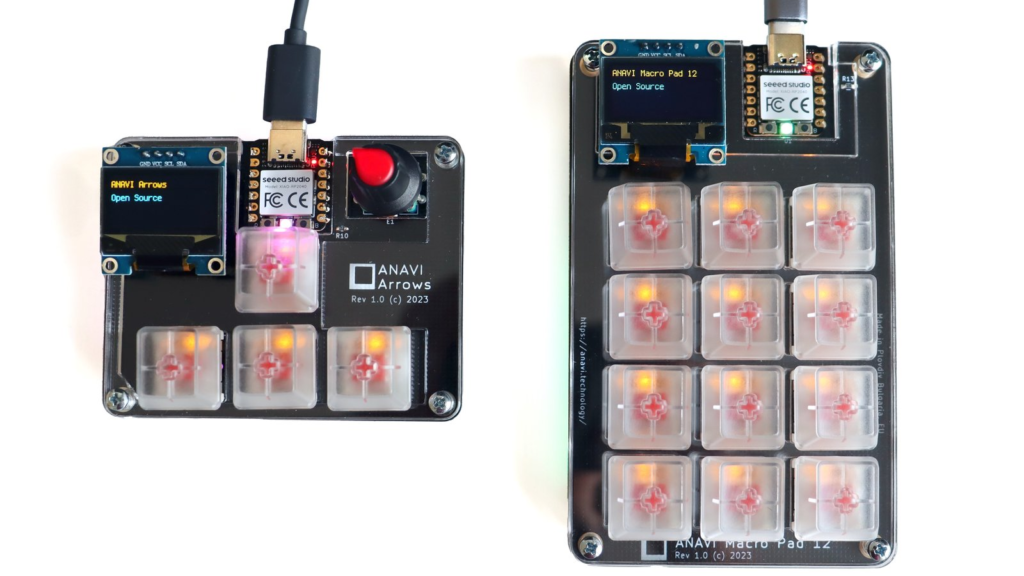
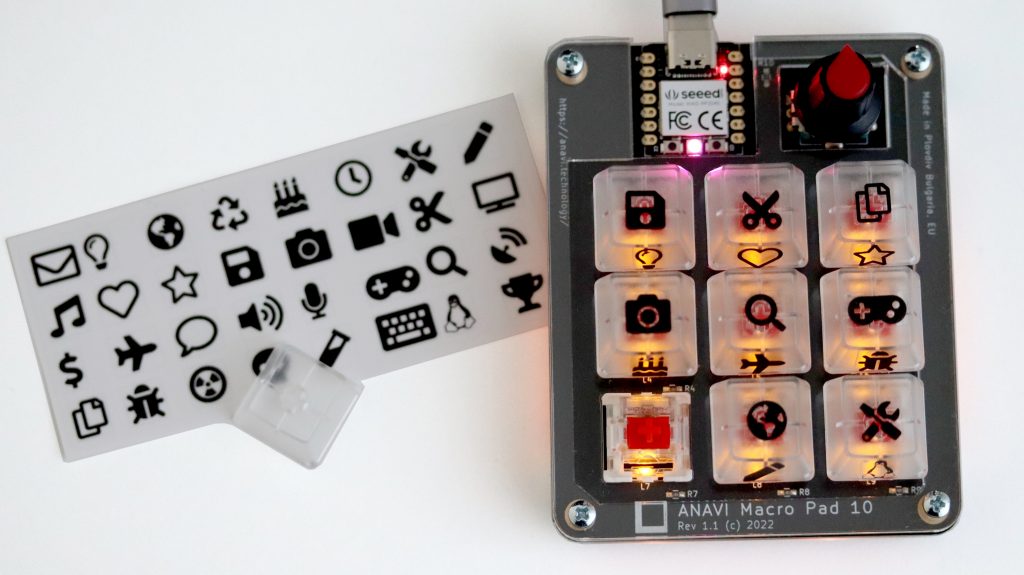
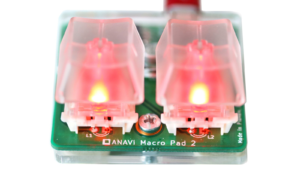
CircuitPython is an open-source programming language that runs on microcontrollers used in various embedded applications, including mechanical keyboards like ANAVI Macro Pad 12 and ANAVI Arrows from our crowdfunding campaign at Crowd Supply. Built upon the foundations of Python, CircuitPython is specifically crafted to cater to the requirements of resource-limited embedded devices housing microcontrollers. One of the standout merits of CircuitPython lies in its user-friendly nature and effortless adaptability, particularly beneficial for newcomers who may not possess extensive coding expertise.

The source code of KMK is readily available on GitHub, released under the GPLv3 license. The inception of KMK can be traced back to 2018. Notably, the KMK source code follows a coding style that employs the Python code formatter, known as Black, and embraces the usage of single quotes.

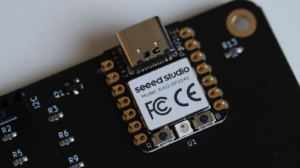
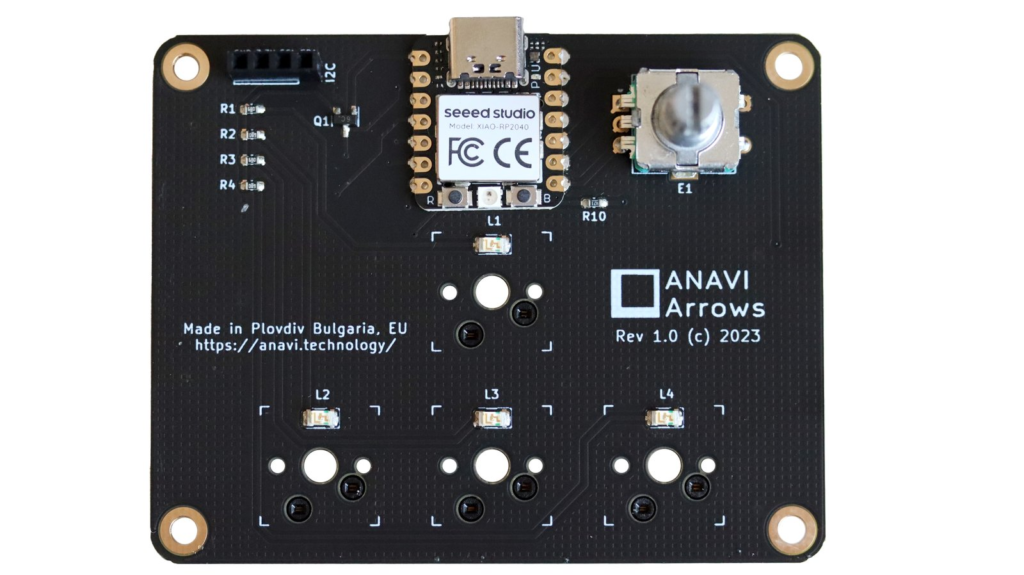
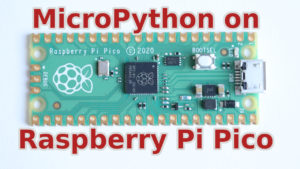
The hardware requirements for microcontrollers to run KMK are: a minimum of 256KB of flash storage, support HID over USB and/or Bluetooth, CircuitPython version 7.0 or newer. With its impressive hardware capabilities, the Raspberry Pi RP2040 microcontroller is a perfect fit for CircuitPython and KMK. Because of this we selected Seeed Studio’s XIAO module with RP2040 for ANAVI Macro Pad 12 and ANAVI Arrows.
KMK offers many key features:
- Key Mapping: Customize key assignments to suit individual preferences
- Macros: Create and assign macros for automating tasks or executing commands
- Layers: Define multiple virtual layers for accessing different functions or modes
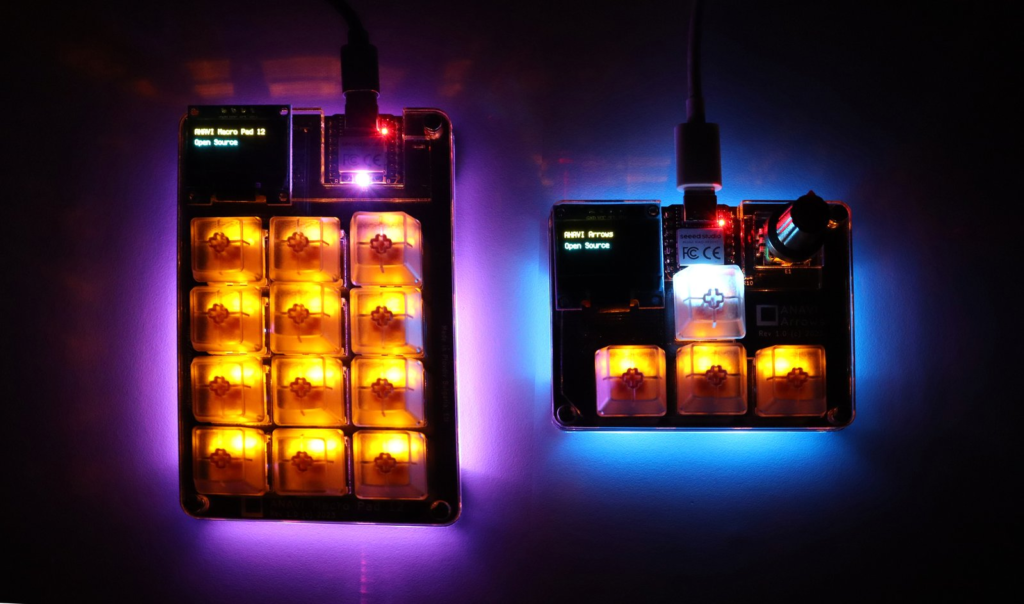
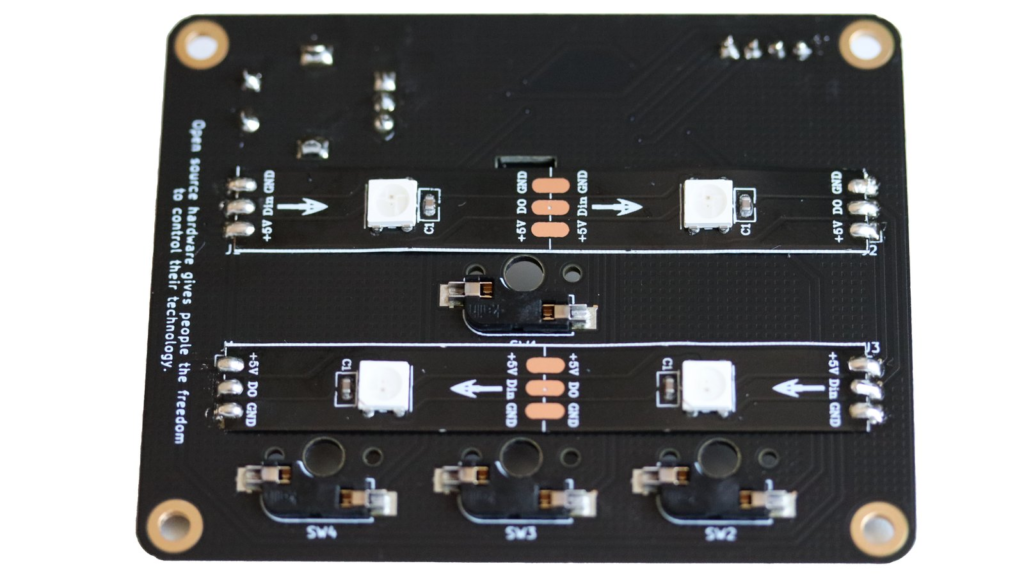
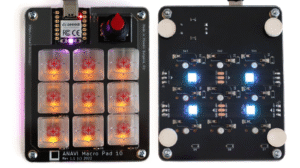
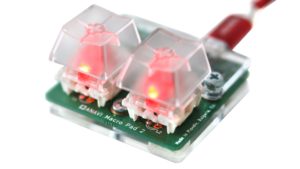
- LED Control: Customize backlighting and LED behavior
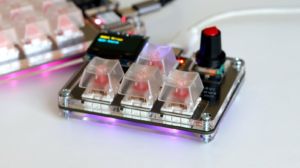
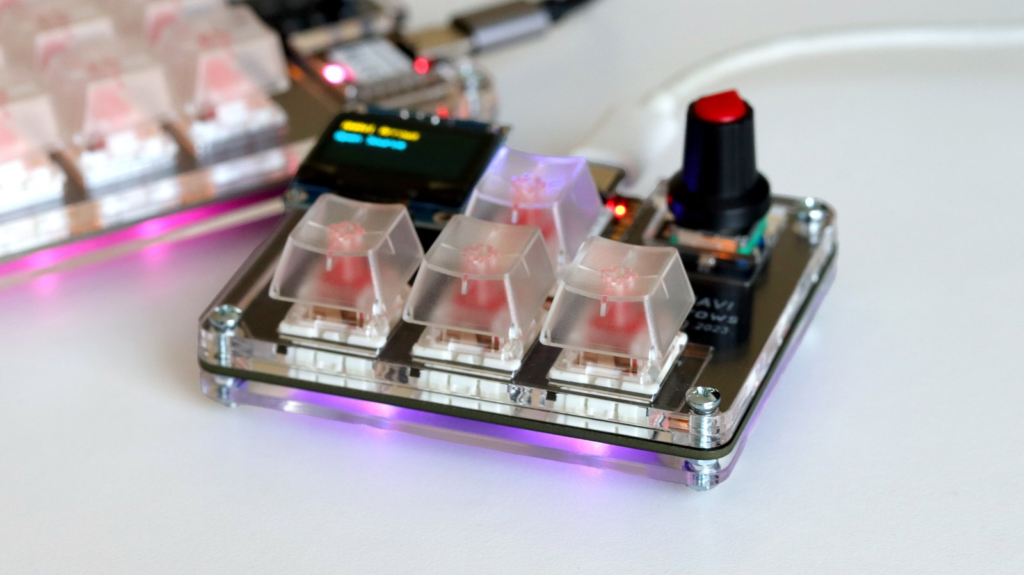
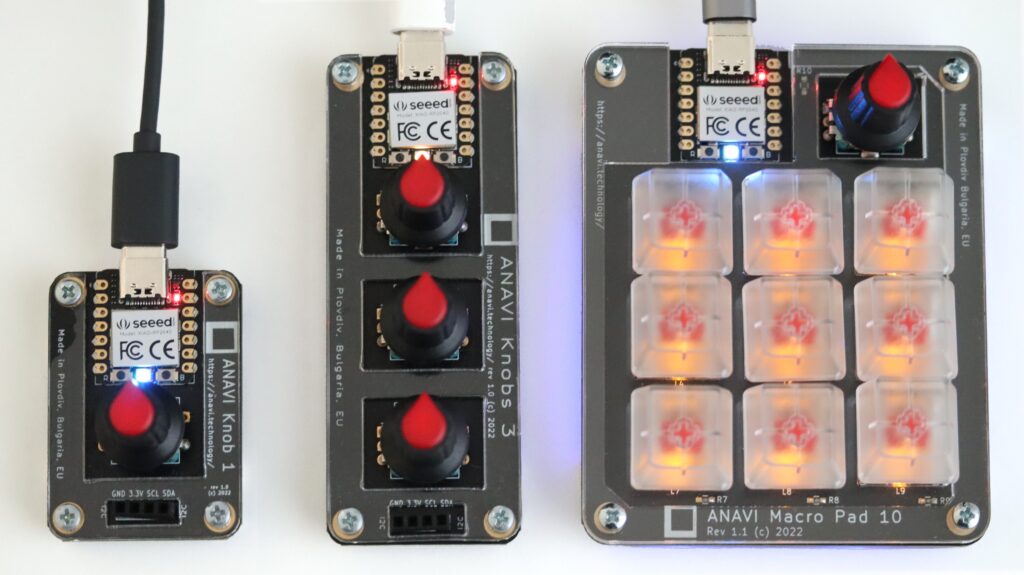
- Rotary Encoder: Rotary encoders for various functions like volume control or scrolling.
- Mini OLED Display: Compatibility with mini OLED displays, allowing users to display custom information or visuals on their keyboards
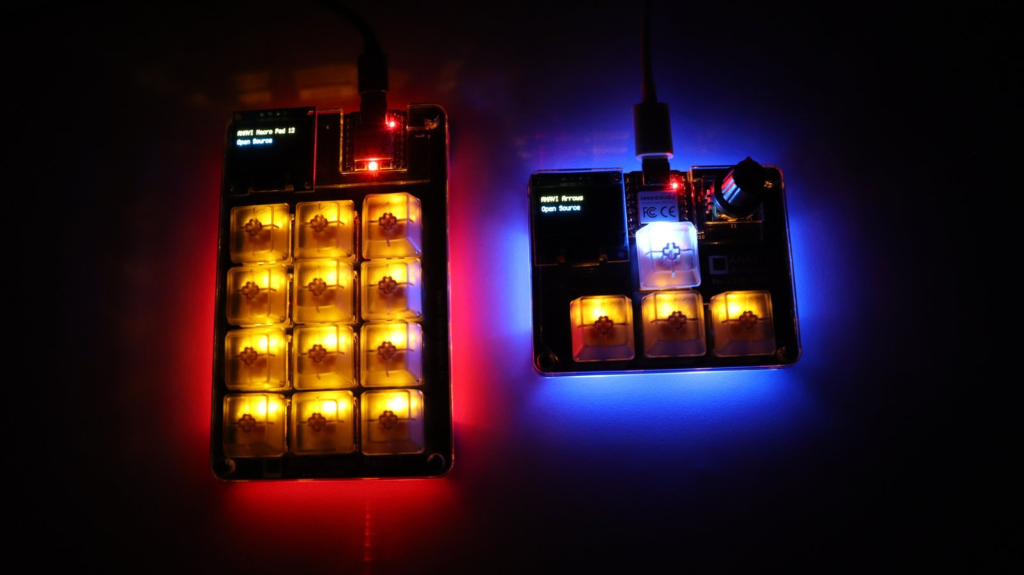
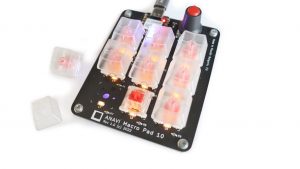
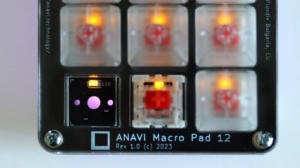
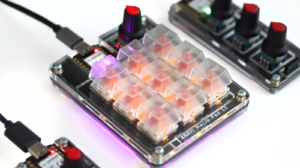
KMK supports many mechanical keyboards, including ANAVI Macro Pad 12 and ANAVI Arrrows. Although you are free to change to another firmware at any time, both ANAVI Macro Pad 12 and ANAVI Arrrows out of the box will come with KMK pre-installed.