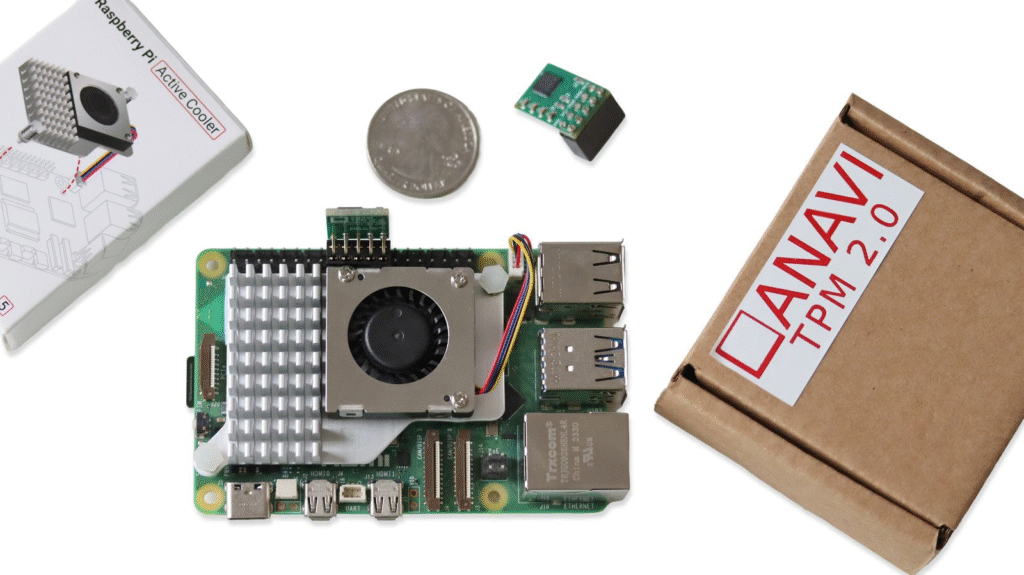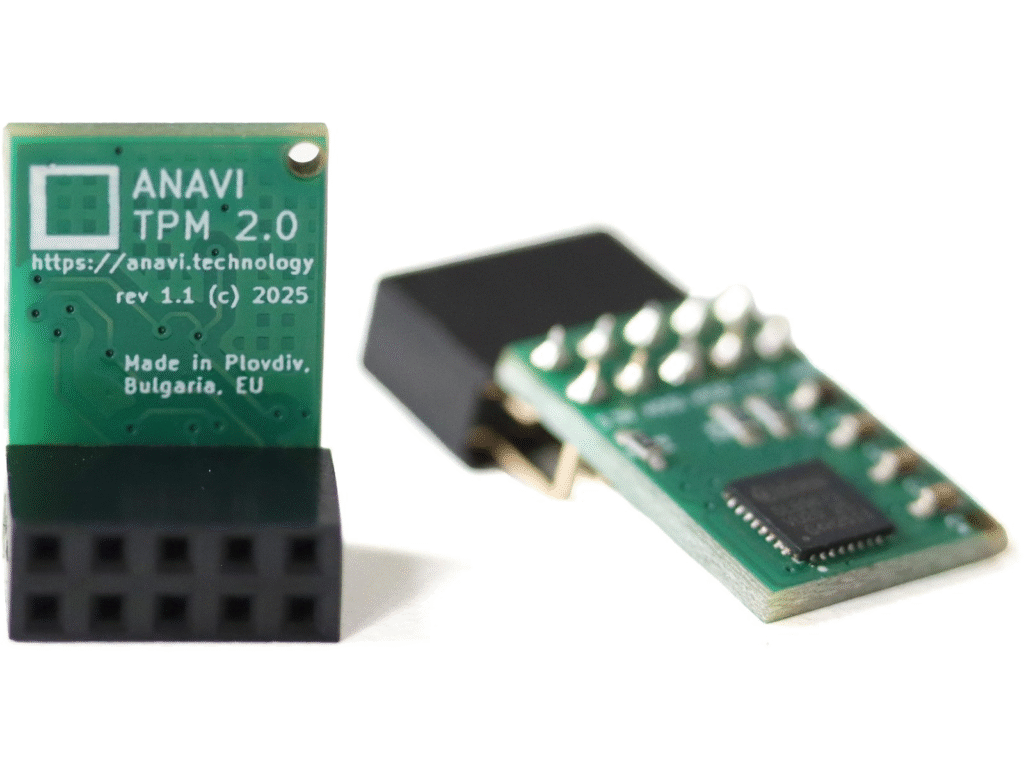
We are excited to announce that the ANAVI TPM 2.0 for Raspberry Pi crowdfunding campaign officially launched yesterday on Crowd Supply. The launch date was carefully selected. March 3 is celebrated as Liberation Day in Bulgaria, a meaningful occasion for us because our hardware is designed and manufactured in Plovdiv, Bulgaria, EU. The same date also marks an important milestone for us, as on March 3, 2017, we introduced ANAVI Infrared pHAT, our first add on board for Raspberry Pi under the ANAVI brand.
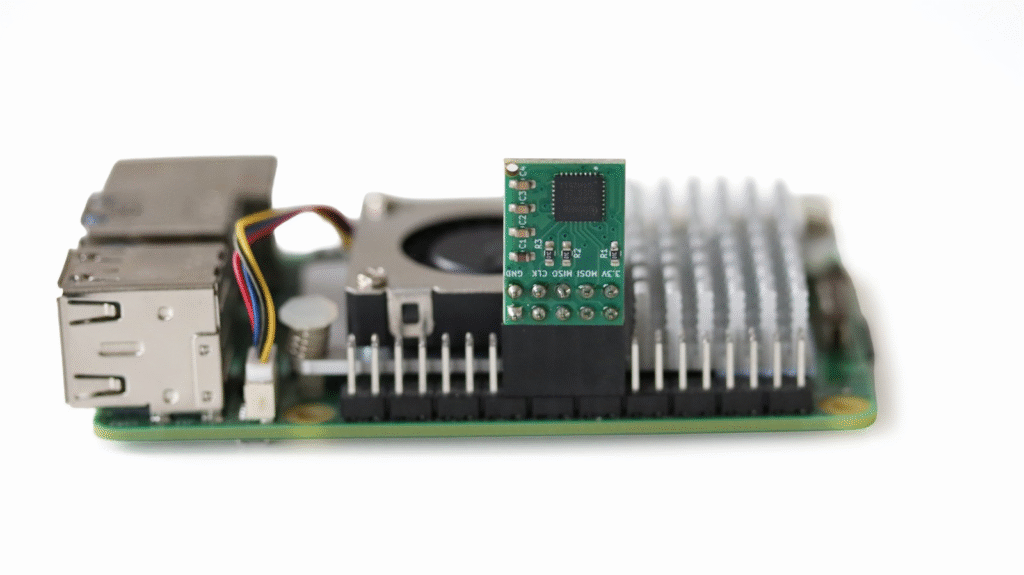
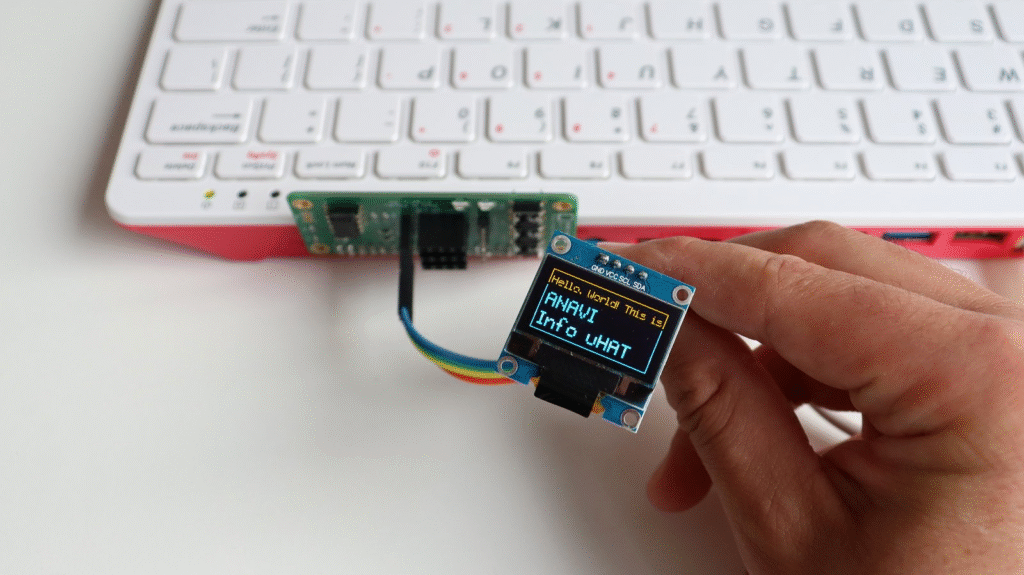
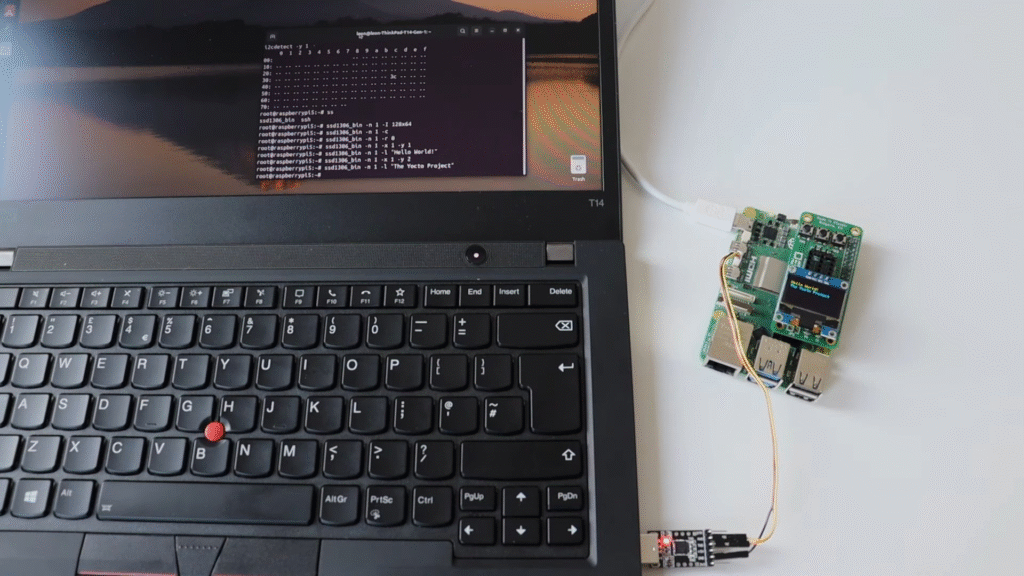
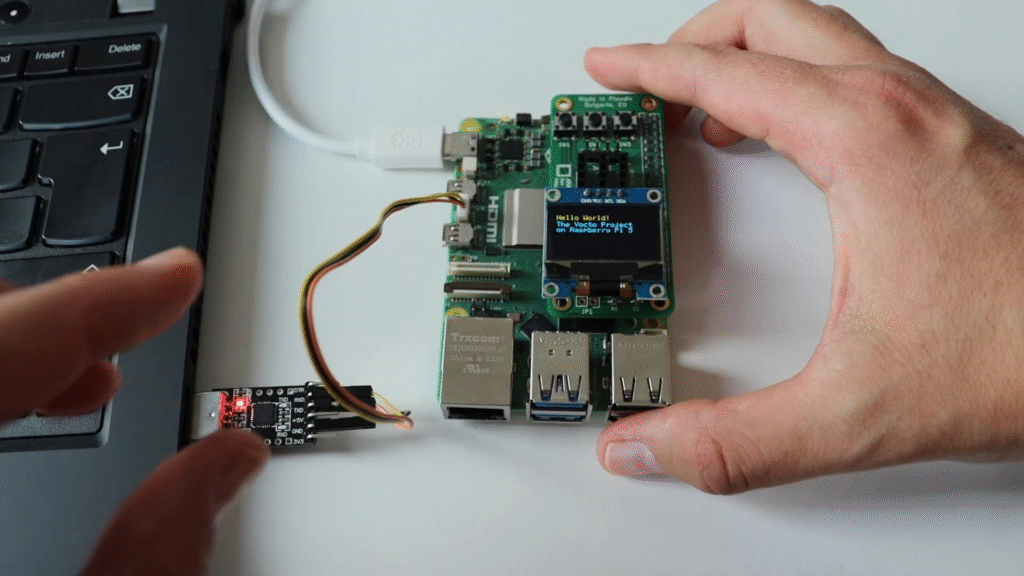
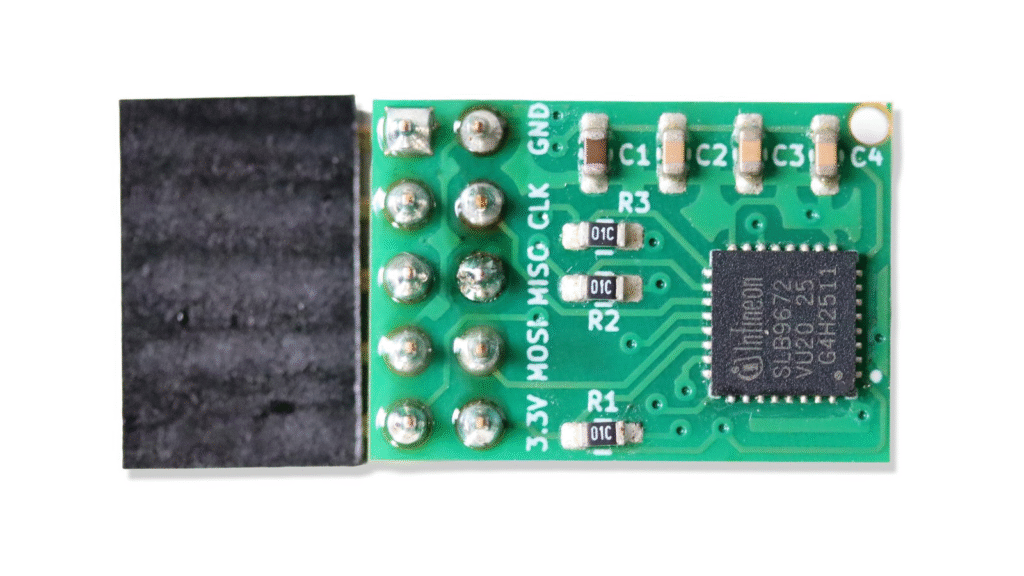
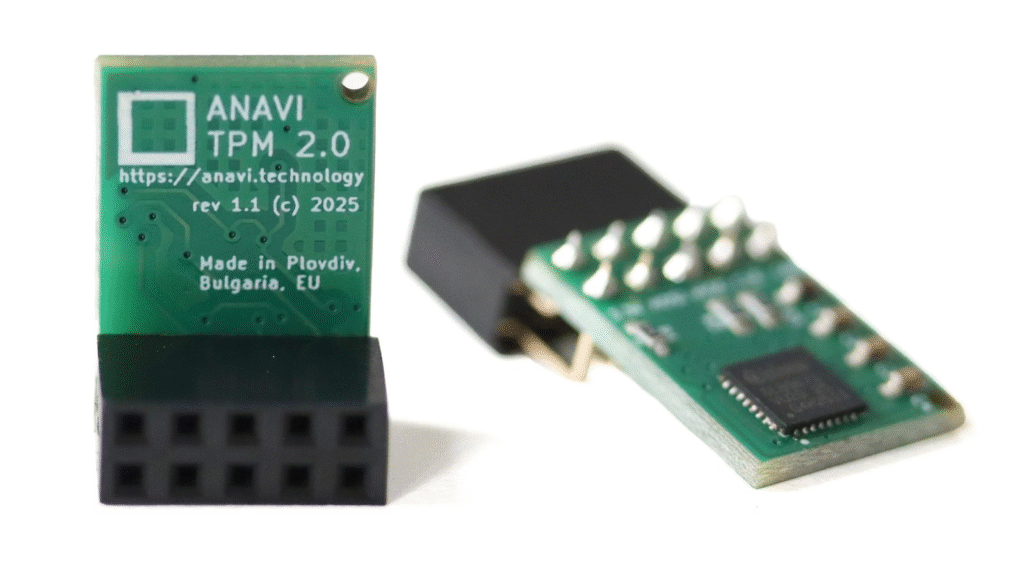
ANAVI TPM 2.0 is an open source hardware add on that enhances the security of your Raspberry Pi projects. It supports trusted computing capabilities such as secure cryptographic key management, disk encryption and a hardware random number generator.
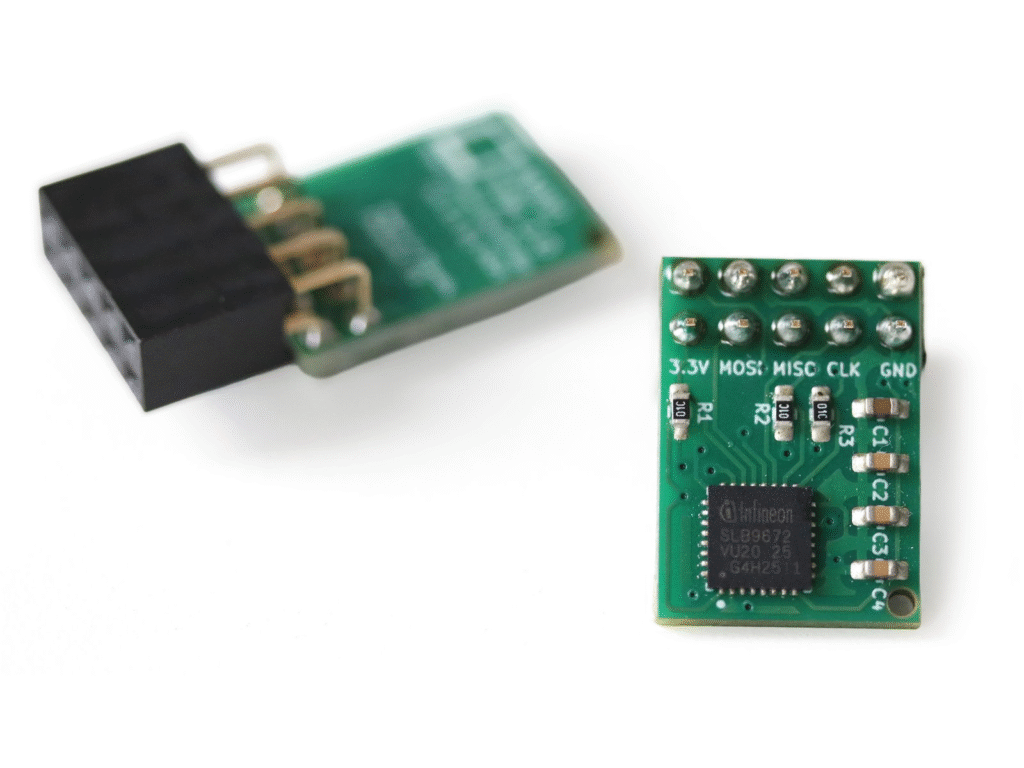
Designed for developers, hobbyists, and professionals who require stronger security for Raspberry Pi based solutions, ANAVI TPM 2.0 provides advanced protection in a compact open source form factor. With a symbolic crowdfunding goal of just $1, the campaign aims to bring another ANAVI open source hardware product to life, designed and manufactured in Plovdiv, Bulgaria, European Union, through our established and trusted supply chain.
Thanks to the strong support from our backers, the funding goal was reached within minutes of launch. Place your order now to be among the first to receive ANAVI TPM 2.0!