Getting Started with the open source JavaScript Internet of Things platform ioBroker

ioBroker is an open source Internet of Things platform written in JavaScript and using Node.js for the back-end. It is perfect to run on single board computers such as Raspberry Pi. The project started in 2014. The source code is hosted in GitHub and the core is available under MIT license. The creators and maintainers of ioBroker are from Germany and the project is very popular among the German open source community interested in home automation.

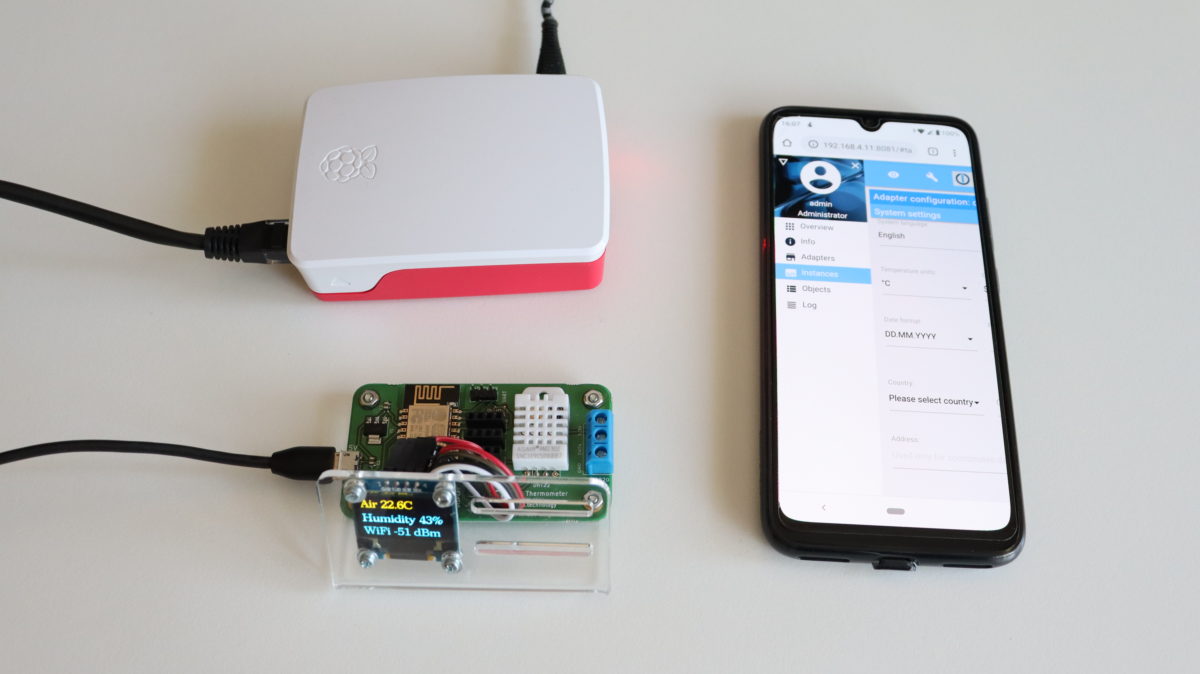
In this article you will learn how to get started with ioBroker by installing it on a Raspberry Pi and after that how to measure temperature and humidity from the built-in DHT22 sensor on ANAVI Thermometer through the machine-to-machine protocol MQTT.

ioBroker Installation Guide

Step by step video tutorial for installing ioBroker on Raspberry Pi

Only two steps are required to install ioBroker on GNU/Linux distributions, including on a Raspberry Pi with Raspbian:

curl -sL https://deb.nodesource.com/setup_10.x | sudo -E bash -
sudo apt-get install -y nodejs
curl -sL https://iobroker.net/install.sh | bash -

After successfully installing ioBroker, open the web interface and complete the initial setup as explained in the video.

Monitoring Temperature and Humidity from DHT22 in ioBroker via MQTT

Integrating ANAVI Thermometer with DHT22 temperature and humidity sensor in ioBroker

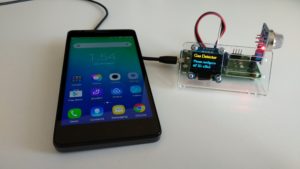
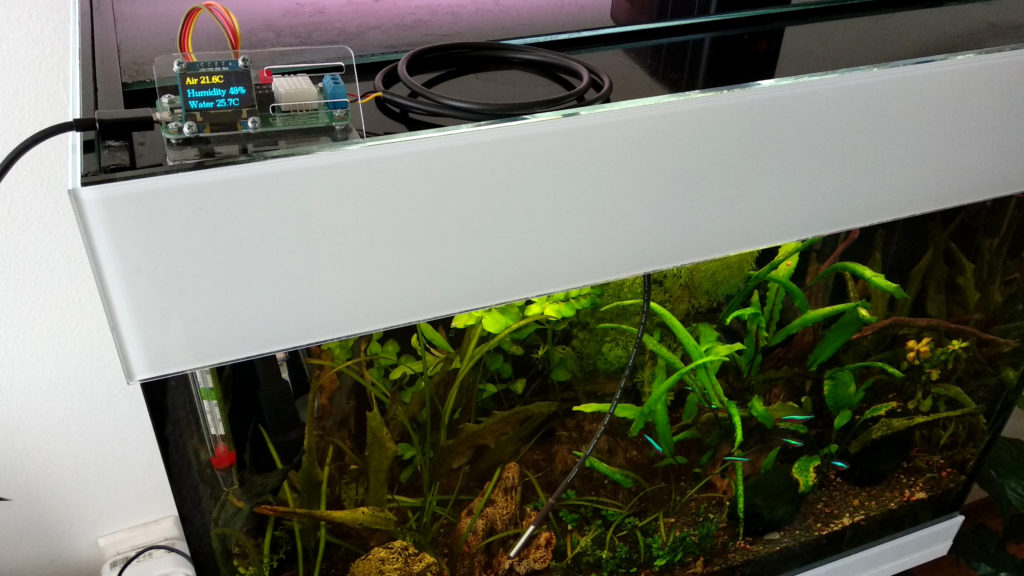
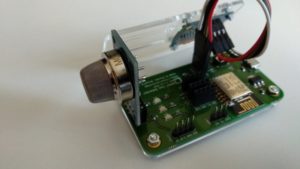
ANAVI Thermometer is an open source hardware, Wi-Fi development board for measuring temperature that’s powered by an ESP8266 processor. It comes with a built-in DHT22/AM2302 temperature and humidity sensor and has slots for a mini OLED display, waterproof DS18B20 temperature sensor, and empty slots for up to three additional I2C sensor modules.  Out of the box, the open source firmware of ANAVI Thermometer, works with Home Assistant specification for automatic discovery and MQTT messages with JSON payload.

Although ioBroker is an alternative open source IoT platform, through an adapter it supports the Home Assistant specification. The process for using ANAVI Thermometer in ioBroker is straight-forward thanks to the adapters MQTT Client/Broker and HASS-MQTT.

Adapter MQTT Client/Broker can be configured either as MQTT broker or as a client mode and use an external broker. In the particular demonstration in the video the instance of ioBroker adapter MQTT Client/Broker has been configured as a broker, without username/password and with disabled publish check-boxes from the MQTT Settings tab.

Adapter HASS-MQTT is required to support the Home Assistant MQTT specification. It have to be installed separately and bound to the instance of adapter MQTT Client/Broker as shown in the video. Get the HASS-MQTT adapter from: https://github.com/smarthomefans/ioBroker.hass-mqtt

ANAVI Themometer reporting temperature and humidity to the open source IoT JavaScript platform ioBroker

After turning on the instances of both adapters in Home Assistant, ANAVI Thermometer must be configured to connect to the same MQTT broker. After that ANAVI Thermometer will be automatically detected and the data from DHT22 as well as from any other attached supported sensors will be automatically reported to ioBroker. You just need to configure how to display it in your preferred graphical user interface (ioBroker offers several of them). In the video I used the ioBroker visualisation adapter which requires activation through an unique key. The activation requires registration with a email and is not shown in the video. Adapter visualisation if free for personal use. The other adapters, MQTT Client/Broker and HASS-MQTT are free and open source without any limitations.

You may also like

Getting Started with esptool for flashing firmware on ESP8266 and ESP32

Esptool is a free and open source ESP8266 and ESP32 serial bootloader command-line utility. The source code is available at GitHub under GPLv2 license. It is written in Python therefore it is universal and runs on Microsoft Windows, Mac OS and any GNU/Linux distribution (Ubuntu, Debian, Linux Mint, Fedora, CentOS, OpenSUSE, etc).

Installation

As of today esptool works fine with Python 2.7 or Python 3. Python 2 has been deprecated since January 1, 2020 therefore it is recommended to use esptool with Python 3.

The easier way to install the latest stable version of esptool is from pypi via pip. Open a terminal and execute the following command:

pip install esptool

Flashing Firmware

Using write_flash argument esptool flashed pre-compiled binary to devices with ESP8266 or ESP32. Here are the exact steps:

  • Download an appropriate binary for your ESP8266/ESP32 device.
  • Connect your device to a computer. For example, for ANAVI Thermometer, ANAVI Gas Detector, ANAVI Light Controller and ANAVI Miracle Controller you must use UART to USB debug cable.
  • Turn on the device in boot mode. For example, on ANAVI Thermometer, ANAVI Gas Detector, ANAVI Light Controller and ANAVI Miracle Controller, press and hold the RESET button and plug the power supply.
  • In a terminal execute the following command:
esptool.py --port /dev/ttyUSB0 --baud 460800 write_flash --flash_size=detect 0 firmware.bin 

Finding the Right Firmware

All ANAVI Internet of Things with ESP8266/ESP32 combine free and open source software with open source hardware. The firmware is built using Arduino IDE and a pre-compiled binary file is available at GitHub. Follow the links below to identify your ANAVI device and download appropriate binary for the latest stable firmware:

Of course, alternatively, instead of using esptool you can build the firmware from source through Arduino IDE or PlatformIO.

You may also like

Share Your Experience to Win!

Together with Crowd Supply we successfully completed several crowd funding campaigns over the past two years. Thanks to these efforts people all over the world are using our open source hardware developer boards and kits for their awesome projects.

Do you have a cool project with any of our products? Would you like to share your story?

No matter what you did, Crowd Supply and we would like to learn more. Send a Field Report of 100 words or so along with any supplemental pictures or other resources. If it is suitable, Crowd Supply will publish it as an update and reward you with a $25 Crowd Supply credit! Furthermore, all publishable entries received before Nov. 15 will be entered into a random prize drawing for more cool ANAVI gadgets:

  • 1st prize: ANAVI Miracle Controller and ANAVI Light Controller
  • 2nd prize: ANAVI Infrared pHAT and ANAVI Play pHAT
  • 3rd prize: ANAVI Thermometer

Please submit your entries here. May the open source be with you!

You may also like

How to Use Mini Monochrome OLED I2C Displays (SSD1306)?

Mini monochrome OLED I2C displays are cheap, reliable and easy to use by makers. They come in a huge variety of sizes. Our open source hardware Internet of Things, like ANAVI Thermometer and ANAVI Gas Detector, support this type of display and all kits include a particular yellow-blue model that is a bit below 1”. The display has 4 mounting holes. The screen resolution is 128×64 pixels. The driver is SSD1306. You can find exactly the same type of display with only white OLED pixels. The usage is the same no matter what is the color of the OLED pixels.

ANAVI Thermomter with yellow-blue mini OLED I2C display

In this video tutorial you will learn the exact steps how to get started with I2C OLED mini display with about 1” diagonal on Arduino compatible board such as our ANAVI Thermometer. ANAVI Thermomter is an ESP8266-powered, open source, Wi-Fi dev board with temperature and humidity sensors.

Continue reading “How to Use Mini Monochrome OLED I2C Displays (SSD1306)?”

You may also like