ANAVI Macro Pad 8 Maker Kit Assembly Guide

In a previous update we shared the exact steps how to assemble ANAVI Macro Pad 8 Developer Kit. Now let’s have a look at the Maker Kit.

ANAVI Macro Pad 8 Maker Kit Soldering and Assembly Video Tutorial

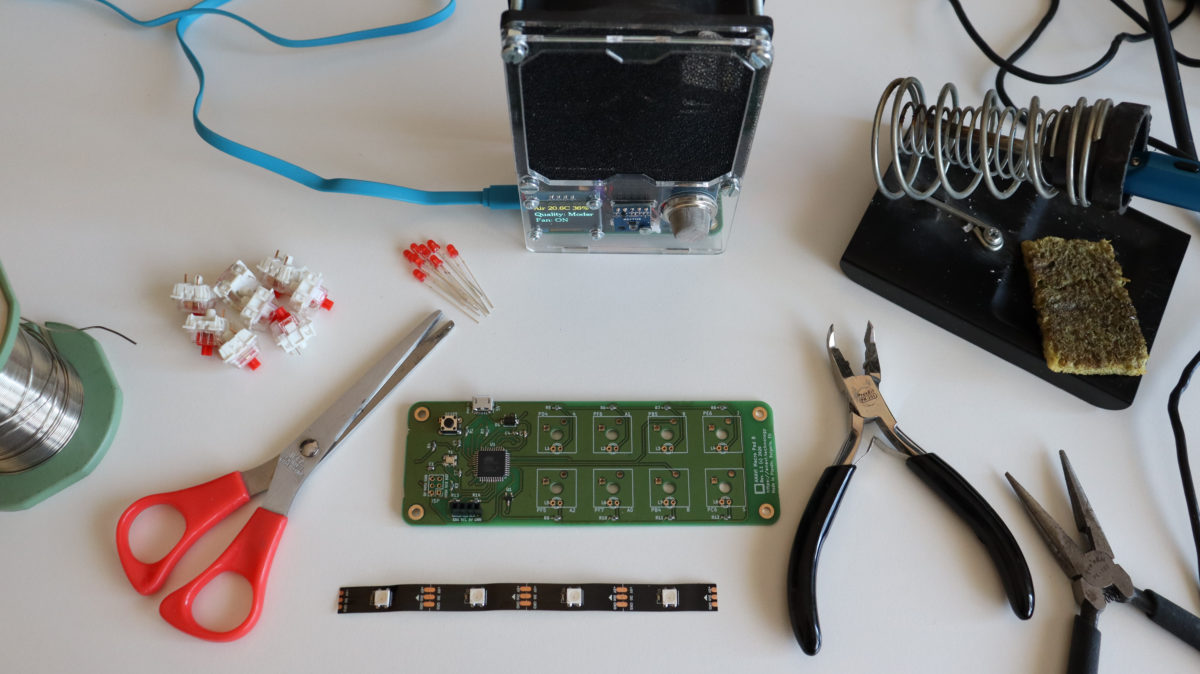
The maker kit provides the printed circuit board (PCB) and an addressable LED strip. There are also some nice stickers. Other accessories have to be purchased separately. You can use any mechanical switches compatible with Cherry MX plate footprint and 3mm LEDs.
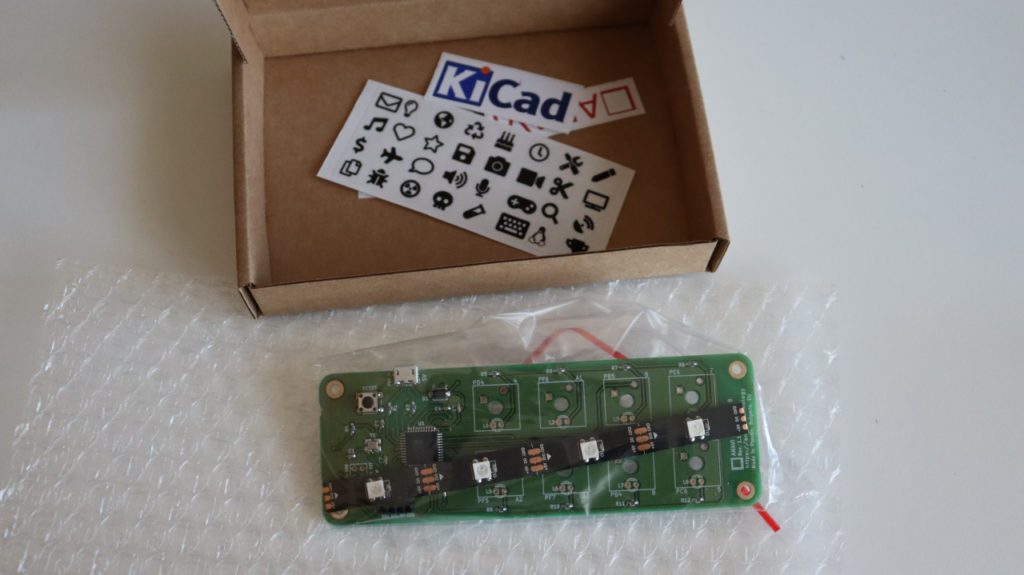
ANAVI Macro Pad 8 Maker Kit Unboxing

Furthermore with the maker kit you can perform a hot-swap upgrade of ANAVI Macro 8. It requires a very specific procedure which was explained in a previous article. If you have this in mind don’t solder anything and have a look at the other video tutorial.
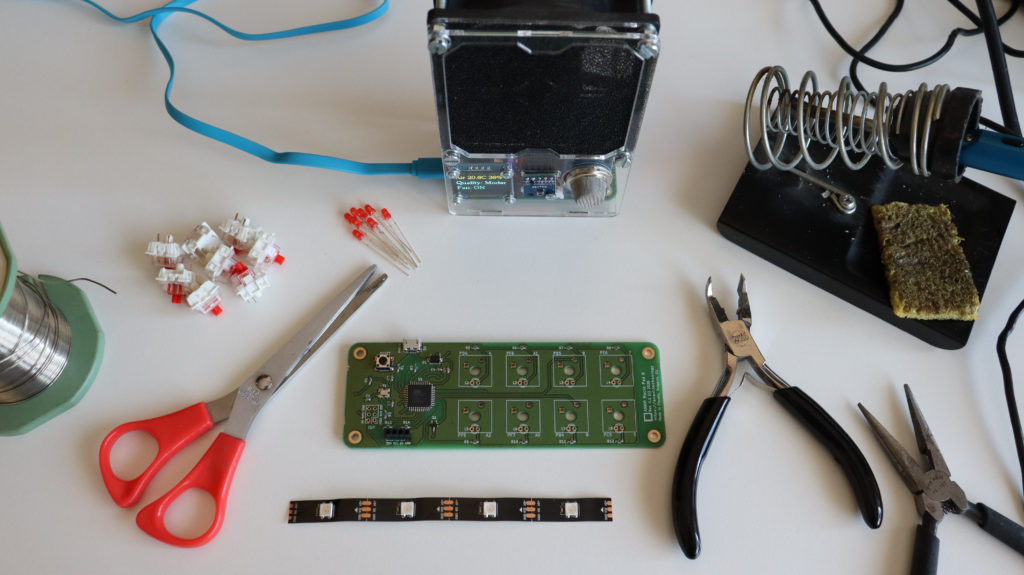
Required tools for soldering of ANAVI Macro Pad 8 Maker Kit

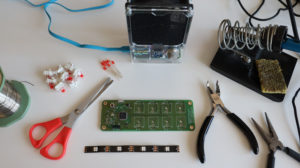
The assembly of ANAVI Macro Pad 8 Maker Kit requires soldering and advanced skills. The following tools are required:

  • Soldering iron
  • Scissors
  • Optionally: screwdriver, tweezers and a keycap puller

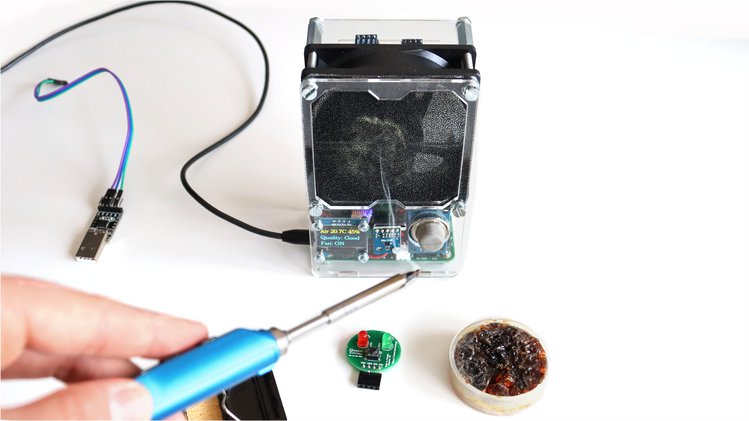
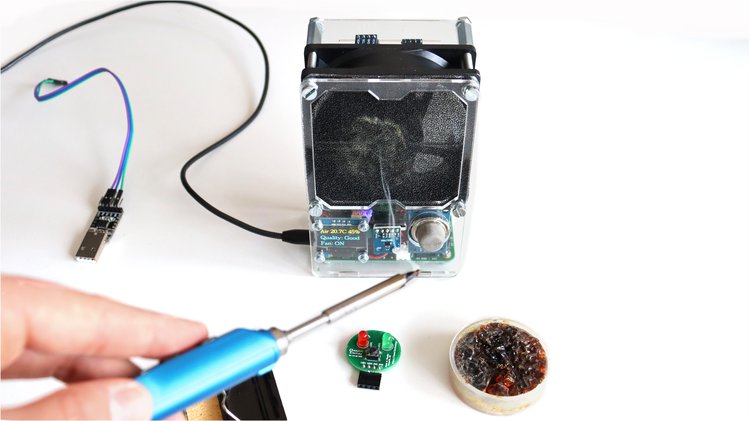
It is also a good idea to stay safe and get a smoke absorber while soldering, for example our open source ANAVI Fume Extractor.

Please have a look at the video and follow the steps below if you have ANAVI Macro Pad 8 Maker Kit.

Solder mechanical switches to the PCB

Any type of mechanical switch compatible with Cherry MX plate footprint is suitable for ANAVI Macro Pad 8. The developer kit comes with Gateron mechanical switches. The maker kit allow you to use different brand and color.
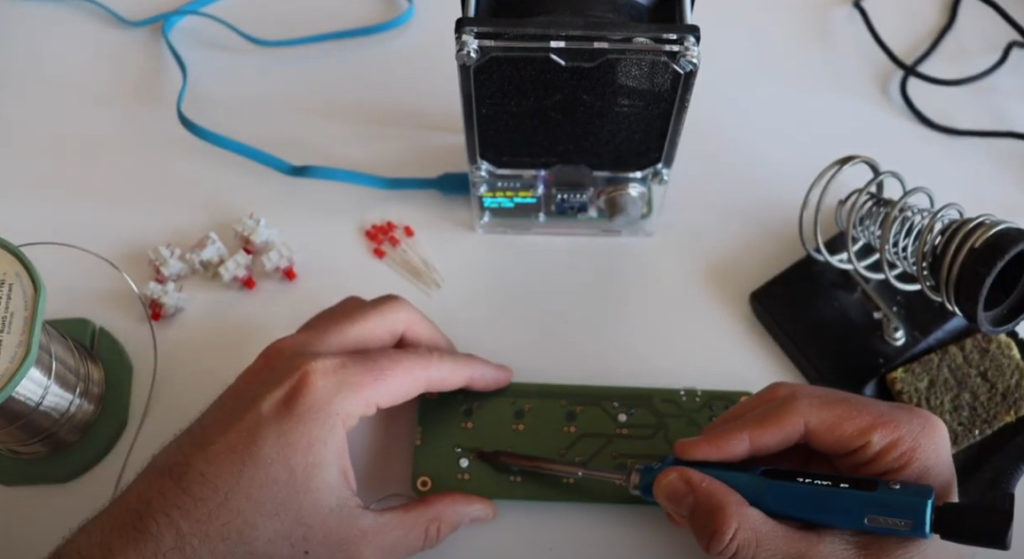
Choosing the most appropriate switch for your needs and taste is a matter of personal preference. There are many different brands and colors. For example, the blue mechanical switches are more noisy which could be sometimes fun but also annoying during daily work. The red switches are fast and not very noisy therefore they are often proffered by gamers.

There are two pins on each mechanical switch that must be soldered to the printed circuit board. That makes 16 pins in total. The position of the each pin is very specific and the switch goes into the PCB. One of the pins is for the signal coming from the Microchip ATmega32U4 microcontroller, the other pin is for ground.

Solder 3mm LED

This step is actually optional depending on the the type of the mechanical switch. Some mechanical switches may not have a hole in the plastic enclosure for a 3mm LED.
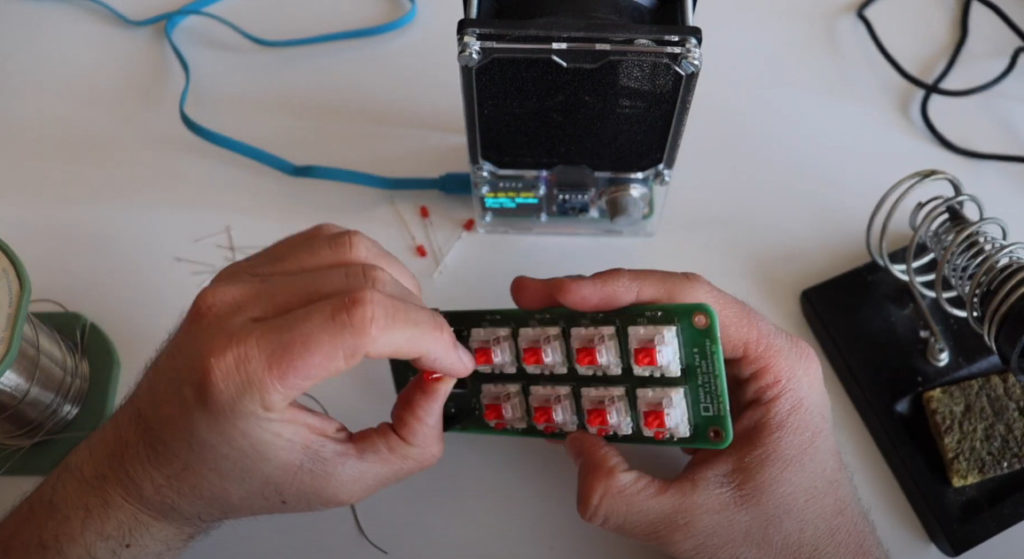
Each 3mm LED for through-hole soldering has 2 legs. The longer leg is the positive terminal, also known as anode. The shorter leg is negative and also known as cathode.

The shorter leg that indicates the negative terminal must go into the square hole of the PCB. ANAVI Macro Pad 8 has 8 mechanical switches therefore 8 LEDs are required. If you want you can use different color of the LEDs. You can even mix colors.

Solder WS2812B addressable LED strip to the back of the PCB

Using scissors cut a little bit from both ends of the LED strip to make sure it will stretched when placed on the board. However it is tricky, be careful and make sure enough from the pads are available to make a good contact after soldering them.
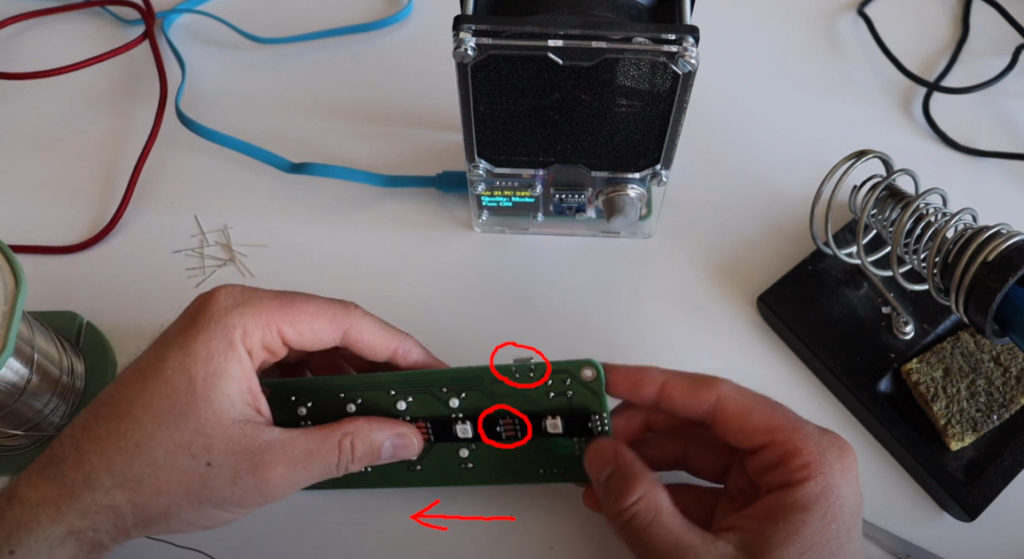
It is very important to properly set the direction of the WS2812B LED strip. On the LED strip you will notice small arrows indicating the direction. They should point from the microUSB connector towards the other end of the PCB as shown in the video.

If you have successfully completed these 3 steps your ANAVI Macro Pad 8 should look just like a developer kit having all accessories soldered. Therefore the next steps are the same as for both the developer and the maker kit. Explore them at our previous blog post as well as in the user’s manual.

Thank you for using ANAVI Macro Pad 8 and for supporting this entirely open source project!

You may also like

ANAVI Macro Pad 8 Manufacturing Progress

ANAVI Macro Pad 8 is an open source, programmable, eight-key keypad with backlighting, underlighting, and OLED screen. Following the successful crowdfunding campaign we manufactured the printed circuit boards in a small local factory in Plovdiv, Bulgaria, EU. We would like to explain in detail the whole manufacturing process.

The fabrication includes a procedure called panelization which groups together a number of PCBs on a larger board called a “panel”. In the case of ANAVI Macro Pad 8 the “panel” contains 3 boards. All of them are gold plated through electrolytic nickel-gold process. Gold is very expensive, especially at the moment, but it is still worth it. Gold-plated PCBs have excellent quality with high hardness, wear and oxidation resistance.

A panel with 3 printed circuit boards for ANAVI Macro Pad 8

Sourcing parts in the COVID-19 time is a challenge but we work with trusted and reliable suppliers. We bought Microchip ATmega32U4 microcontrollers from Mouser. They arrived from the warehouse in Texas, USA. Each microcontroller is with TQFP-44 package that requires surface mount technology (SMT). The local factory has already assembled them alongside with all other SMT components.

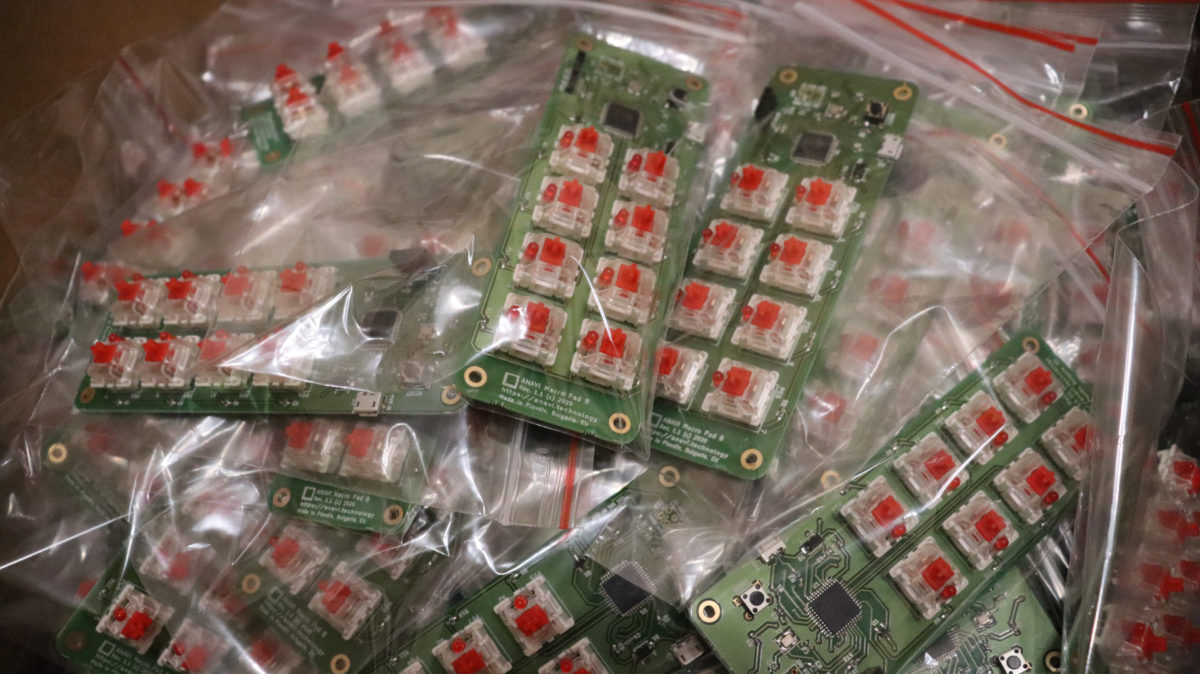
The assembly of Gateron red mechanical switches and the red 3mm LEDs for all developer kits requires through-hole technology, a.k.a. manual soldering. This is a time consuming process. To simplify the work and to keep the mechanical switches on their places we created this plate that matches the size of the panels.

There are special holes on each mechanical switch for the 3mm LED. After soldering all of them, the leads of the LEDs have to be cut from the back side of the panel.

After all these steps, testing and packaging the developer kit will not require any soldering. However, people who enjoy soldering like me can order a maker kit and experiment with various mechanical switches and 3mm LEDs with different colors. Furthermore, the maker kit allows to perform a hot-swap upgrade as explained in the previous post.

After burning a the same bootloader as in Arduino Leonardo, flashing the open source QMK firmware and testing our mechanical keyboards are ready for packaging!
ANAVI Macro Pad 8 Developer Kit
ANAVI Macro Pad 8 Maker Kit

You may also like

ANAVI Fume Extractor Parts Sourcing

The crowdfunding campaign for ANAVI Fume Extractor in Crowd Supply has been very successfully so far so we have already contacted suppliers and started sourcing various components. Most of the mechanical parts have already been delivered and we can have a closer look at them.

As some of you know, we will make and assemble the printed circuit boards in my beautify hometown of Plovdiv, Bulgaria. One of our goals is to support local manufacturing and if possible purchase parts from local factories and suppliers even when their prices are not the best. Of course, ANAVI Fume Extractor contains a lot of parts and some are so specific that nobody manufactures them locally. Because of this the project also relies on trusted suppliers from the US, the UK, Germany, Poland and China.

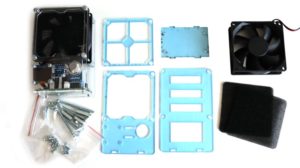
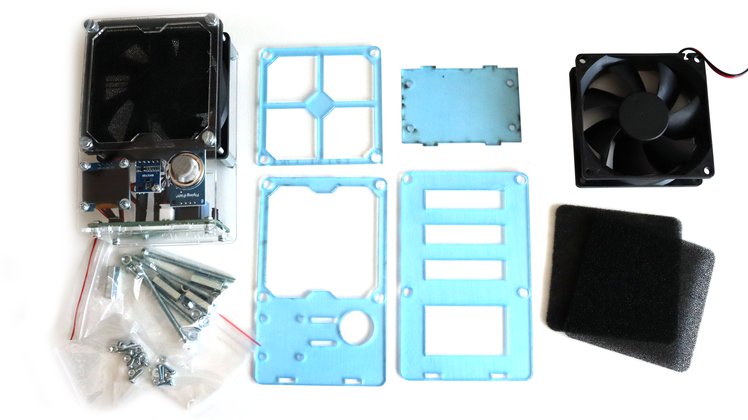
Parts for ANAVI Fume Extractor

Transparent Acrylic Enclosures

Each kit of ANAVI Fume Extractor contains 4 transparent acrylic enclosures. They have been designed with the free and open source tool OpenSCAD. The source and the schematics are available in GitHub. For the laser cutting I rely on a local Bulgarian company from Stara Zagora.

There are protective films on both sides of each acrylic enclosure. You must carefully remove them before assembly your do-it-yourself kit with ANAVI Fume Extractor.

Screws, Nuts and Stand-offs

20mm M4 stands-offs

ANAVI Fume Extractor contains various screws, nuts and washers for attaching the printed circuit board, the fan, the display and the sensor modules. The most difficult-to-source part is the 20mm M4 metal stand-off. Each kit contains 4 of them. We couldn’t find anyone in Bulgaria making stand-offs with the required size, so through a local supplier we imported the “abstandsbolzen” from Germany.

80mm Fan

80mm 5V DC fan

The key part of ANAVI Fume Extractor is the 80mm 5V/0.25A brushless DC fan. This type of a fan is primarily used in personal computers which makes it relatively quite and compact. Unfortunately, this is another part that nowadays nobody makes in Bulgaria so we are importing it from China.

Packaging

All kits will come in an eco friendly recyclable cardboard box made in another Bulgarian town Lyaskovets. Although we do our best to reduce plastic packaging as much as I can, some small plastic bags made in Veliko Tarnovo, Bulgaria are still required to store the components in the kit. The stickers will be printed in Plovdiv.

Cardboard box with ANAVI Fume Extractor Advanced Kit

The next step is the manufacturing of the printed circuit boards. Numerous components from various suppliers all around the world have to be assembled on the PCB. We will make it in a small local factory in my hometown of Plovdiv, Bulgaria. The manufacturing is scheduled to start right after the end of the campaign when we know the exact quantities.

Thank you for supporting entirely open source projects like ANAVI Fume Extractor!

You may also like

ANAVI Fume Extractor

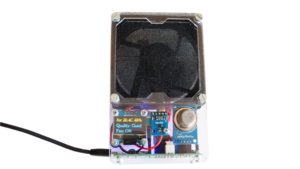
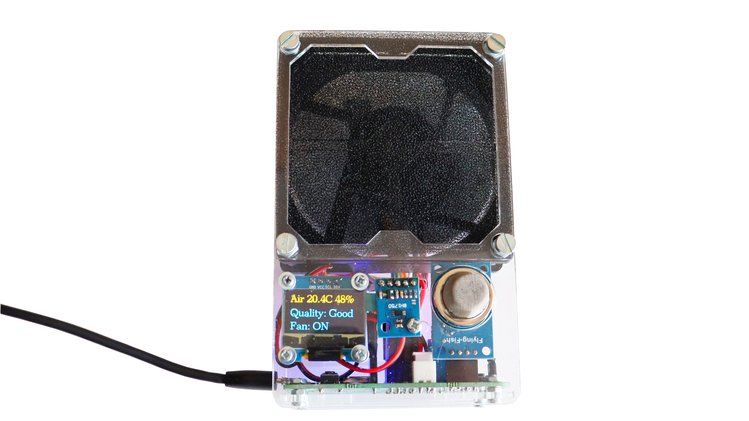
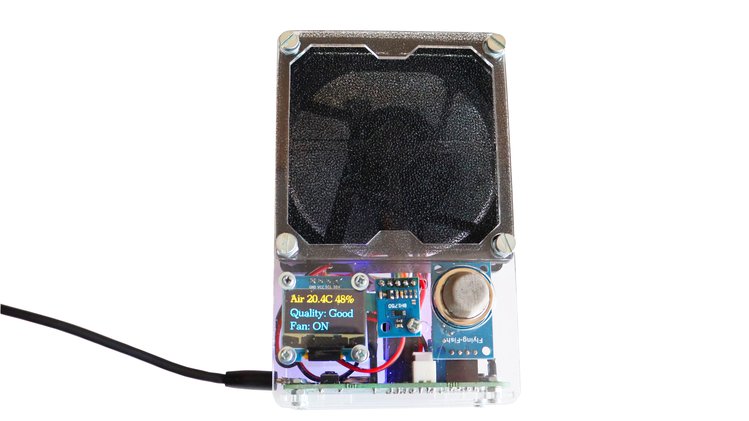
ANAVI Fume Extractor is a smart, open source, solder smoke absorber. It is powered by ESP8266 with WiFi, 80 mm fan and supports various peripherals: mini OLED display, MQ-135 analog gas sensor for air quality, sensors for temperature, humidity, barometric pressure and light. The filters are replaceable.

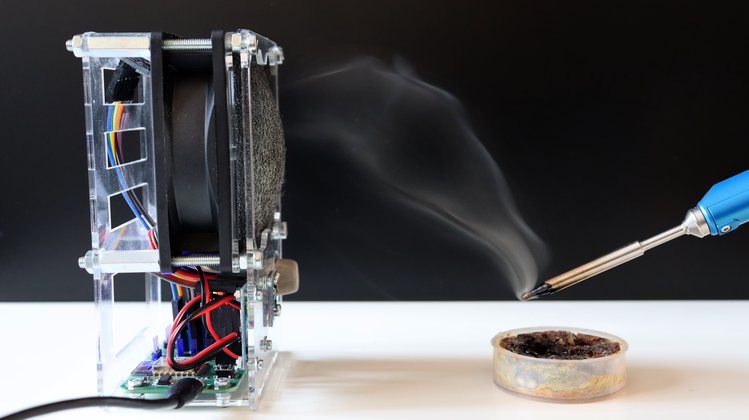
Soldering fumes are dangerous, keep them away with ANAVI Fume Extractor

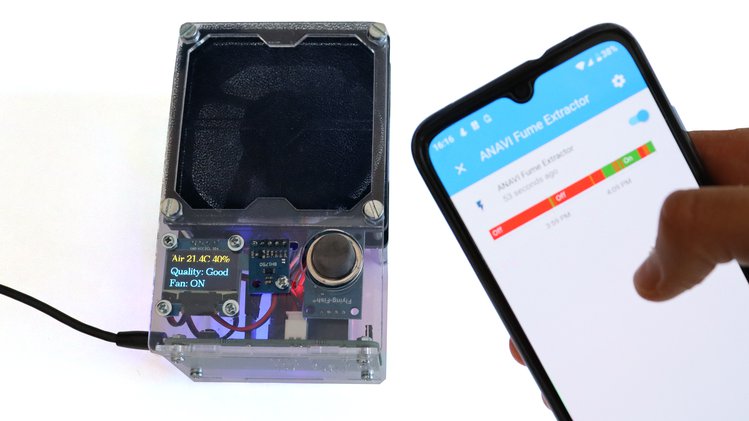
Furthermore out the box the open source firmware of ANAVI Fume Extractor works with the popular IoT platform Home Assistant over the protocol MQTT. This means you can gather sensor data and control the fume extractor remotely using your smartphone, tablet or personal computer!

Turning on and off ANAVI Fume Extractor from a smartphone using Home Assistant

After more than 10 months of development we launched a crowd funding campaign at Crowd Supply! We are ready for manufacturing in Plovdiv, Bulgaria and now we need your support. We hope you’ll jump in and help us bring this entirely open source project to life!

ANAVI Fume Extractor is a must-have tool for any maker!

You may also like

ANAVI Fume Extractor Is Coming Soon…

Stay safe while soldering with ANAVI Fume Extractor

ANAVI Fume Extractor is an entirely open source smart solder smoke absorber certified by the Open Source Hardware Association (OSHWA) with UID  BG000060. ANAVI Fume Extractor is powered by a Wi-Fi development board with ESP8266, 80mm fan and a replaceable carbon filter. It has a dedicated slots for a mini OLED I²C display and MQ-135 gas sensor module as well as slots up to 3 additional I²C sensor modules. Furthermore, there are UART pins for easy flashing of custom software and an extra GPIO for connecting external peripherals.

ANAVI Fume Extractor

We are preparing a crowdfunding campaign to support low-volume manufacturing in Plovdiv, Bulgaria. Learn more about ANAVI Fume Extractor and subscribe for updates at Crowd Supply.

You may also like