Getting Started with the open source JavaScript Internet of Things platform ioBroker

ioBroker is an open source Internet of Things platform written in JavaScript and using Node.js for the back-end. It is perfect to run on single board computers such as Raspberry Pi. The project started in 2014. The source code is hosted in GitHub and the core is available under MIT license. The creators and maintainers of ioBroker are from Germany and the project is very popular among the German open source community interested in home automation.

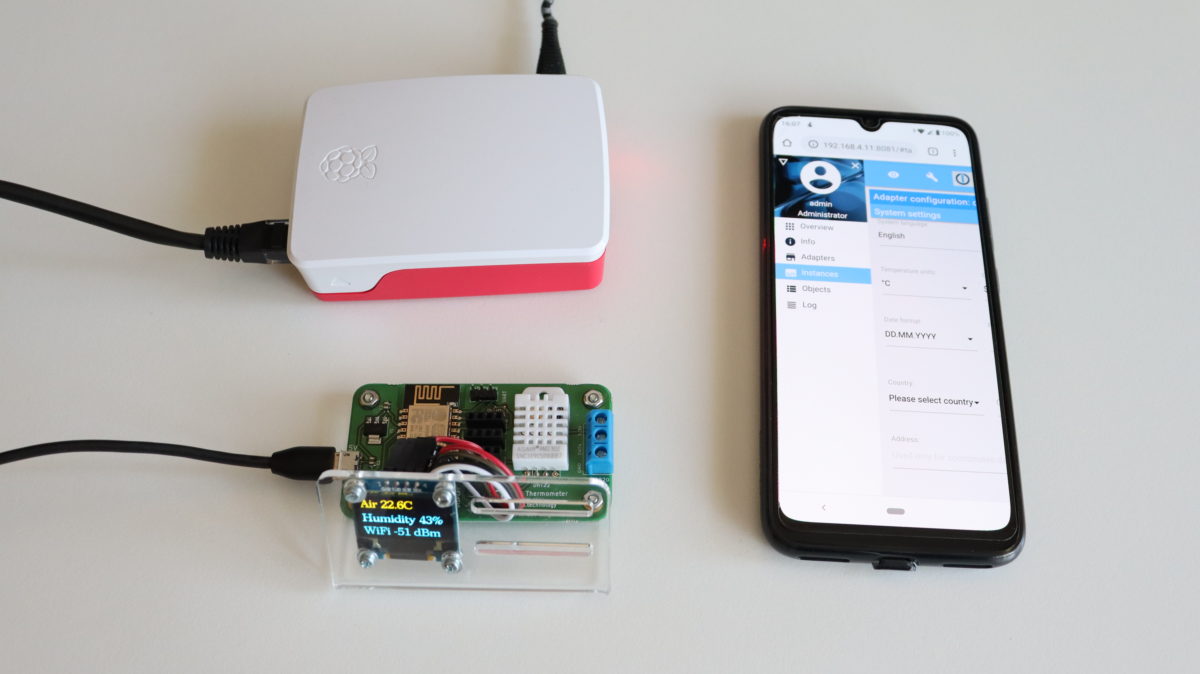
In this article you will learn how to get started with ioBroker by installing it on a Raspberry Pi and after that how to measure temperature and humidity from the built-in DHT22 sensor on ANAVI Thermometer through the machine-to-machine protocol MQTT.

ioBroker Installation Guide

Step by step video tutorial for installing ioBroker on Raspberry Pi

Only two steps are required to install ioBroker on GNU/Linux distributions, including on a Raspberry Pi with Raspbian:

curl -sL https://deb.nodesource.com/setup_10.x | sudo -E bash -
sudo apt-get install -y nodejs
curl -sL https://iobroker.net/install.sh | bash -

After successfully installing ioBroker, open the web interface and complete the initial setup as explained in the video.

Monitoring Temperature and Humidity from DHT22 in ioBroker via MQTT

Integrating ANAVI Thermometer with DHT22 temperature and humidity sensor in ioBroker

ANAVI Thermometer is an open source hardware, Wi-Fi development board for measuring temperature that’s powered by an ESP8266 processor. It comes with a built-in DHT22/AM2302 temperature and humidity sensor and has slots for a mini OLED display, waterproof DS18B20 temperature sensor, and empty slots for up to three additional I2C sensor modules.  Out of the box, the open source firmware of ANAVI Thermometer, works with Home Assistant specification for automatic discovery and MQTT messages with JSON payload.

Although ioBroker is an alternative open source IoT platform, through an adapter it supports the Home Assistant specification. The process for using ANAVI Thermometer in ioBroker is straight-forward thanks to the adapters MQTT Client/Broker and HASS-MQTT.

Adapter MQTT Client/Broker can be configured either as MQTT broker or as a client mode and use an external broker. In the particular demonstration in the video the instance of ioBroker adapter MQTT Client/Broker has been configured as a broker, without username/password and with disabled publish check-boxes from the MQTT Settings tab.

Adapter HASS-MQTT is required to support the Home Assistant MQTT specification. It have to be installed separately and bound to the instance of adapter MQTT Client/Broker as shown in the video. Get the HASS-MQTT adapter from: https://github.com/smarthomefans/ioBroker.hass-mqtt
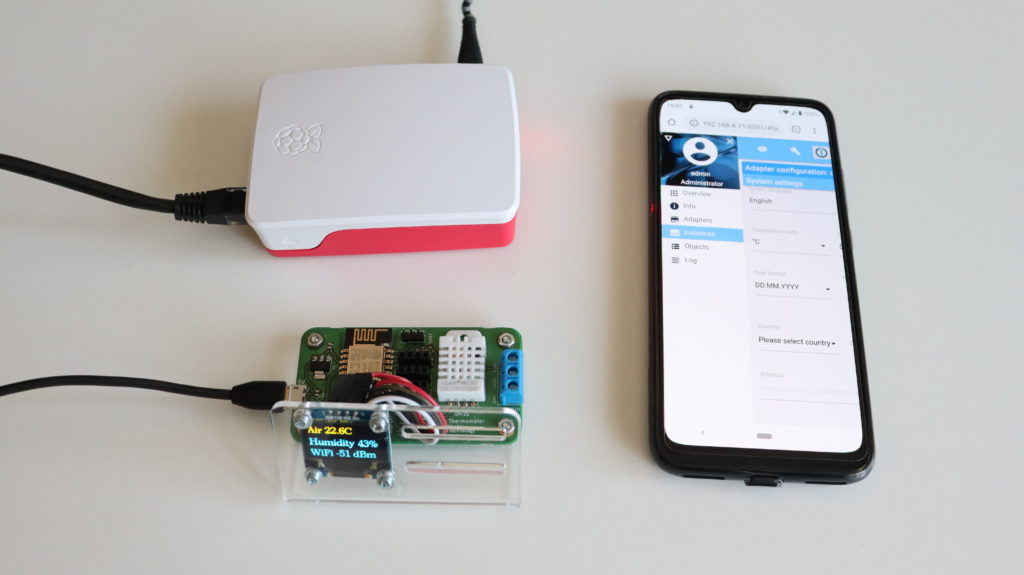
ANAVI Themometer reporting temperature and humidity to the open source IoT JavaScript platform ioBroker

After turning on the instances of both adapters in Home Assistant, ANAVI Thermometer must be configured to connect to the same MQTT broker. After that ANAVI Thermometer will be automatically detected and the data from DHT22 as well as from any other attached supported sensors will be automatically reported to ioBroker. You just need to configure how to display it in your preferred graphical user interface (ioBroker offers several of them). In the video I used the ioBroker visualisation adapter which requires activation through an unique key. The activation requires registration with a email and is not shown in the video. Adapter visualisation if free for personal use. The other adapters, MQTT Client/Broker and HASS-MQTT are free and open source without any limitations.

You may also like

Hey, Google Turn On The Christmas Tree

Happy New Year! May the open source be with you!

The Christmas tree is among the most popular symbols of the holiday season. Decorating it is always fun, especially for a maker.

Andrey Kozhevnikov a.k.a. CODeRUS, a talented software engineer and a very skilled maker, used ANAVI Miracle Controller and addressable (digital) LED strips to decorate his Christmas tree and to control it with voice commands through Google Assistant and Home Assistant. Home Assistant is a popular open source platform for home automation. Google Assistant is an artificial intelligence-powered virtual assistant that recognizes speech and voice commands. CODeRUS shared a short video in twitter with the amazing result!

ANAVI Miracle Controller

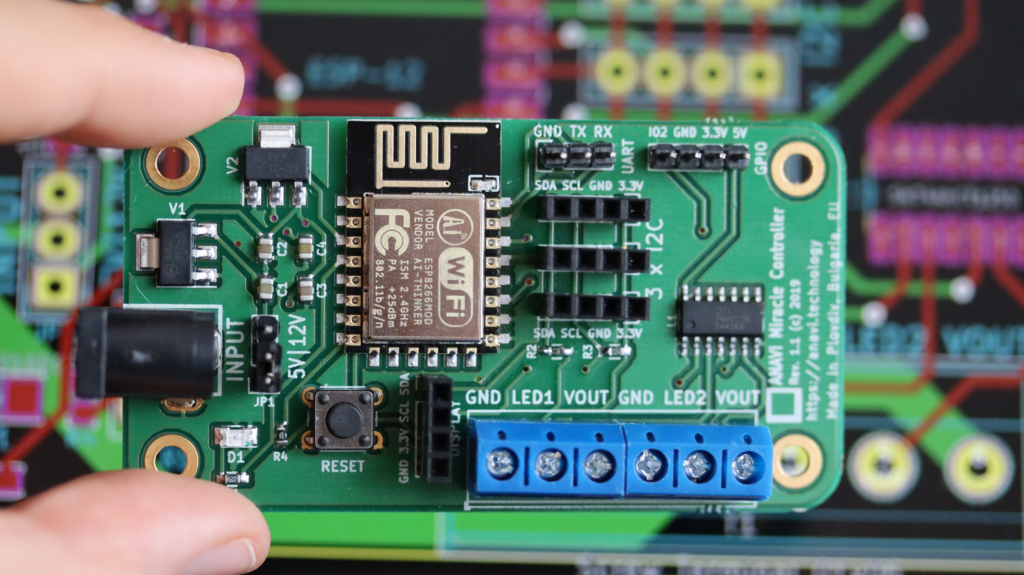
ANAVI Miracle Controller is an ESP8266-powered, open source, Wi-Fi development board to control two 5 V and or 12 V LED strips.  It supports popular LEDs including Neopixel, WS2811, WS2812B, TM1809, etc. A crowdfunding campaign is running right now at Crowd Supply to fund mass production of the board.

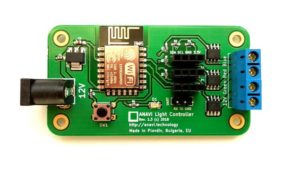
As a small gift for the leading contributor to the Arduino sketch for another of our open source projects, ANAVI Light Controller, we sent one of the first stable prototypes of ANAVI Miracle Controller to CODeRUS. We were sure that he will make something interesting with it. His amazing creativity is always inspiring!

CODeRUS Новогодняя ёлка

CODeRUS is also well known in the open source communities because of his numerous contributions over the years to Maemo, MeeGo and Sailfish OS. These names ring a bell in any die-hard open source fan as they were/are brands of GNU/Linux distributions for smartphones, most notably Nokia models like N900 (Maemo) and N9 (MeeGo Harmattan) made a decade ago.

You may also like

Connecting ANAVI Gas Detector to Your Wi-Fi

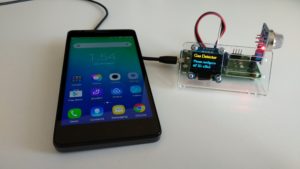
ANAVI Gas Detector is an ESP8266-powered, open source, Wi-Fi dev board for monitoring air quality and detecting dangerous gases. In the previous blog post I have shared the exact steps how to assemble it. Now I will cover the straight-forward process for connecting it to your Wi-Fi network. It is very simple and takes less than a couple of minutes.

Step 1: Turn on ANAVI Gas Detector

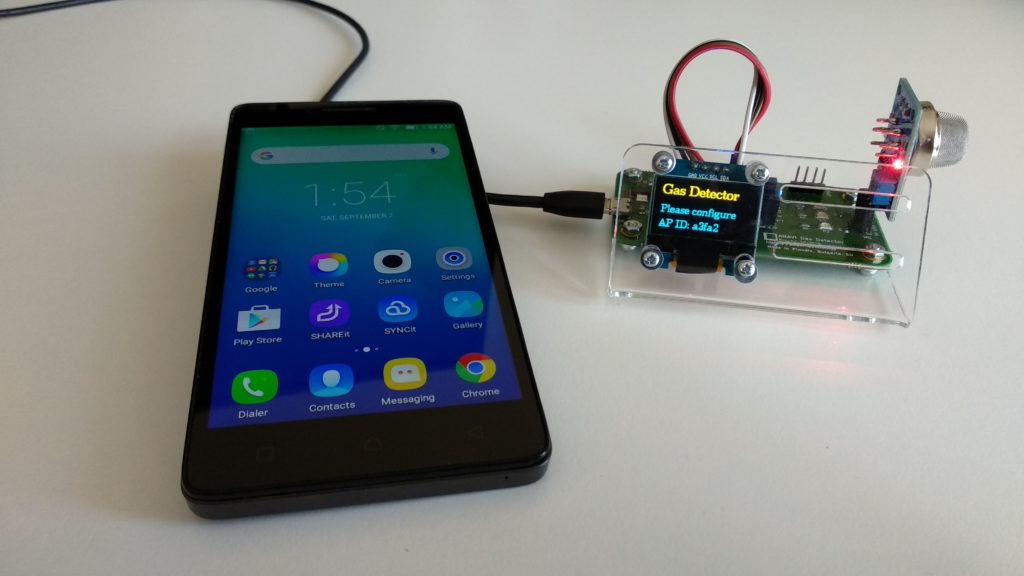
When you turn on ANAVI Gas Detector for the first time, it will create its own Wi-Fi Access Point with the name ANAVI Gas Detector followed by a unique five character ID.

These characters are actually the end of the MD5 hash generated from the unique chip ID of the ESP8266 module. To avoid confusion, the same five characters are showed on the mini OLED display included in all kits of ANAVI Gas Detector.

Connect to the Wi-Fi access point created by ANAVI Gas Detector from your smartphone, tablet or personal computer.

Step 2: Captive Portal

Once you have connected to the Wi-Fi access point created by ANAVI Gas Detector, a captive portal will pop-up and guide you to the next steps. Click Configure WiFi as shown in the video.

Step 3: Configure

Select your local Wi-Fi network, enter a password (if it is not open), type in MQTT broker address, port, username and password.

By default, just for demo purposes, ANAVI Gas Detector connects to iot.eclipse.org with port 1883 and no username/password. This is a public MQTT broker just for demonstrations. It is highly recommended to install open source MQTT broker locally and connect ANAVI Gas Detector to it.

Optionally, you can also select a temperature scale. By default it is set to Celsius. Of course, Fahrenheit is also supported. To switch just type in fahrenheit.

Finally, when ready, just click Save. ANAVI Gas Detector will reboot and try to connect first to your Wi-Fi network and after that to the configured MQTT broker. If it experience problems connecting you will be asked to do the configuration again.

That’s it! The whole process requires just these three easy steps and takes less than a couple of minutes. No need to download & install any apps on your smartphone. If you don’t have a smartphone – you can do the configuration from your personal computer or a tablet.

One More Thing…

Once ANAVI Gas Detector is up and running, if you need to change the configurations, just press and hold the RESET button on the board for 10 seconds. Keep the RESET button pressed until the D1 indication LED on the board is blinking.

This way you will wipe out all configuration, reset ANAVI Gas Detector to factory default and you will be asked to connect it again to your Wi-Fi.

For more details please also read our update at Crowd Supply and watch the short video.

You may also like