Exploring ESPHome on WB3S Module with Beken BK7231T Microcontroller and Our New Open Source Breakout Board

ESPHome is an open-source firmware ecosystem that lets you easily control microcontrollers through simple YAML configurations. It is best known for its excellent support for the ESP8266 and ESP32 families, powering countless DIY and smart-home projects. However, ESPHome has also been ported to additional hardware platforms. Exploring one of these alternatives was the motivation behind this small project.

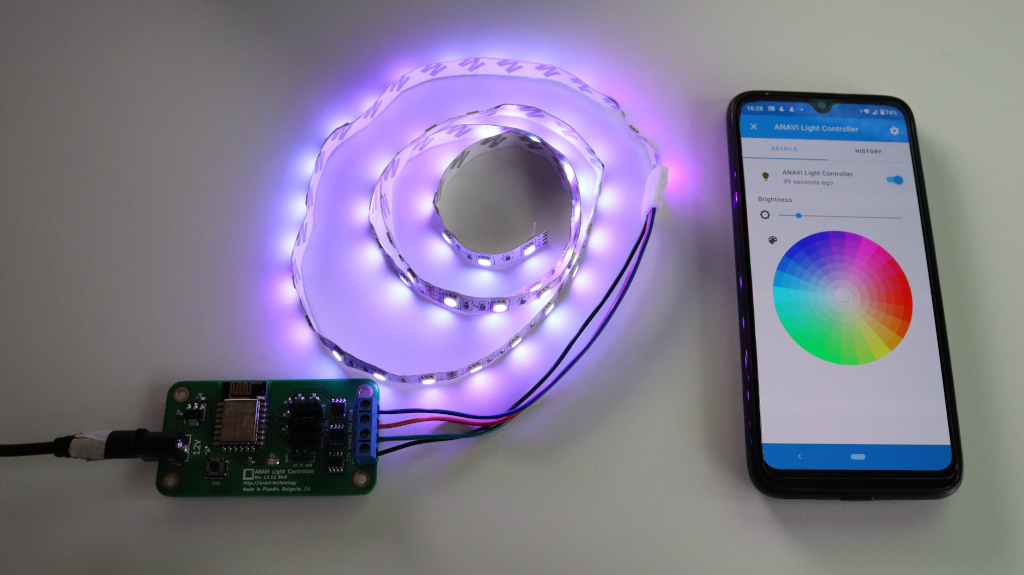
One such alternative is the WB3S, a Tuya Wi-Fi module built around the Beken BK7231T microcontroller. It offers 15 GPIOs (including 6 PWM, 2 UART, and an ADC) and conveniently shares the same footprint as the popular ESP-12 modules based on ESP8266 which you know from ANAVI Thermometer, ANAVI Light Controller and several other of our boards. Thanks to the open-source LibreTiny PlatformIO environment, ESPHome can be built and flashed for WB3S and other Beken-based modules.

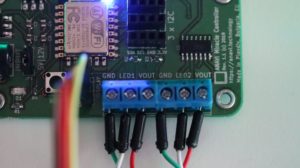
As part of this exploration, I designed an open source WB3S breakout board, fully compatible with breadboard prototyping and created in KiCad. In the accompanying demo video and example configuration, I walk through the entire workflow: designing the board, setting up the software environment, compiling the firmware with ESPHome, and flashing it to the module using ltchiptool.

The example ESPHome configuration used in the video is available here. Replace SSID and PASSWORD with your Wi-Fi credentials.

Conclusion

Our new WB3S breakout board is available in GitHub as open hardware for anyone interested in experimenting with the BK7231T and ESPHome. However, while functional, ESPHome support for Beken-based devices still lags far behind the mature and reliable ESP32 ecosystem. For production projects or anything requiring stability, it is highly recommended sticking with ESP32 for now.

You may also like

Integrating ESPHome Device to Home Assistant

ESPHome is an open source firmware for your ESP8266 or ESP32 devices with simple and yet powerful configuration files that allows you to control them remotely through the open source IoT platform Home Assistant and/or other home automation systems.

In this tutorial you will learn how to add a device with ESPHome in Home Assistant. The open source hardware ANAVI Light Controller with 12V RGB LED strip is used for the demonstration.

Upload ESPHome

You can either do this through the command line or alternatively, you can do it through Home Assistant ESPHome add-on.

Depending on the device you may need to edit an existing ESPHome configuration file or to create new from scratch. An example for ANAVI Light Controller is available at GitHub. Remember to set your WiFi credentials and device password in it as well as to enable the API. After flashing ESPHome to the device it is important to write down the address and the port. Both are printed in the serial output after booting the device.

After flashing ESPHome to the device it is important to write down the address and the port. Both are printed in the serial output after booting the device.

Home Assistant Integration

Open the web interface of Home Assistant. From the left side menu select Configuration and after that click Integrations. Click the button in the right lower corner with label Add Integration. From the menu select ESPHome. Enter connection settings for your ESPHome device. Set the address for host and port both of which were obtained on the first step. Click SUBMIT. Enter the password from the ESPHome configuration file. Click FINISH to complete adding the device.

After successfully adding the ESPHome device to Home Assistant it will appear in the overview section. For more details have a look at the video.

ANAVI Light Controller and 12V RGB LED strip controlled with ESPHome and Home Assistant from mobile application on Android smartphone

You may also like