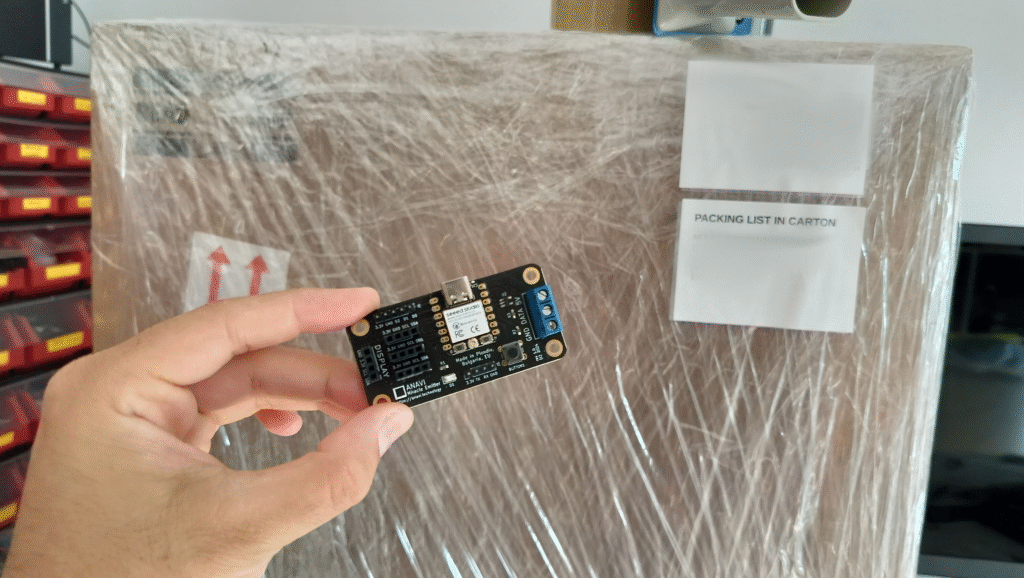
We are pleased to announce that all ANAVI Miracle Emitter kits have been successfully shipped to the Crowd Supply warehouse. Our crowdfunding campaign concluded successfully on May 29, 2025. Over the coming weeks, all backer orders will be processed through Crowd Supply’s fulfillment system and prepared for final delivery.
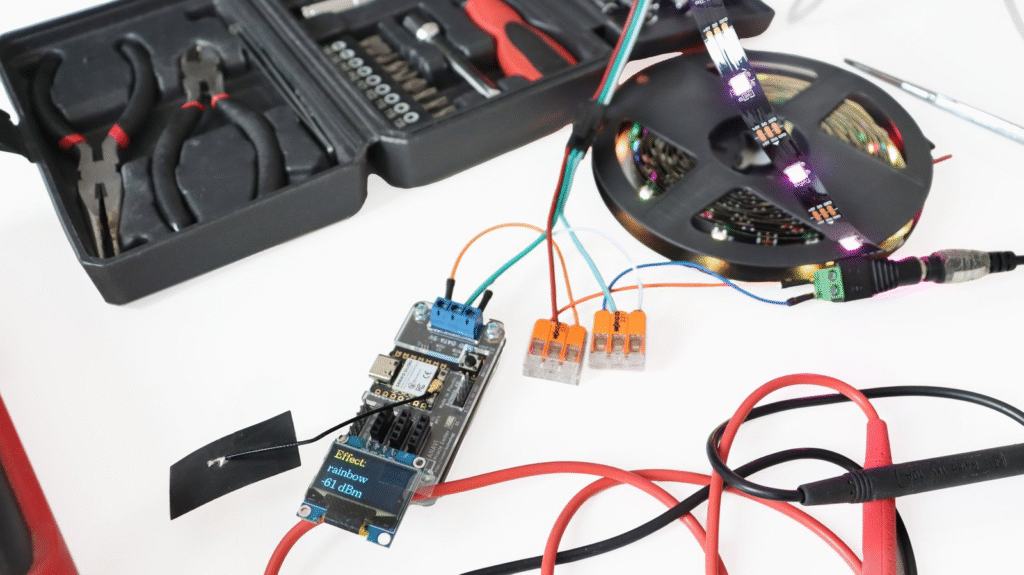
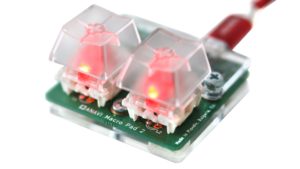
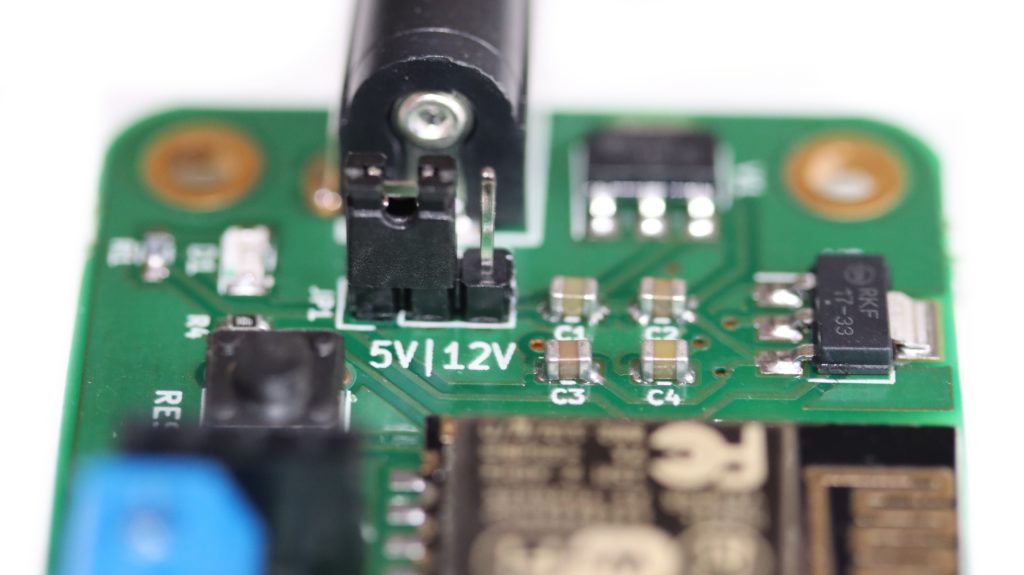
ANAVI Miracle Emitter is a compact, open-source Wi-Fi and Bluetooth development board, powered by the ESP32-C3 microcontroller running at 160 MHz with a RISC-V architecture. Designed for controlling addressable 5 V LED strips such as NeoPixels, it supports power input via the onboard USB Type-C port or an external power source.
Each kit is thoughtfully packaged in an eco-friendly cardboard box made from recycled materials, reflecting our ongoing commitment to sustainability and responsible packaging.
Thank you for supporting our open-source projects! If you haven’t yet ordered an ANAVI Miracle Emitter, there is still time: availability will continue through Crowd Supply. Over the time we will try to provide it also through other distribution channels. Stay tuned for more technical updates, and we hope you have a fantastic experience with your new ANAVI Miracle Emitter kit!
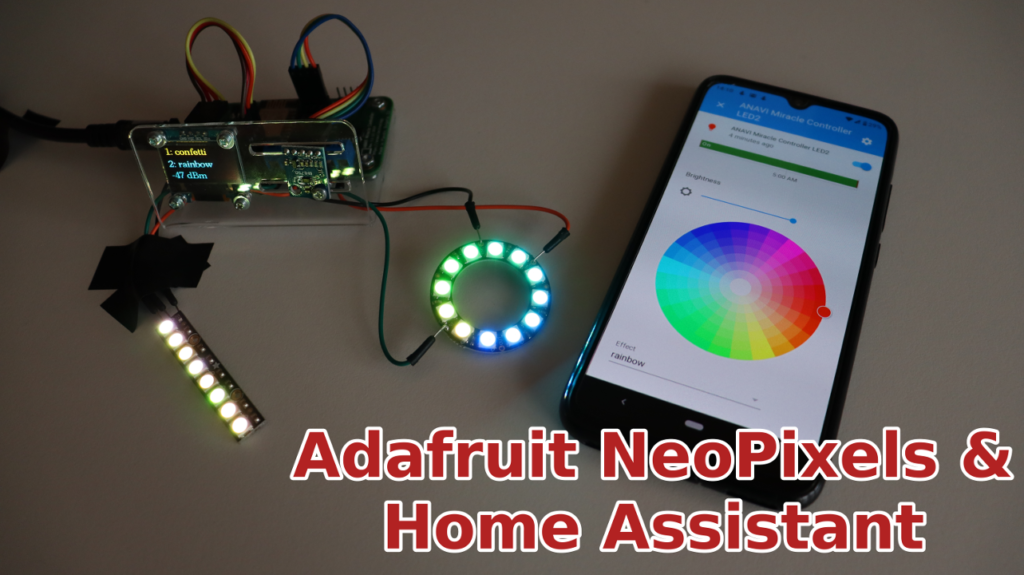
Yes, that’s correct! Let’s get started with Adafruit NeoPixel Ring and NeoPixel Stick in Home Assistant without any coding, just a few simple configurations.
Install Mosquitto MQTT broker from Hass.io add-on store, configure username and password as well as Access Control Lists (ACL).
From Configure > Integrations add new MQTT integration and click Enable discovery. It is mandatory to enable discovery!
Solder male to male jumper wires to Adafruit NeoPixel Ring and NeoPixel Stick.
Connect NeoPixel Stick DIN to LED1, GND to GND and 5VDC to VOUT on ANAVI Miracle Controller. Connect NeoPixel Ring Data Input to LED2, GND to GND and 5V DCPower to VOUT on ANAVI Miracle Controller.
Set the jumper of ANAVI Miracle Controller to 5V and use appropriate power supply to turn on the board.
Configure ANAVI Miracle Controller to connect to your local WiFi network, set LED type to NEOPIXEL, number of LEDs for LED1 to 8 and number of LEDs for LED2 to 12.
In Home Assistant web interface, a couple of new devices will be automatically added under the names ANAVI Miracle Controller LED1 and ANAVI Miracle Controller LED2. Set different effects and colors for each Adafruit NeoPixels.
How Does It Work?
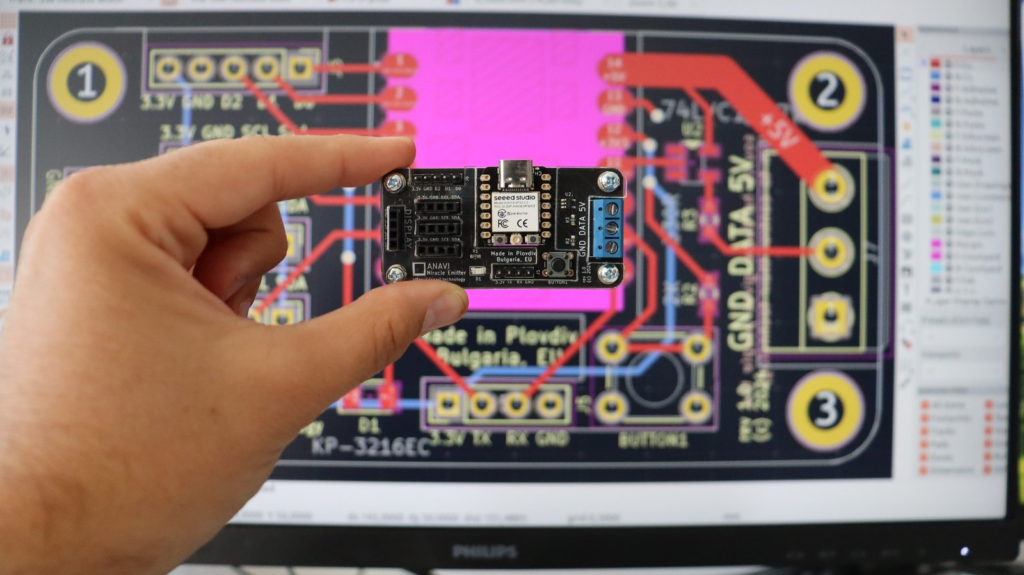
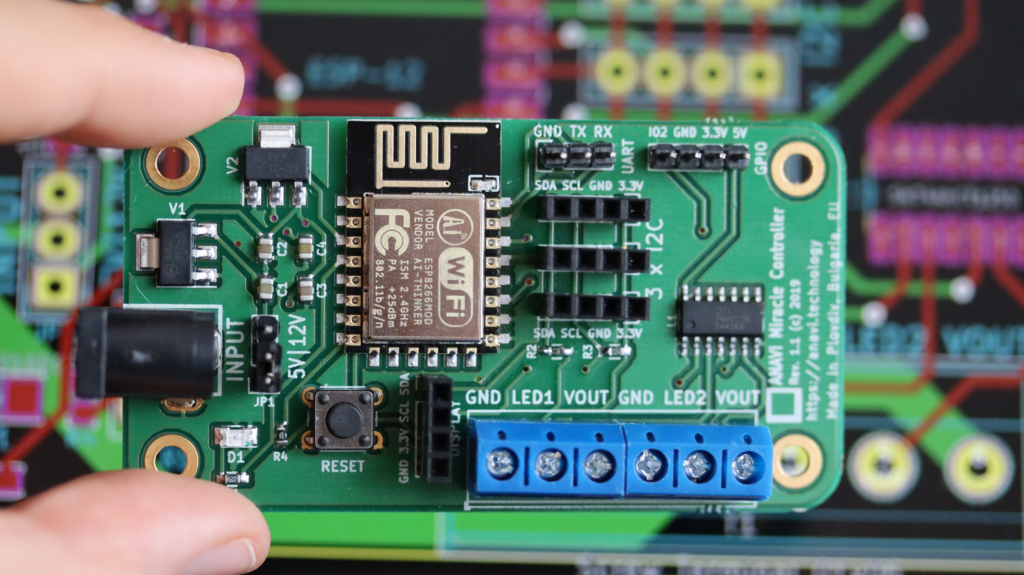
ANAVI Miracle Controller combines open source hardware with free and open source software. It has been certified by the Open Source Hardware Association under UID BG000050. After initial configuration the default firmware of ANAVI Miracle Controller, available as an Arduino sketch in GitHub, connects to the WiFi network and the MQTT broker. It sends a retained MQTT message with JSON payload containing description of the device. Home Assistant, thanks to the MQTT integration with enabled discovery, automatically receives the message and recognizes the device as MQTT Light component. As a result out of the box ANAVI Miracle Controller appears in the Home Assistant GUI.