Crowdfunding Sucess Story: ANAVI Dev Mic is Shipping Soon

ANAVI Dev Mic is an open source hardware computer microphone powered by Raspberry Pi RP2040 microcontroller. It was successfully crowdfunded through Crowd Supply on Sep 26 2024.

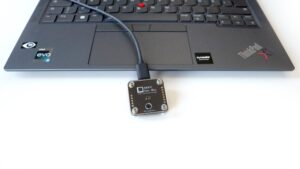
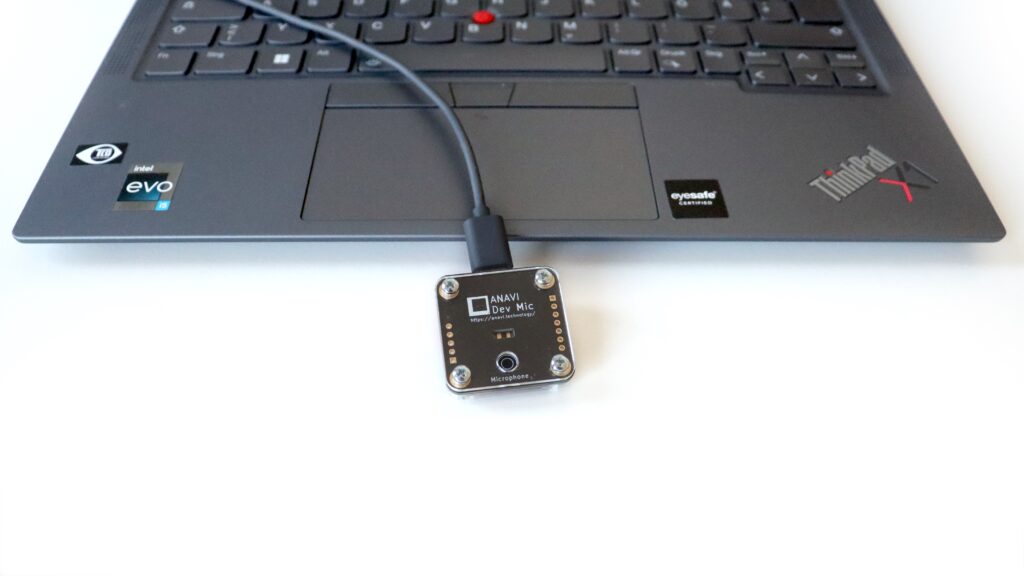
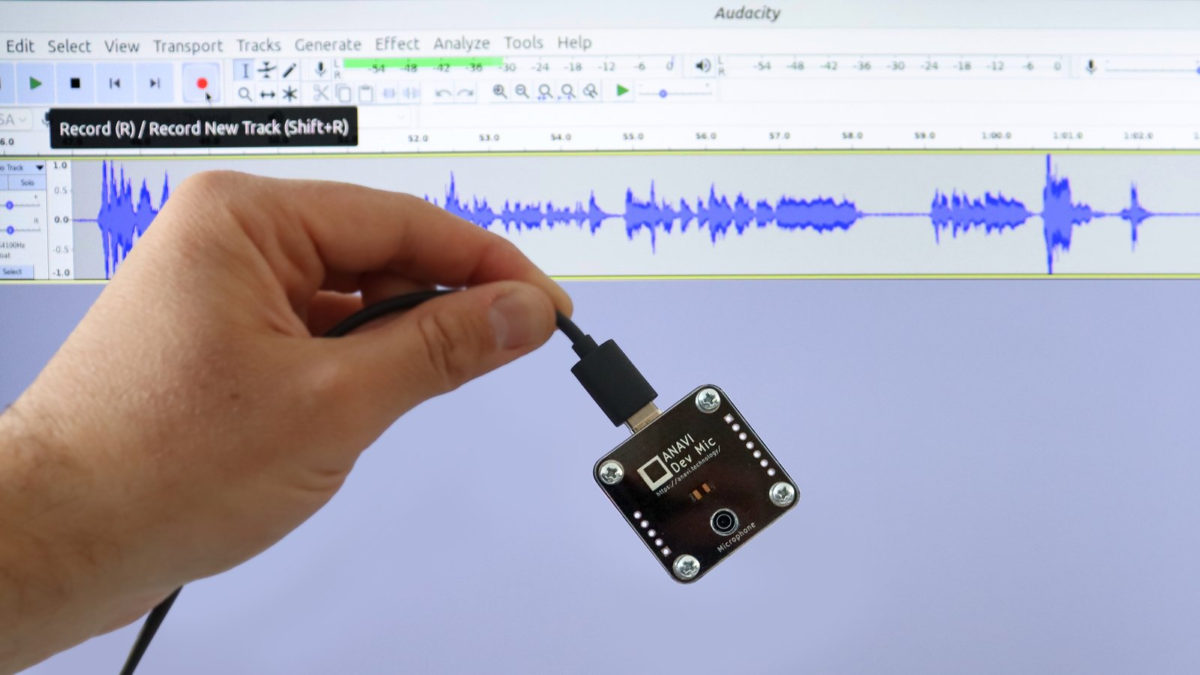
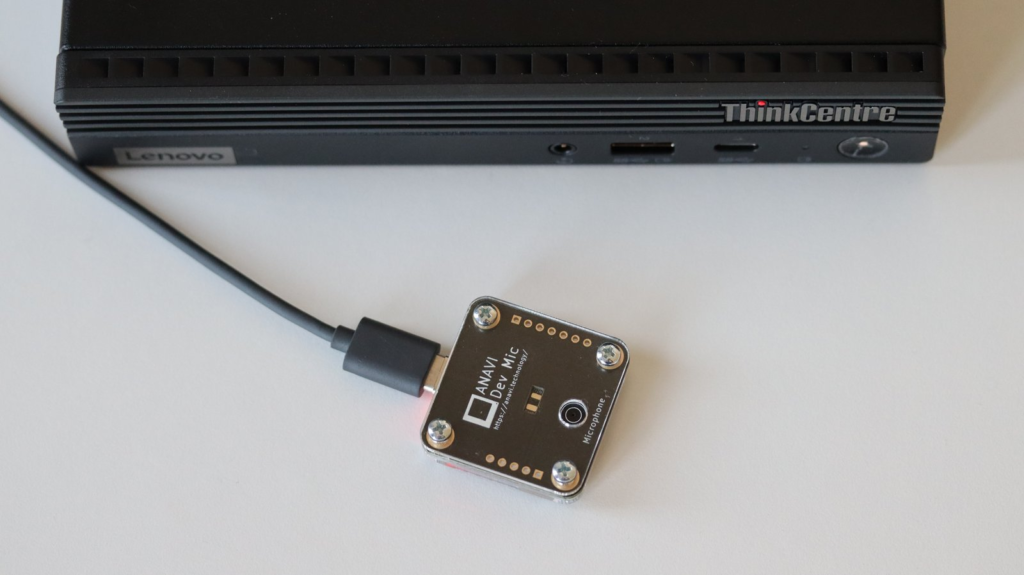
ANAVI Dev Mic connected to a laptop as an external USB-C microphone

The initially estimated shipping date was Nov 17, 2024. However, we have great news to share! A few days ago we dispatched all ANAVI Dev Mic kits to Crowd Supply’s warehouse. This means that shipping to backers will start ahead of schedule. Over the next few weeks, orders will be processed through their fulfillment system.

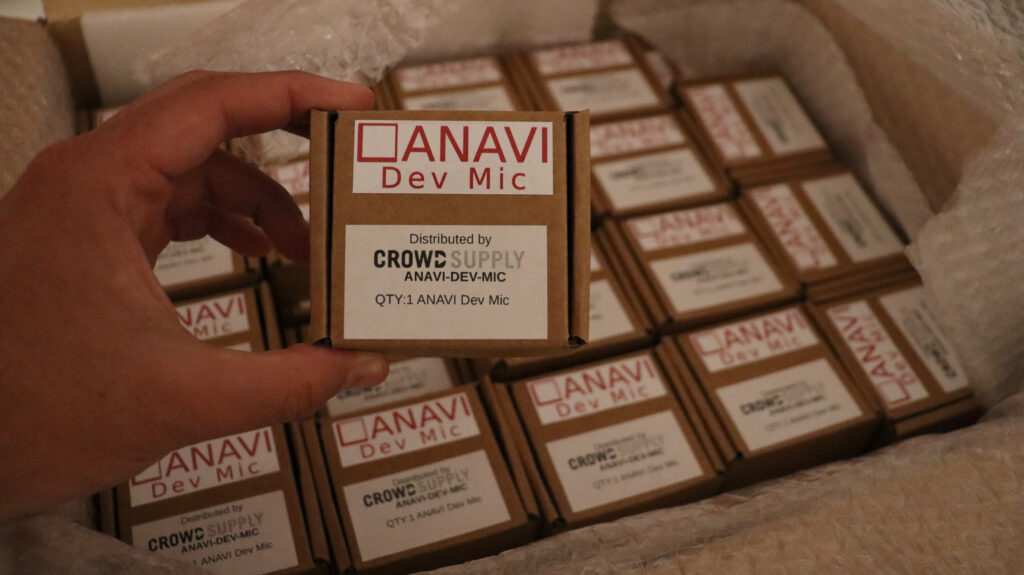
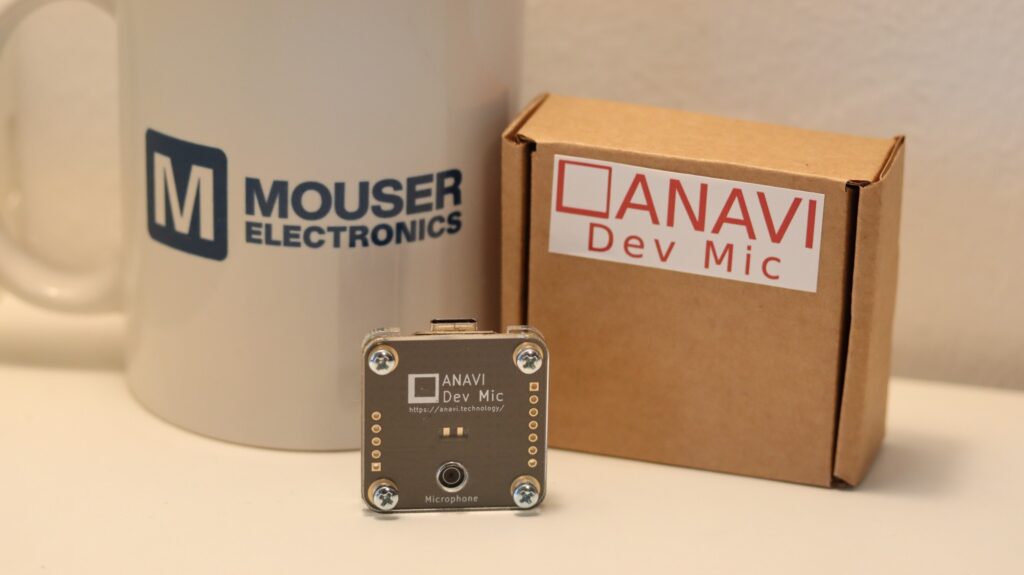
ANAVI Dev Mic eco-friendly packaging

If you have backed the crowdfunding campaign and you need to update your shipping address, please do so via your Crowd Supply account as soon as possible. Shipping to backers will begin soon, and you’ll receive a tracking number once your order is on its way. You can also check your order status and other details through your account.

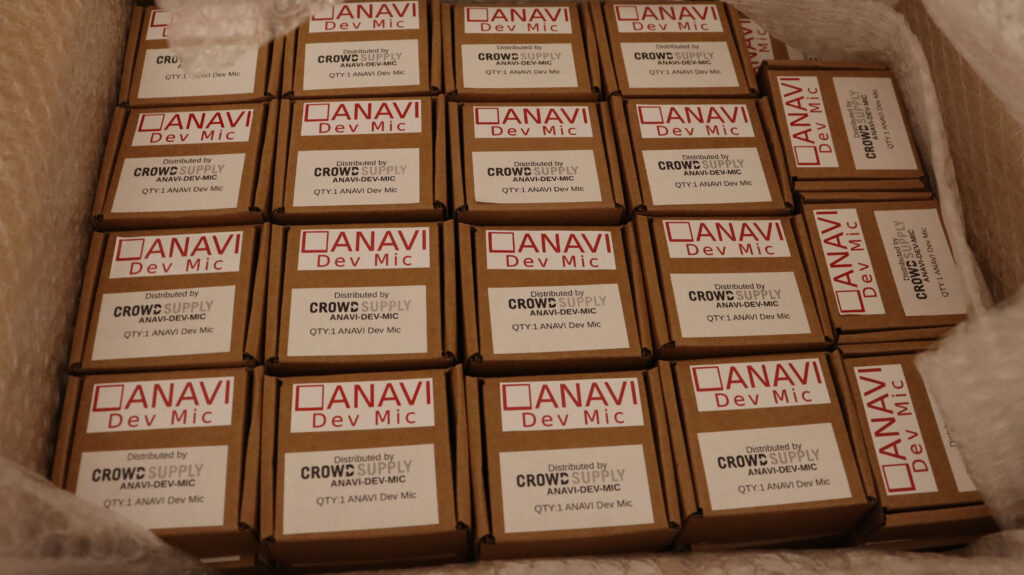
DIY kits with ANAVI Dev Mic

Each kit is packaged in an eco-friendly cardboard box made from recycled materials, reflecting our commitment to sustainability and responsible packaging.

We sincerely thank you for supporting our open-source computer microphone! If you missed the crowdfunding period you can still order your new microphone from Crowd Supply. In the coming months we stock ANAVI Dev Mic through other trusted distributors and online stores. As usual, stay tuned for further technical updates and new exciting open source projects!

You may also like

ANAVI Dev Mic Crowdfunding Success: Thank You for Your Support!

Our crowdfunding campaign at Crowd Supply for ANAVI Dev Mic successfully wrapped up on September 26th, and we couldn’t be more grateful! Thank you! Over 30 backers from eight countries supported this open-source hardware project for a computer microphone powered by the Raspberry Pi RP2040 microcontroller.

ANAVI Dev Mic is a compact, affordable, exceptionally adaptable open-source microphone. The printed circuit board has been designed with KiCad and feetures Seeed Studio XIAO module with the Raspberry Pi RP2040 microcontroller and an omnidirectional digital microphone that work together to ensure high-quality sound capture and processing.

The production of the printed circuit boards and component assembly is now complete, and we’ve also finished the laser-cut acrylic enclosures. Packaging materials, including cardboard boxes and stickers, are ready to go. In the coming weeks, we’ll complete packaging and transfer everything to the warehouse. From there, Crowd Supply’s fulfillment service will ship the ANAVI Dev Mic kits to all our backers.

Thank you again for your tremendous support, feedback, and contributions to our GitHub repositories. More updates are coming soon—stay tuned!

You may also like

Step-by-Step Video Guide: Assembling Your ANAVI Dev Mic

The ANAVI Dev Mic is a small, open-source microphone kit designed for hobbyists and developers. It’s easy to assemble on your own, even with minimal tools. While you can complete the assembly using just your hands, a screwdriver will make the process quicker.

Components

When you open the ANAVI Dev Mic kit, you’ll find the following parts:

  • Black PCB with gold plating and white markings
  • Acrylic top cover
  • Acrylic bottom cover
  • Four 10 mm screws (M2.5)
  • Eight M2.5 nuts

NOTE: The kit does not include a USB-C cable. You can use one you already have or buy one separately.

Step 1: Remove Protective Layer

The acrylic covers are laser-cut and come with a protective film on both sides. Carefully peel off this film to reveal the clear acrylic.

Step 2: Attach the Top Cover

Take the PCB and the top acrylic cover, which has a circular cutout for the microphone. Align the cover with the corresponding circle on the PCB. Insert a screw into each of the four mounting holes and secure them with the nuts provided.

Step 3: Install the Bottom Cover

Next, place the bottom acrylic cover over the side of the PCB where the XIAO RP2040 module is located. Secure the cover by tightening it with the remaining four nuts.

Step 4: Connect and Use

With these simple steps completed, your microphone is ready to go. Just plug ANAVI Dev Mic into your computer using a USB-C cable, and you’re good to go!

You may also like