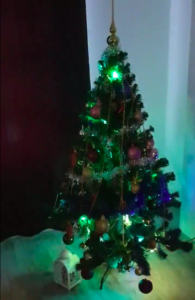
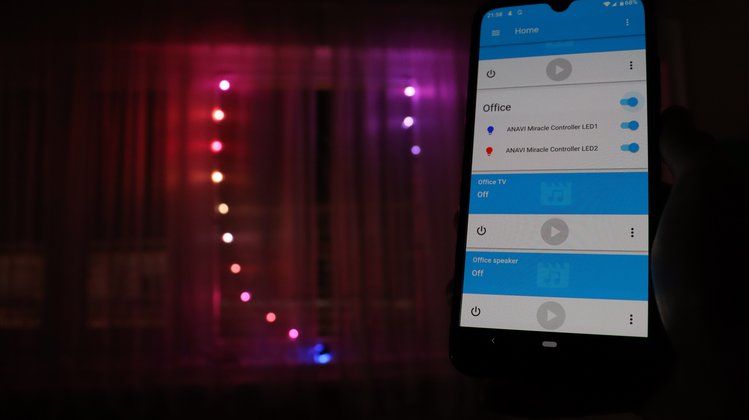
This YouTube video demonstrates do-it-yourself (DIY) holiday lights to celebrate Christmas or Halloween using ANAVI Miracle Controller, Olimex WS2811 LED ropes and the popular open source home automation platform Home Assistant!
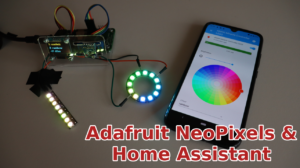
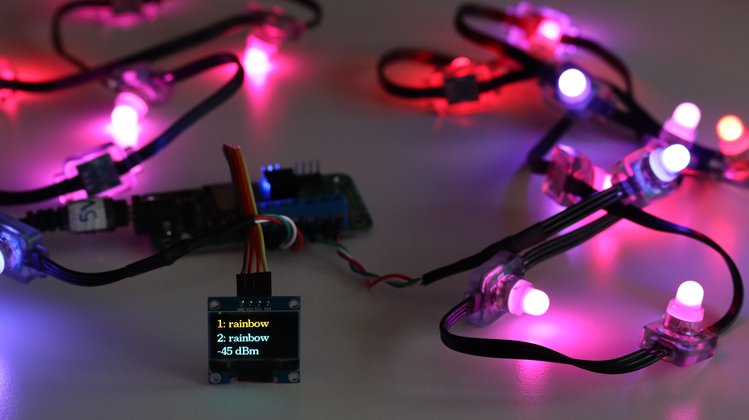
All kits of ANAVI Miracle Controller come with WS2812B LED strip, however the board is also compatible with other addressable LED strips. In a previous update we covered Adafruit NeoPixels and now we are focussed on Olimex WS2811 LED Rope.
Required Hardware
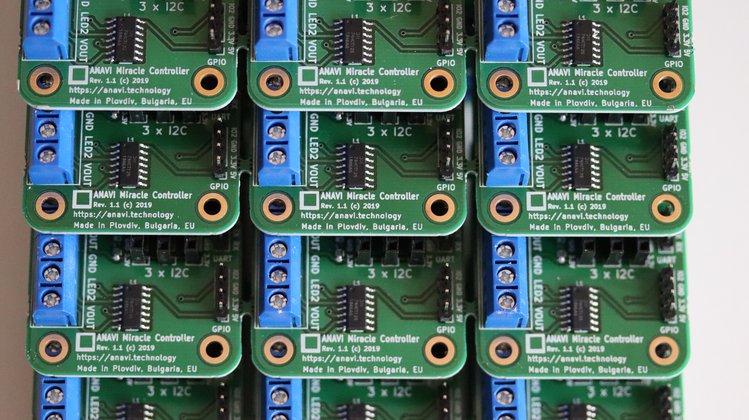
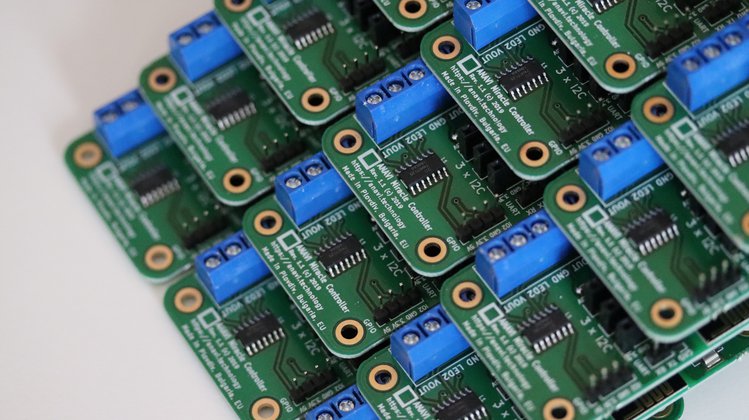
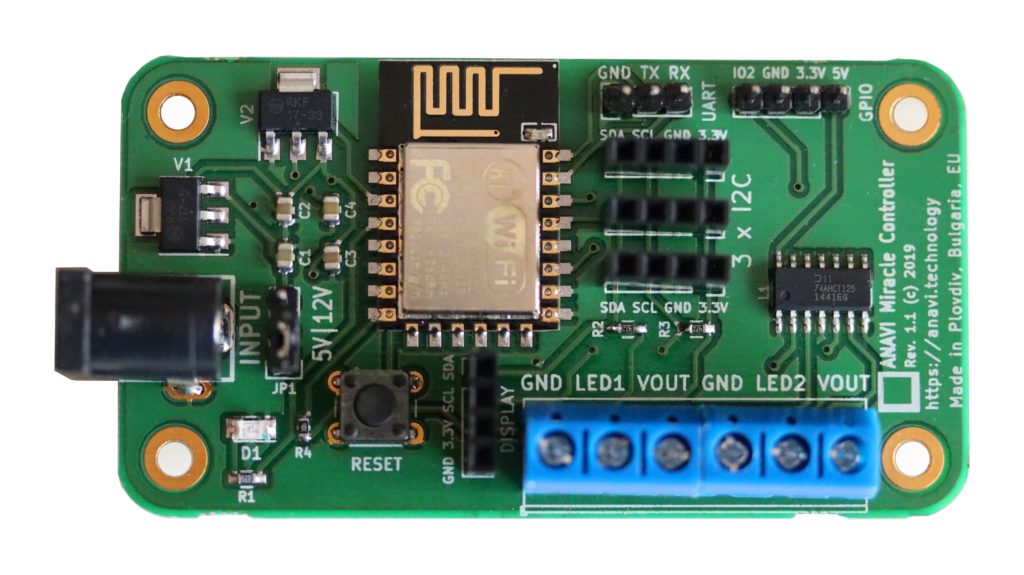
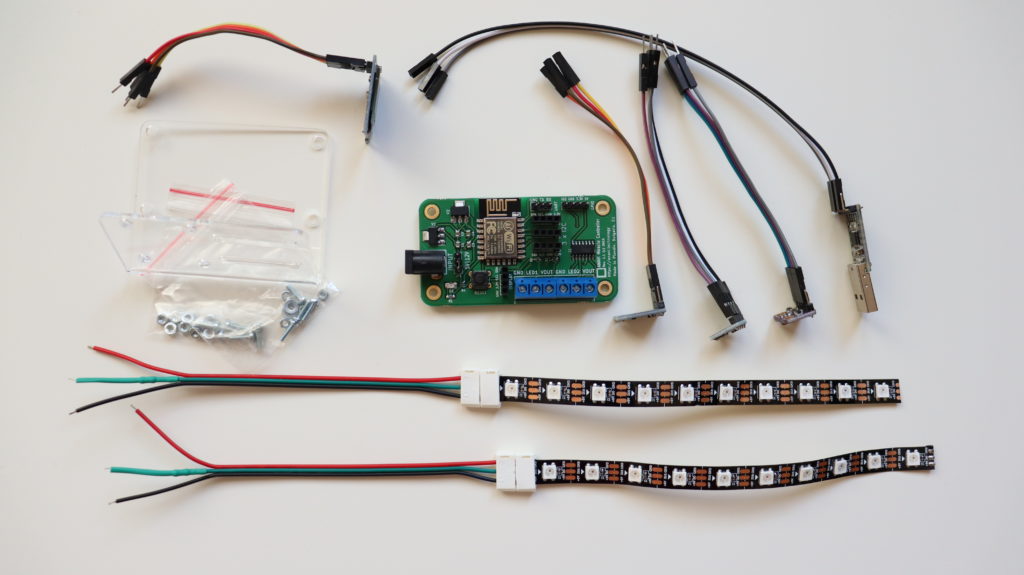
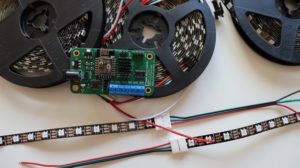
- ANAVI Miracle Controller
- 5V power supply
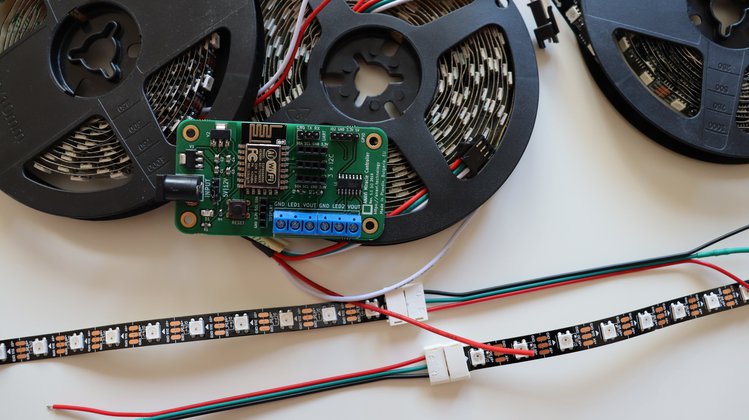
- Two Olimex LED-ROPE-10
- Raspberry Pi (recommended 3 or newer) with Home Assistant
Olimex is a well-known company in the maker community and I am lucky because their headquarter is my hometown Plovdiv, Bulgaria.
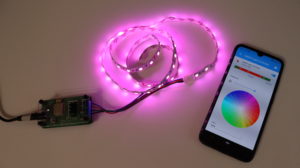
Olimex offers addressable, water proof, sealed with resin RGB WS2811 ropes with various number of LEDs. For this video I used a couple of Olimex LED-ROPE-10. The rope is waterproof so it is suitable for both indoor and outdoor installations. It works with power supply in the range from 3.3V to 5.5V and has a dedicated WS2811 driver for each LED.
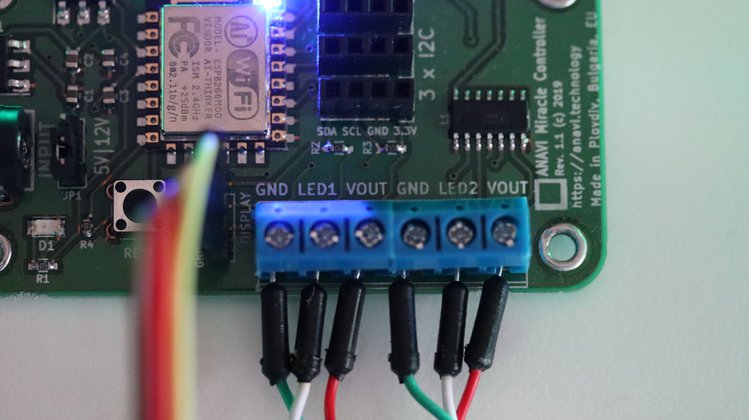
The typical color code for Olimex LED-ROPE-10:
- Olimex rope RED wire – VCC (3.3V-5.5V)
- Olimex rope GREEN/BLUE (varies) wire – GND
- Olimex rope WHITE wire – DATA
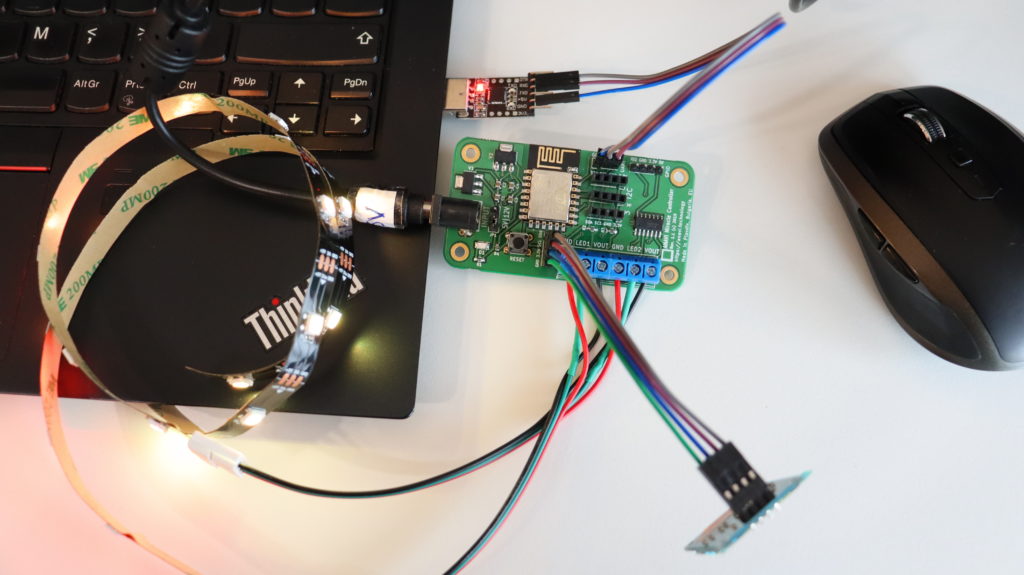
Each RGB LED in Olimex rope draws approximately 50mA at 5V with red, green, and blue at full brightness. Olimex LED-ROPE-10 has only 10 RGB LEDs with makes approximately 500mA and it is OK to power it through ANAVI Miracle Controller. For installation will longer ropes with bigger consumption wire the VCC and GND lines directly to the power supply.
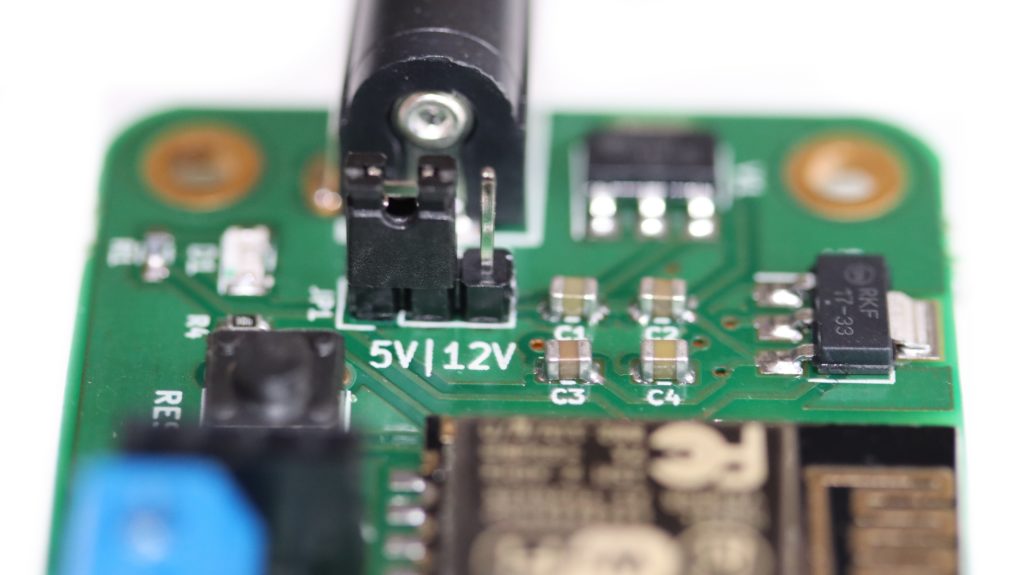
When using Olimex LED ropes, set ANAVI Miracle Controller to 5V input and use an appropriate 5V center positive power supply!
NOTE: The color codes of other addressable LED strips, including WS2812B LED strip from all kits, are different!
Due to differences in color codes this wiring is valid only for Olimex LED ropes. Be careful and check the proper wiring as well input voltage requirements if you are using a different type of addressable LED strip or rope.
Software
Home Assistant must be installed on an appropriate device. If you haven’t installed it already, a single board computer like Raspberry Pi (version 3 or newer) is the perfect fit!
MQTT broker is also required and must be installed. You can install Mosquitto from Home Assistant add-on store. Integrate the MQTT broker in Home Assistant and enable discovery. The exact steps have been covered in a previous blog post about ANAVI Miracle Controller and Adafruit NeoPixels.
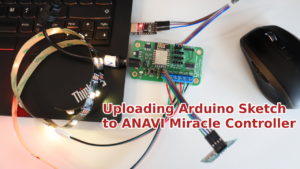
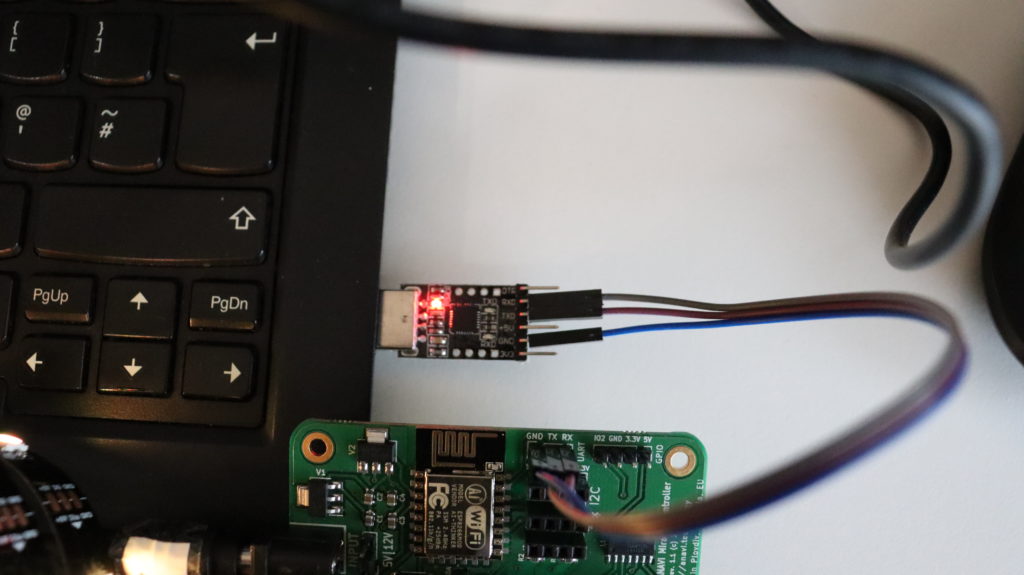
Please, ensure you are running the latest version of the open source firmware for ANAVI Miracle Controller. It is available at GitHub. You can flash it through Arduino IDE following these steps.
After completing the initial installation and integration in Home Assistant, you can easily control the holiday lights from your personal computer, smartphone or tablet. You can either install the official mobile app on your smartphone or use the web interface from any modern HTML5 web browser (Google Chrome, Mozilla Firefox, etc). Furthermore, with Home Assistant you can create automation and trigger automatically the holiday lights depending on various events.