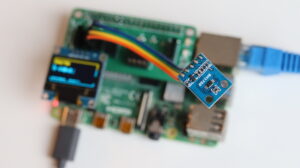
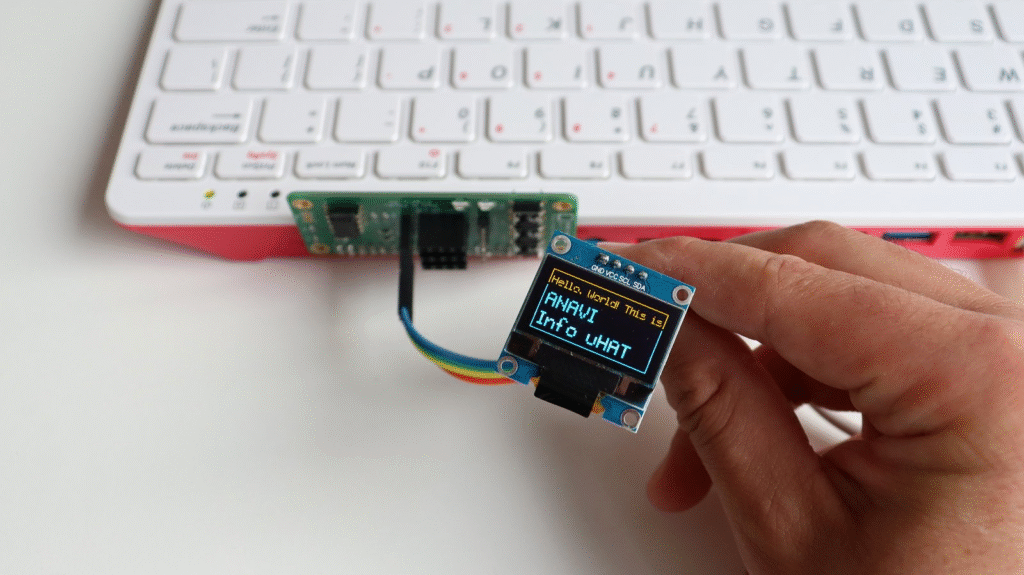
ANAVI Info uHAT is an affordable, open-source Raspberry Pi add-on board that brings extra functionality in a compact form. It features a mini OLED display, three buttons, red and green indicator LEDs, and slots for various sensors. Each kit includes a 0.96″ yellow-blue I²C OLED display with a resolution of 128×64 pixels.
Originally crowdfunded on Crowd Supply in 2022, the board is now available from various distributors, including Mouser. While our documentation is based on Raspberry Pi OS, ANAVI Info uHAT works with any Raspberry Pi computer model and Linux distribution running on Raspberry Pi.
At the start of 2025, Leon Anavi launched a series of video tutorials on the Yocto Project and OpenEmbedded. The Yocto Project, a collaborative initiative under the Linux Foundation, has become the de facto industry standard for creating custom Linux distributions tailored for embedded devices.
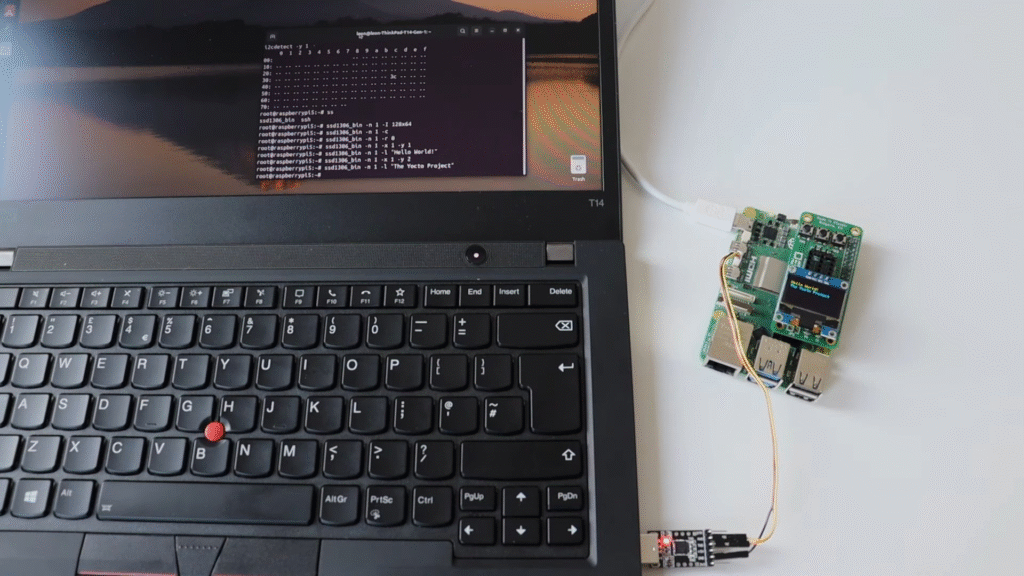
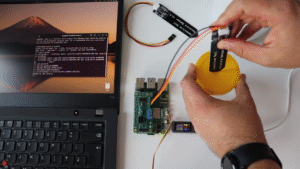
In Episode 9 from September 2025, Leon demonstrates how to enable I²C on a Raspberry Pi and use it with an SSD1306 mini OLED display. To simplify wiring, he used the ANAVI Info uHAT, attaching it directly to the Raspberry Pi 5’s 40-pin header, while the OLED display connected to its dedicated I²C port.
Thanks to meta-raspberrypi, a community-maintained Yocto/OpenEmbedded BSP (Board Support Package) layer, enabling I²C and autoloading its Linux kernel modules is as simple as adding two lines to conf/local.conf:
ENABLE_I2C = "1"
KERNEL_MODULE_AUTOLOAD:rpi += "i2c-dev i2c-bcm2708"
The demonstration from the video tutorial also included useful packages in the Yocto image to scan for I²C devices and interact with the SSD1306 OLED display:
IMAGE_INSTALL:append = " i2c-tools ssd1306"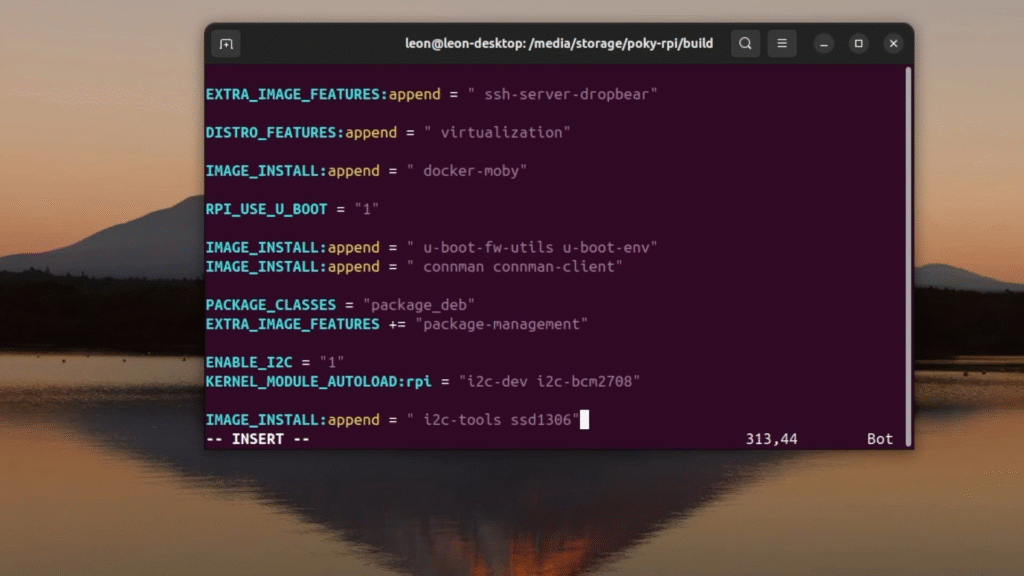
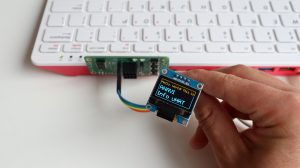
After building core-image-base and booting it on the Raspberry Pi, you can test the OLED using the open-source ssd1306_bin tool. Here are some sample commands from the tutorial:
ssd1306_bin -n 1 -I 128x64
ssd1306_bin -n 1 -c
ssd1306_bin -n 1 -r 0
ssd1306_bin -n 1 -x 1 -y 1
ssd1306_bin -n 1 -l "Hello World"
ssd1306_bin -n 1 -x 1 -y 2
ssd1306_bin -n 1 -l "The Yocto Project"
ssd1306_bin -n 1 -x 1 -y 3
ssd1306_bin -n 1 -l "on Raspberry Pi 5"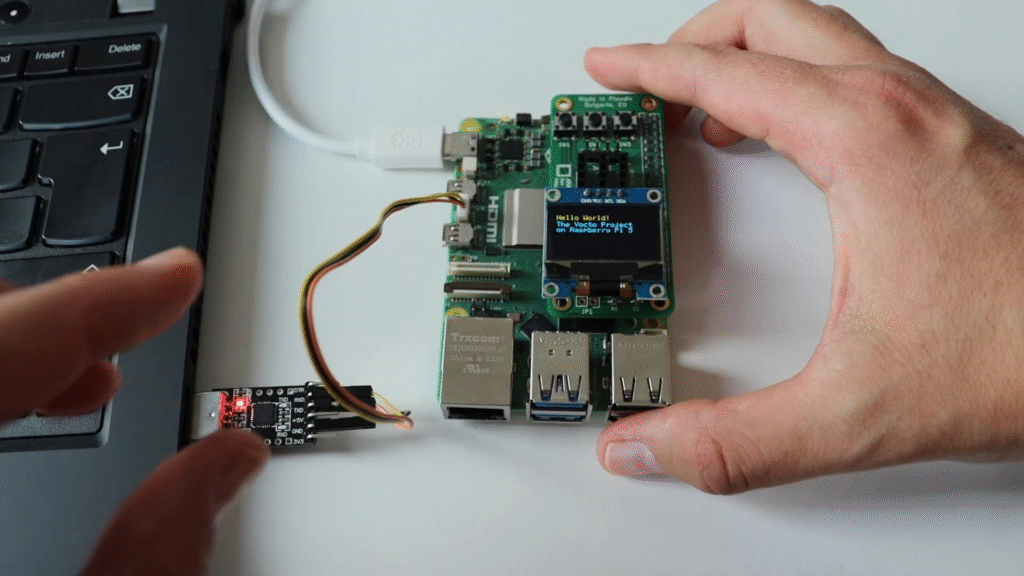
This tutorial builds on concepts from previous episodes in the series, so if you are new to the Yocto Project on Raspberry Pi 5, it is highly recommended to start from the beginning. Watching the full video will give you a detailed walkthrough and context for each step.