The ANAVI Dev Mic is a small, open-source microphone kit designed for hobbyists and developers. It’s easy to assemble on your own, even with minimal tools. While you can complete the assembly using just your hands, a screwdriver will make the process quicker.
Components
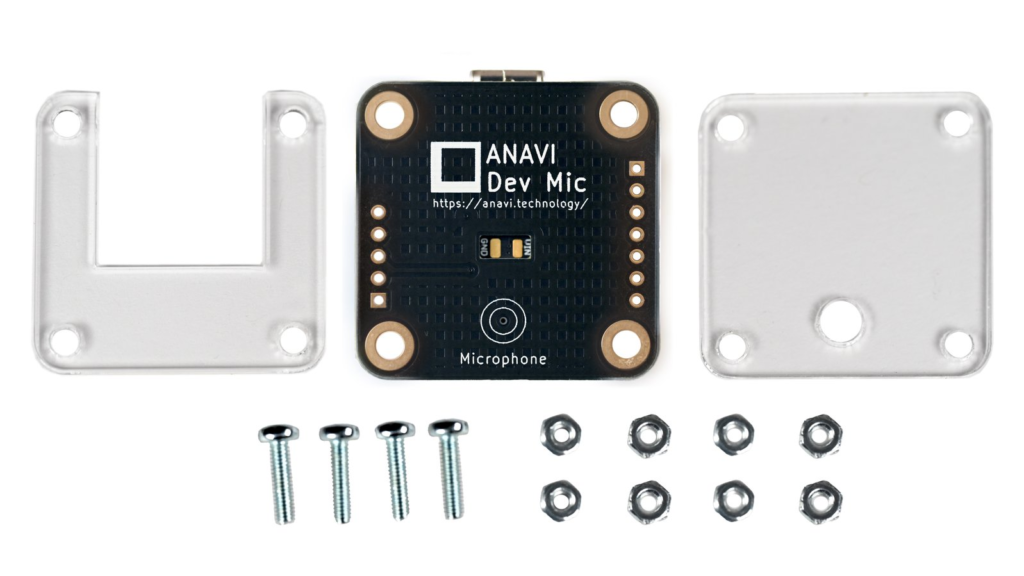
When you open the ANAVI Dev Mic kit, you’ll find the following parts:
- Black PCB with gold plating and white markings
- Acrylic top cover
- Acrylic bottom cover
- Four 10 mm screws (M2.5)
- Eight M2.5 nuts
NOTE: The kit does not include a USB-C cable. You can use one you already have or buy one separately.
Step 1: Remove Protective Layer
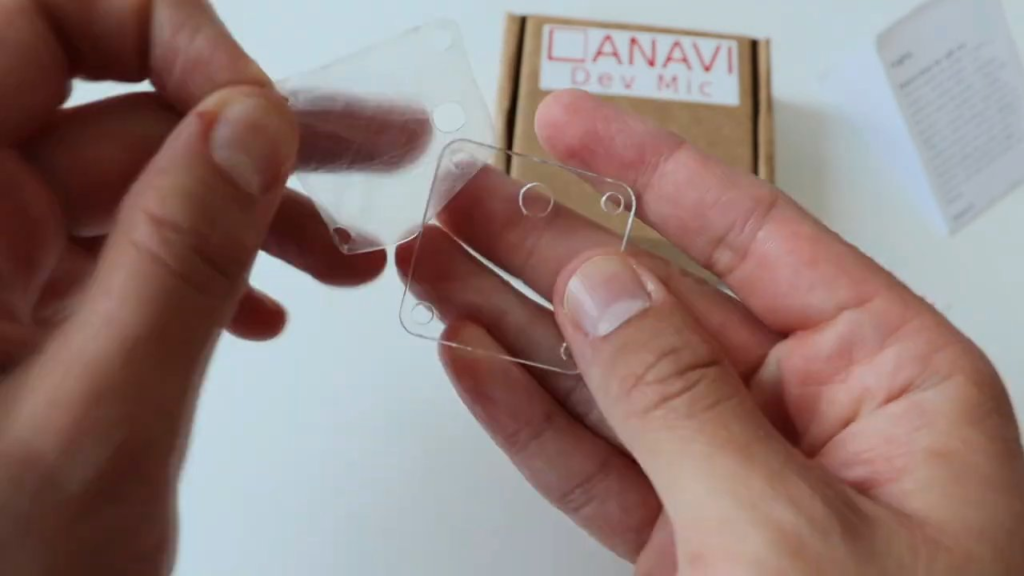
The acrylic covers are laser-cut and come with a protective film on both sides. Carefully peel off this film to reveal the clear acrylic.
Step 2: Attach the Top Cover
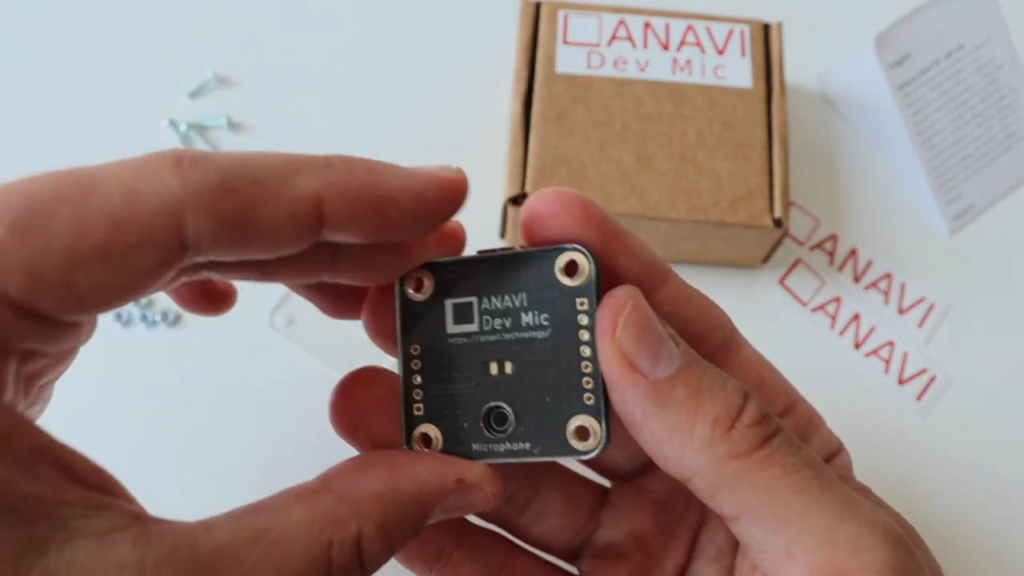
Take the PCB and the top acrylic cover, which has a circular cutout for the microphone. Align the cover with the corresponding circle on the PCB. Insert a screw into each of the four mounting holes and secure them with the nuts provided.
Step 3: Install the Bottom Cover
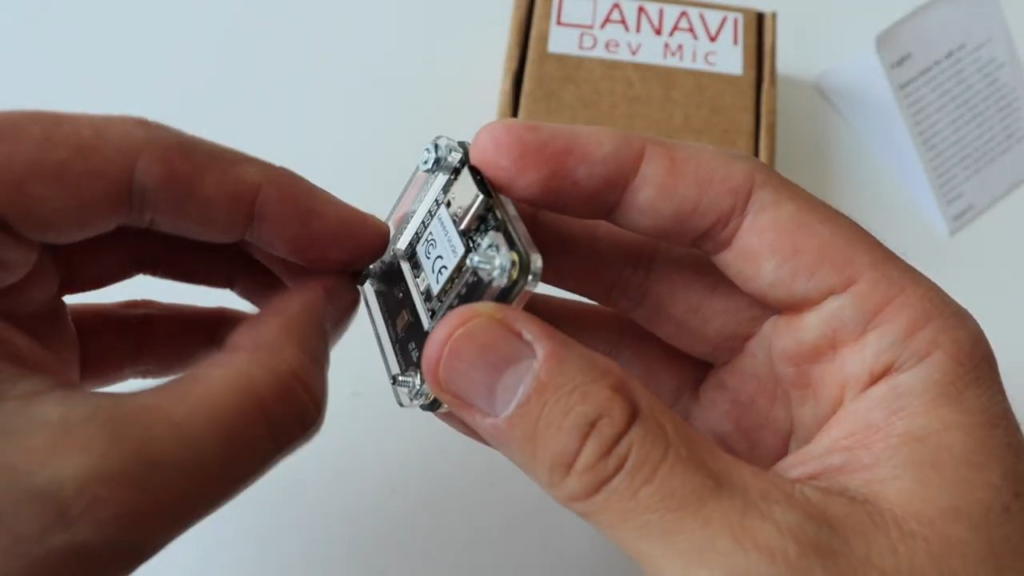
Next, place the bottom acrylic cover over the side of the PCB where the XIAO RP2040 module is located. Secure the cover by tightening it with the remaining four nuts.
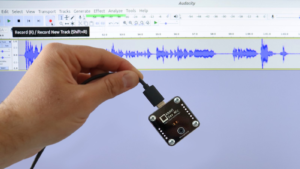
Step 4: Connect and Use
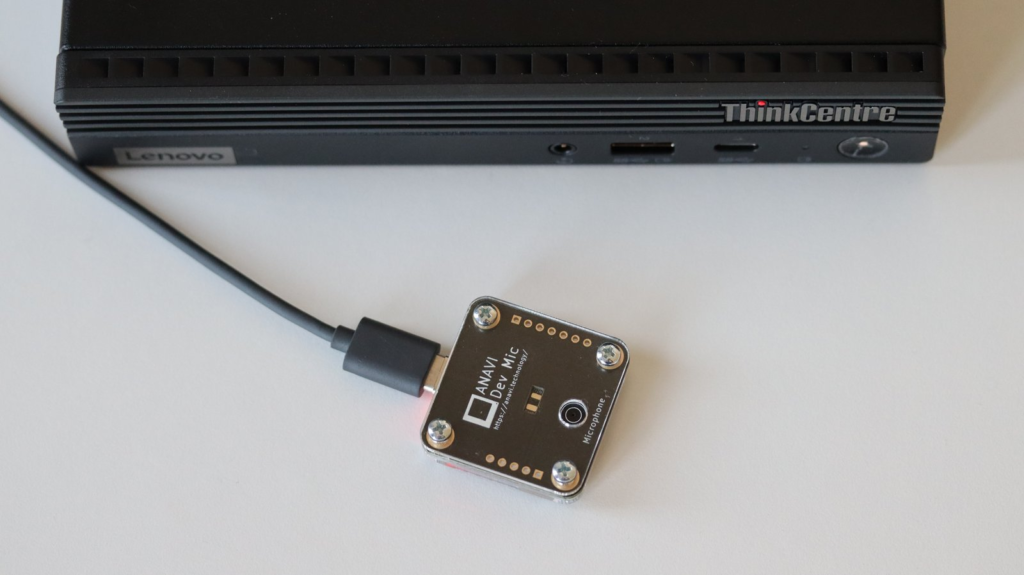
With these simple steps completed, your microphone is ready to go. Just plug ANAVI Dev Mic into your computer using a USB-C cable, and you’re good to go!